
How to deploy a Django app on Northflank
Django is a powerful Python framework for building full-featured web applications. It comes with built-in tools like an ORM, admin panel, and authentication, making it ideal for complex projects.
In this guide, you’ll learn how to deploy a Django app with Docker on Northflank. We’ll create a project, configure it for production with PostgreSQL and WhiteNoise, and then deploy it using either a one-click template or your own Git repository.
To follow along, you’ll need:
- Python 3 or later installed on your machine
- Basic knowledge of Python and Django
- A Northflank account
- Setting up a basic Django project
- Adding production essentials (WhiteNoise, PostgreSQL, secure settings)
- Preparing the project for containerization
- Deploying with Northflank
- From a template
- From a Git repository
💡 If you already have a Django app locally or on GitHub, skip to the next section.
Create a new project directory and navigate into it:
$ mkdir djangoapp
$ cd djangoapp
Set up a virtual environment and activate it:
$ python3 -m venv env
$ source env/bin/activate   # macOS/Linux
$ env\\Scripts\\activate      # Windows
Install Django:
(env)$ pip install djangoCreate a new Django project:
(env)$ django-admin startproject mydjproject .Run the app locally with:
(env)$ python manage.py runserverIf successful, you’ll see output like this:
* Running on <http://127.0.0.1:8000>Open your browser at http://127.0.0.1:8000 to check it works.
When you run Django locally, everything works out of the box. But in production, there are three common problems:
- Django’s built-in server (
runserver) is not secure or efficient enough for real traffic. - Static files (CSS, JavaScript, images) and databases need proper configuration.
- Security settings (
SECRET_KEY,DEBUG,ALLOWED_HOSTS) must be updated.
To fix this, we’ll add WhiteNoise for static files and PostgreSQL for a reliable database.
By default, Django does not serve static files well in production. WhiteNoise is a small library that solves this problem by letting your Django app serve its own static files efficiently, without needing an external service like AWS S3.
Install it in your project’s root directory:
(env)$ pip install whitenoiseIn mydjproject/settings.py, add the WhiteNoise middleware and configure your static files:
MIDDLEWARE = [
    "django.middleware.security.SecurityMiddleware",
    "whitenoise.middleware.WhiteNoiseMiddleware",  # serve static files in production
    ...
]

STATIC_URL = "static/"
STATIC_ROOT = BASE_DIR / "staticfiles"
STATICFILES_STORAGE = "whitenoise.storage.CompressedManifestStaticFilesStorage"
Now collect the static files into one folder:
(env)$ python manage.py collectstaticWhy this matters:
- Without WhiteNoise, your CSS and JavaScript won’t load in production.
STATIC_ROOTtells Django where to put all your files.- WhiteNoise compresses and caches them so they load faster.
Django ships with SQLite by default, which is fine for testing but not reliable for production. PostgreSQL is the standard choice for Django apps in production because it is more powerful, scalable, and supported by most platforms (including Northflank).
Install the following packages in your project's directory:
(env)$ pip install psycopg2-binary dj-database-urlpsycopg2-binary→ lets Django talk to PostgreSQL.dj-database-url→ makes it easy to configure your database using a single environment variable (DATABASE_URL), which Northflank will provide when you connect a PostgreSQL addon.
Update mydjproject/settings.py with the following to replace the default SQLite database configuration with PostgreSQL:
import dj_database_url
import os

DATABASES = {
    "default": dj_database_url.config(
        default=os.getenv("DATABASE_URL", "sqlite:///db.sqlite3")
    )
}
Why this matters:
- SQLite saves data in a single file on disk, which doesn’t work well in containers.
- PostgreSQL runs as a separate service and keeps your data safe and persistent.
- Using
dj-database-urlmeans your app automatically uses PostgreSQL in production, but you can still use SQLite locally if no database is configured.
(Optional) Use PostgreSQL locally
Replace "sqlite:///db.sqlite3" with your Postgres database URL (Deploy a database on Northflank using this guide).
Then run python manage.py migrate in your terminal to apply the database migrations.
Note: This is only for local development. When deploying on Northflank, you'll need to add the DATABASE_URL as an environment variable in your service configuration with the proper connection string value from your Postgres addon.
In your mydjproject/settings.py file, update the SECRET_KEY, DEBUG, and ALLOWED_HOSTS settings as follows:
SECRET_KEY = os.getenv("DJANGO_SECRET_KEY", "changeme")
DEBUG = os.getenv("DEBUG", "False") == "True"
ALLOWED_HOSTS = os.getenv("ALLOWED_HOSTS", "*").split(",")
Why this matters:
- Never hardcode your
SECRET_KEY. - Always set
DEBUG=Falsein production. ALLOWED_HOSTSprevents host header attacks.
Northflank runs your app inside a container. To do this smoothly, we’ll:
- Add a production server (Gunicorn)
- Create a
requirements.txt - Write a
Dockerfile
Gunicorn is a lightweight WSGI server commonly used in production. Northflank will use it to run your app:
(env)$ pip install gunicornFreeze your project dependencies so Northflank can install them during the build:
(env)$ pip freeze > requirements.txtNorthflank builds your container image using a Dockerfile. Create a new file called Dockerfile in your project root:
FROM python:3.11

ENV PYTHONUNBUFFERED=1

WORKDIR /app
COPY . ./

RUN pip install --no-cache-dir -r requirements.txt

EXPOSE 8000
CMD ["gunicorn", "--bind", "0.0.0.0:8000", "mydjproject.wsgi:application"]
At this point, your app is container-ready.
You now have two ways to deploy on Northflank:
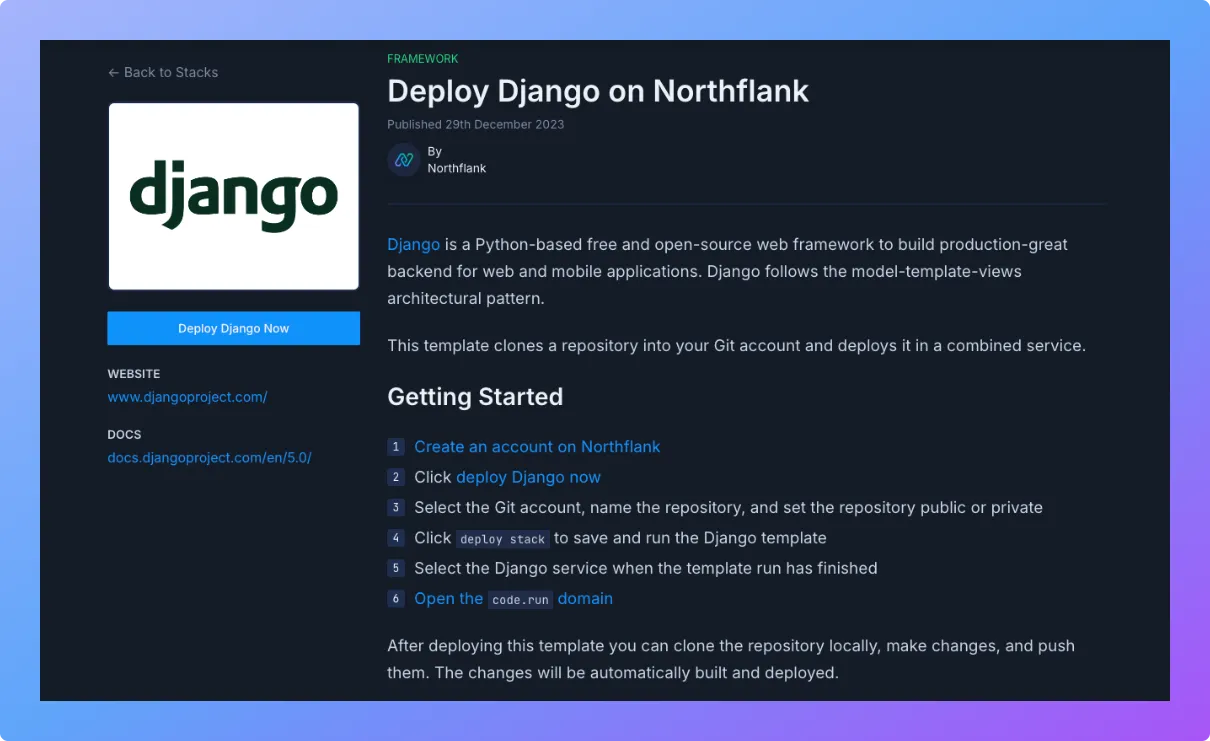
- Visit the Django template on Northflank.
- Click Deploy.
- Northflank will:
- Automatically create a project and service
- Build your container from the template
- Deploy and run the app
- Add the starter code directly to your connected git repository
- Once it’s live, you’ll get a public URL where your Django app is accessible.
If you’ve already created your Django project and pushed it to GitHub, GitLab, or Bitbucket, follow these steps:
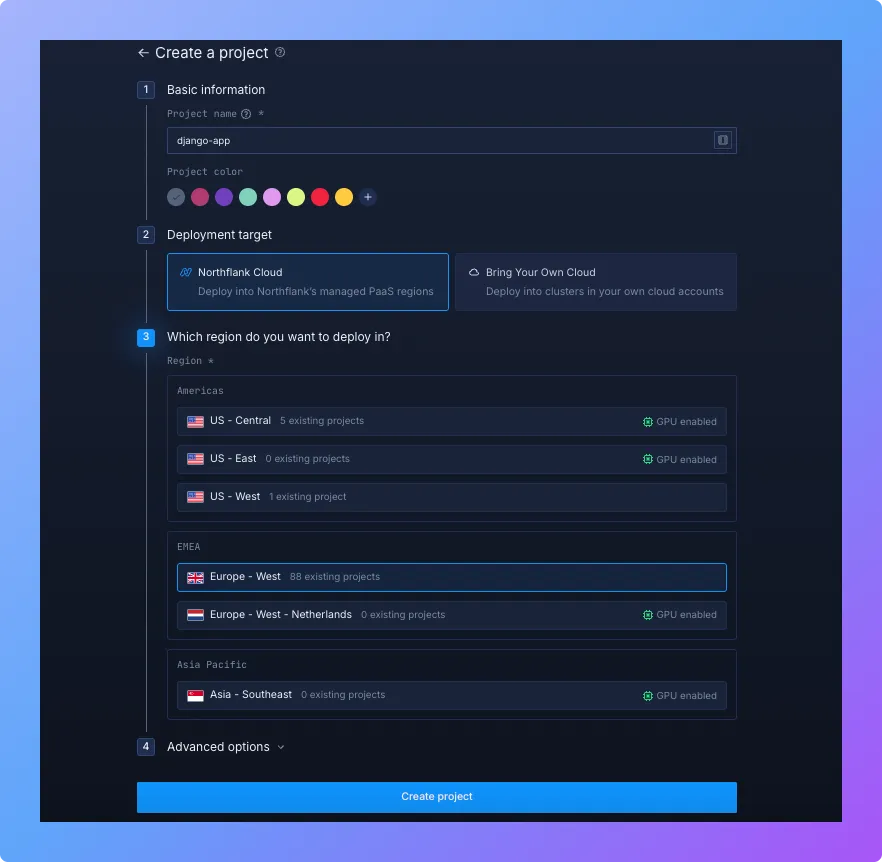
1. Create a Northflank project
- Log in to your Northflank dashboard.
- Go to Projects → Create Project.
- Enter a project name (e.g.
django-app). - Choose where you'd like to deploy - either on Northflank cloud or on your own cloud.
- Select your preferred region.
- Click ’Create Project’.
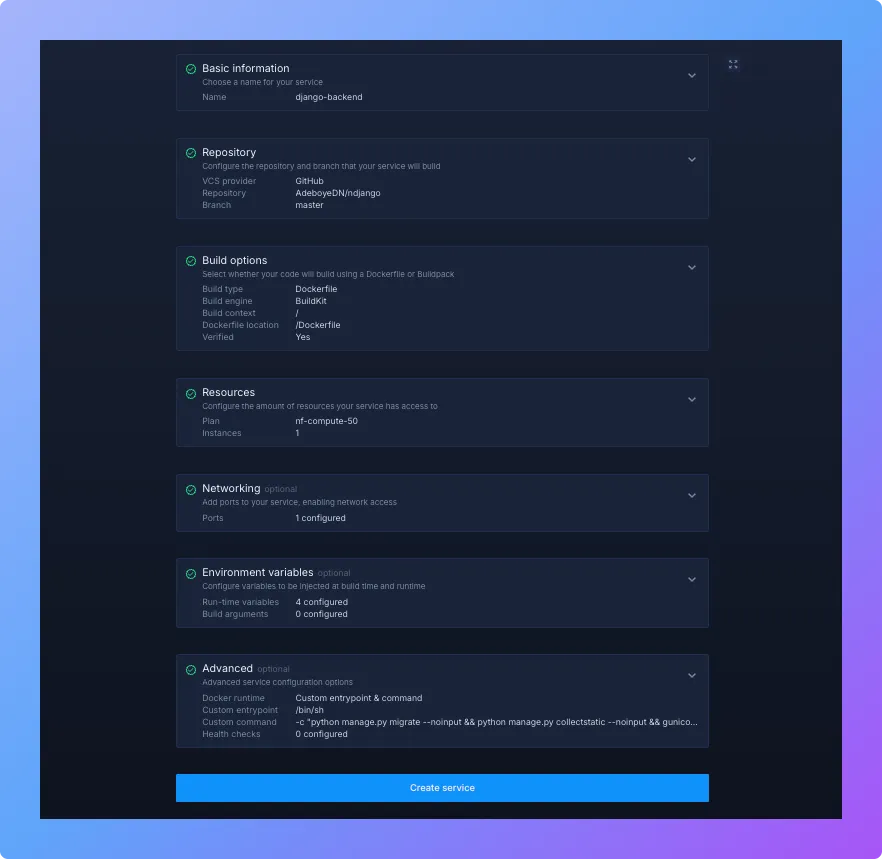
2. Create and configure a service
- Within your project, navigate to the Services tab at the top menu and click 'Create service'.
- Select the “Combined” service option that builds & deploys a git repo
- Enter a service name (e.g.
django-backend). - Select your Git provider and connect to the repository containing your Django project.
- Under Build options, select Dockerfile and specify the location (e.g.
/Dockerfileif it's in the root directory). - Under ’Networking’, add a port configuration:
- Port:
8000(Gunicorn default) - Protocol:
HTTP - Public: enable
- Port:
- Under Environment variables, add the following (Runtime variables):
DATABASE_URL→ PostgreSQL connection string from your Northflank PostgreSQL addon (note: your app will default to SQLite if this isn't set)DJANGO_SECRET_KEY→ your Django project secret keyDEBUG→False(setTrueonly for testing)ALLOWED_HOSTS→ your service domain (e.g.your-service.northflank.app)
💡 You can also store these inside a Secrets group in Northflank and link it to your service.
- Under Advanced → select Custom entrypoint & command.
- Custom entrypoint:
/bin/sh - Custom command:
-c "python [manage.py](http://manage.py/) migrate --noinput && python [manage.py](http://manage.py/) collectstatic --noinput && gunicorn --bind 0.0.0.0:8000 mydjproject.wsgi:application"
- Custom entrypoint:
💡 This ensures that every time your container starts, Django will automatically apply database migrations and collect static files before launching Gunicorn. That way, your app is always production-ready immediately after deployment.
- Review your settings and click ’Create service’.
Northflank will then:
- Clone your Git repository
- Build the Docker image
- Install dependencies from
requirements.txt - Run your app with Gunicorn inside a container
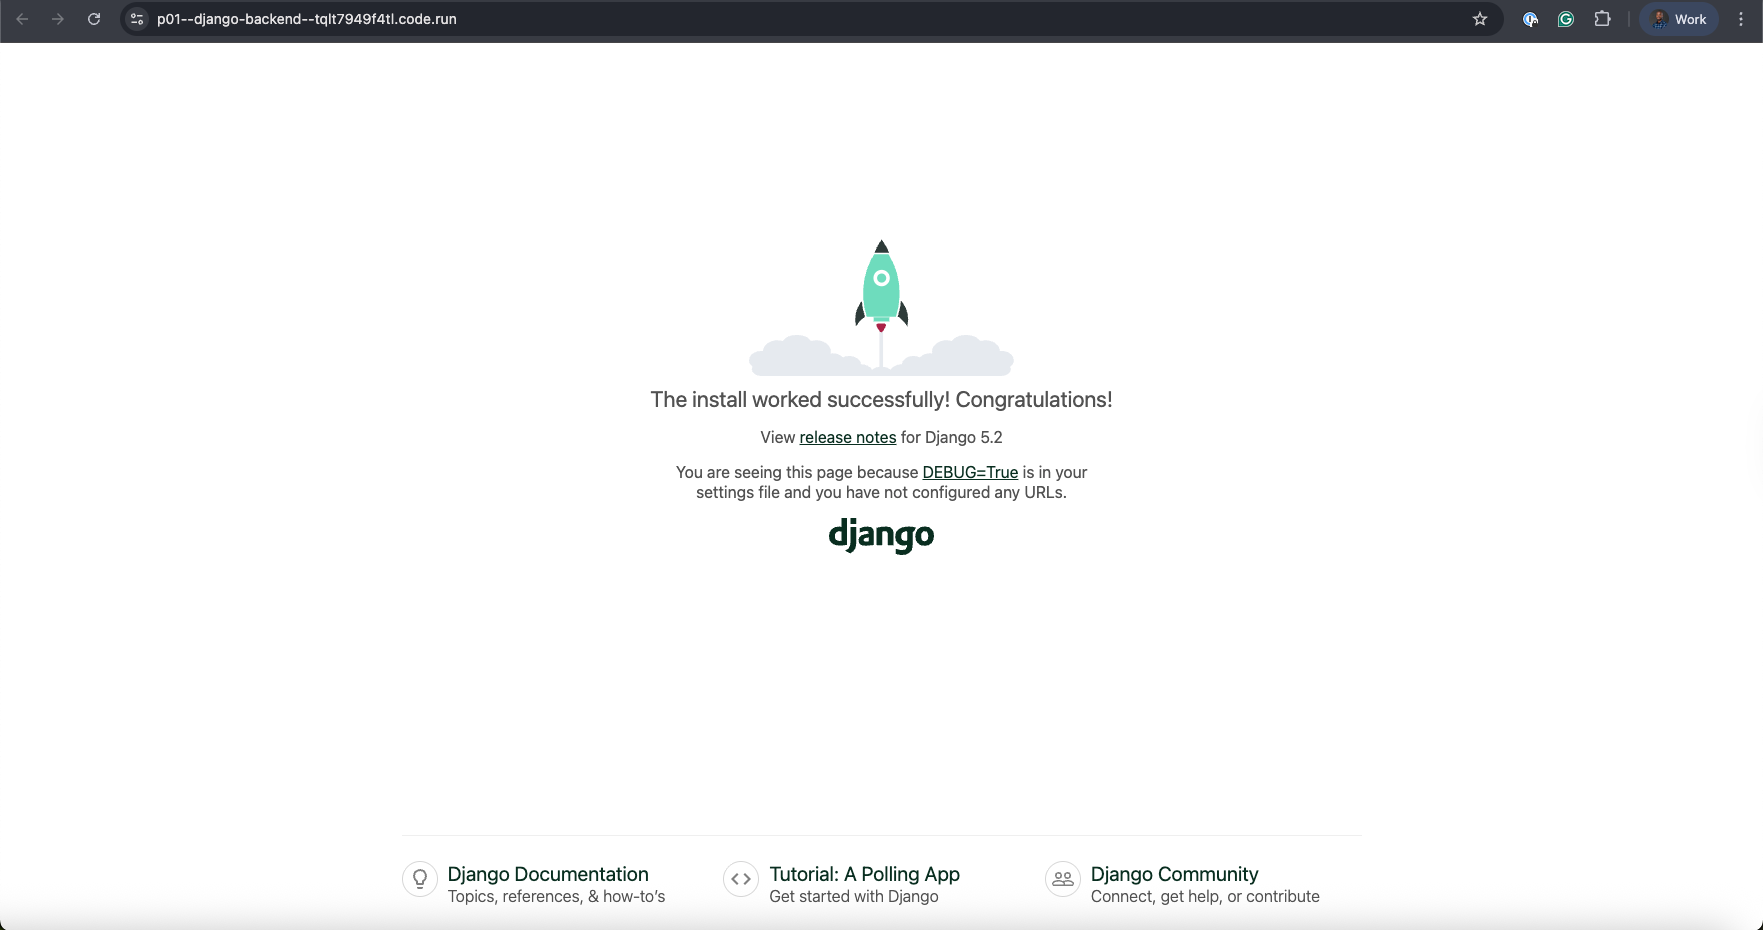
Once the build completes successfully, you'll see a public service URL in the dashboard (like "p01--django--tqlt.code.run"). Open it to confirm your Django app is live 🚀.
Your Django app is now deployed on Northflank! 🎉
From here, you can:
- Add managed databases like PostgreSQL or Redis via the Addons tab
- Use Secrets groups to manage environment variables securely
- Scale your service horizontally by increasing replicas from the service dashboard
- Configure a custom domain for production readiness
- Monitor your service with real-time logs, metrics, and alerts from the Northflank dashboard
Check the Northflank documentation for more advanced deployment workflows.