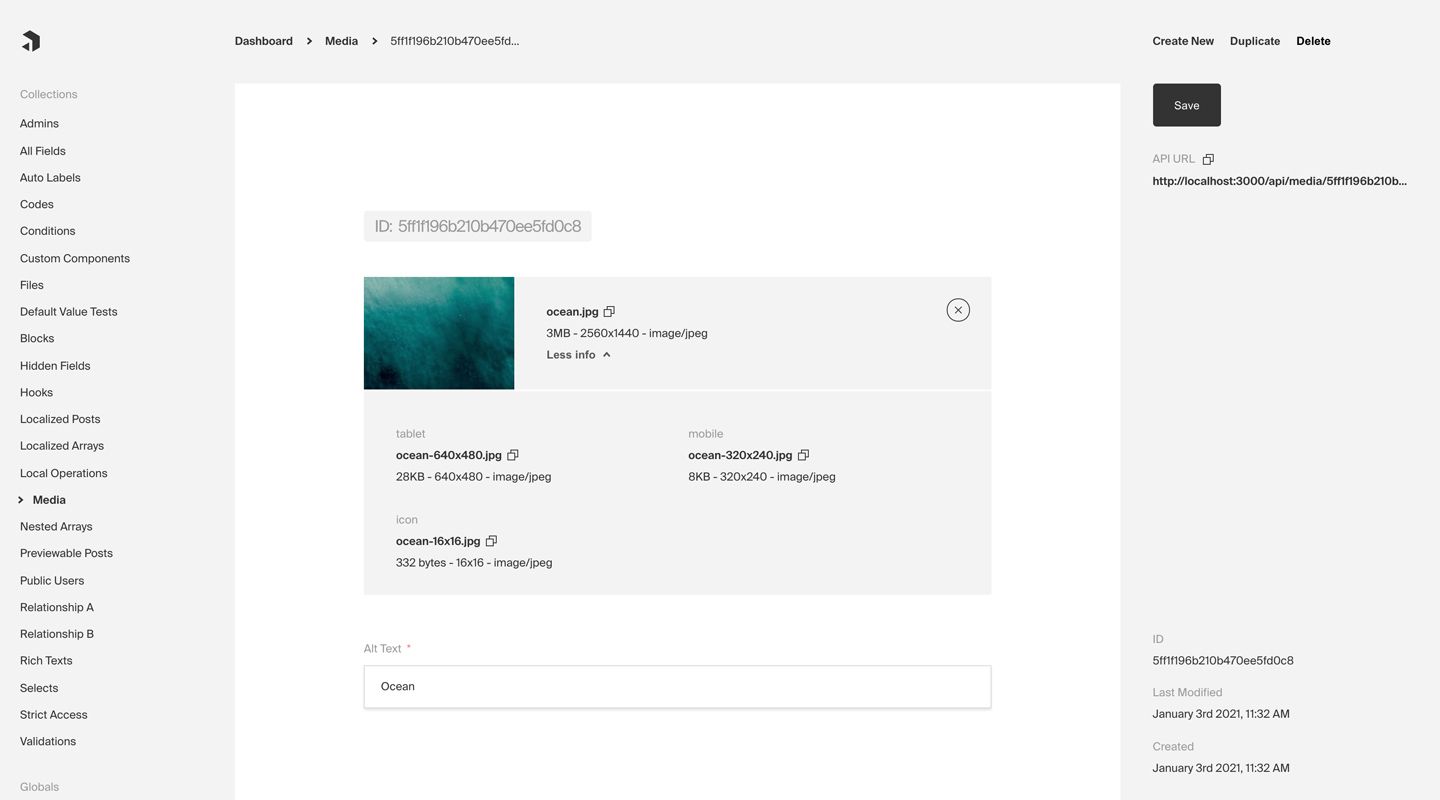
Payload CMS is a headless CMS and application framework built with TypeScript, Node.js, React and MongoDB.

In this guide, you will learn how to set up a new instance of Payload CMS with MongoDB on Northflank, and optionally also configure a persistent volume for file uploads.
-
Create a fresh installation of Payload CMS using
npx create-payload-appor following the manual installation documentation.-
During the installation, you can choose whether you want to use JavaScript or TypeScript.
-
You can keep the default MongoDB connection as we will change it later using environment variables.
-
You can use our random key generator (in secret groups) to generate a long and secure string to use as Payload’s encryption key.
-
-
Navigate to your config file (
payload.config.jsor/src/payload.config.ts) and update the below line:// ... serverURL: 'http://localhost:3000', // ...Replace
'http://localhost:3000'withprocess.env.PAYLOAD_PUBLIC_BASE_DNSto inherit the server URL from an environment variable. This will ensure your Payload instance works correctly when deployed to production.// ... serverURL: process.env.PAYLOAD_PUBLIC_BASE_DNS, // ... -
Open your
.envfile and add the following line to set the new environment variable:PAYLOAD_PUBLIC_BASE_DNS=http://localhost:3000 -
Add a new file called
Dockerfile(without extension) to the root of your project. Dockerfile will specify what commands are run when building and deploying your application and this will ensure a successful production deployment. Copy and paste the below code to your Dockerfile:FROM node:12-alpine AS builder ARG PAYLOAD_PUBLIC_BASE_DNS RUN mkdir -p /app WORKDIR /app COPY package.json . COPY yarn.lock . RUN yarn install COPY . . RUN yarn build EXPOSE 3000 CMD [ "yarn", "run", "serve" ] -
Commit all files (except
node_modulesand.env) and push to a new Git repository. -
Create a new combined service in a new project on Northflank and select your repository as the source. Under build options, select Dockerfile and verify your Dockerfile exists. Port 3000 will be detected automatically and exposed by default.
-
Create a new MongoDB database. For increased security, keep SSL enabled and External Access disabled. You can start with the smallest compute plan with 4 GB of storage and one replica.
-
Create a new secret group in your project and link the database. Then inherit the environment variable
mongoSrvas an aliasMONGODB_URI.
-
Inheriting environment variables ensures that the database connection details are automatically injected in the environment, avoiding the need to manually copy and paste them.
Add the following manual secrets:
Key Value PAYLOAD_PUBLIC_BASE_DNSThe unique service code.run deployment URL or a linked custom domain (prefixed with https://)PAYLOAD_SECRETYour secret string set during the installation NODE_ENVproduction
-
The secret group is set to type
Environment & Argumentsby default. This means the secrets will be available both during build and deployment.
-
-
Navigate back to the service and initiate a new build by clicking on the icon on the latest commit. Once the build is finished, a new deployment will start and your Payload CMS will be available shortly. You can navigate to the service URL followed by
/adminto get started.
Licensing and Uploads with Volumes
To use Payload CMS in production, you also need to add a licence key. Read more about how you can obtain one in the official Payload documentation.
Once you have your licence, you will need to adjust the server.js file and add the license key as an environment variable.
Northflank supports persistent volumes and can therefore be used to store your uploads. You just need to configure your upload folder under Volumes in the service sidebar.
/app/dist.
Northflank allows you to deploy your code and databases within minutes. Sign up for a Northflank account and create a free project to get started.
- Multiple read and write replicas
- Observe & monitor with real-time metrics & logs
- Low latency and high performance
- Backup, restore and fork databases
- Private and optional public load balancing as well as Northflank local proxy


