Flask is a Python micro framework for building web applications. It’s simple to get started with, but powerful enough to scale into complex projects.
In this guide, you’ll learn how to set up a basic Flask app, prepare it with Gunicorn and Docker, and deploy Flask app to Northflank, a platform that makes it easy to build, run, and scale containerized applications.
To follow along, you’ll need:
- Basic knowledge of Python
- Python 3 or later installed on your machine. You can download it here.
- A Northflank account
- Setting up a basic Flask project
- Preparing the project for containerization
- Deploying with Northflank
- From a template
- From a Git repository
💡 If you already have a Flask app locally or on GitHub, skip to the next section.
Create a new project directory and navigate into it:
$ mkdir flaskapp
$ cd flaskapp
Set up a virtual environment and activate it:
$ python3 -m venv env
$ source env/bin/activate   # macOS/Linux
$ env\Scripts\activate      # Windows
Install Flask:
(env)$ pip install flaskCreate a new file called app.py inside flaskapp and add the following code:
from flask import Flask

app = Flask(__name__)

@app.route('/')
def hello():
    return 'Hello World from Northflank!'
Let’s break down the above code:
1. from flask import Flask:
This line imports the Flask class from the Flask framework, which is used to create and manage a web application.
2. app = Flask(name):
This line creates an instance of the Flask class and assigns it to the app variable.
The __name__ argument helps Flask identify the location of the application. It is useful for determining resource paths and error reporting.
3. @app.route('/'):
The @app.route('/') decorator sets up a URL route for the application. When the root URL / is accessed, Flask will execute the function immediately below this decorator.
4. def hello():
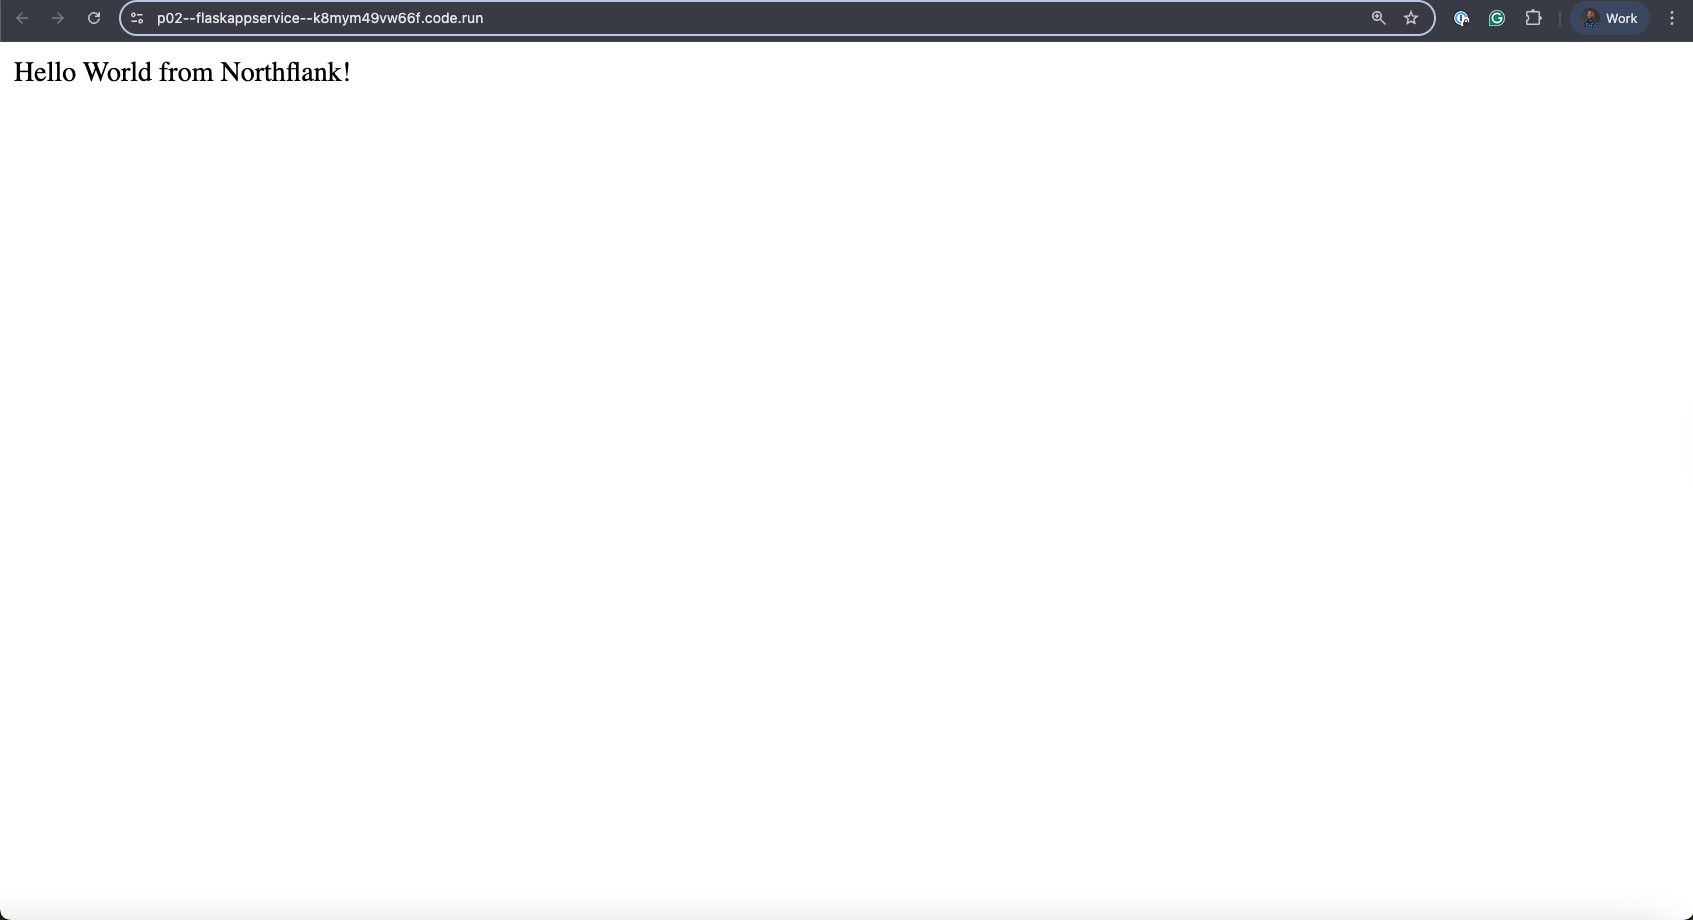
The hello function defines what happens when the root URL is accessed. It returns the plain text message Hello World from Northflank!, which is displayed in the browser.
Run the app locally with the command below before we deploy the Flask app to Northflank.
(env)$ flask --app app runIf successful, you’ll see output like this:
* Running on <http://127.0.0.1:5000>Open your browser at http://127.0.0.1:5000 to check it works.
Gunicorn is a lightweight WSGI server commonly used in production. Northflank will use it to run your app.
Run the following command in your project directory:
(env)$ pip install gunicornYou can test it locally with the command below before we deploy the Flask app to Northflank.
(env)$ gunicorn app:appNow your app should be available at http://127.0.0.1:8000.
Freeze your project dependencies so Northflank can install them during the build:
(env)$ pip freeze > requirements.txtNorthflank builds your container image using a Dockerfile. Create a new file named Dockerfile in your project root directory, add the following code:
FROM python:3.11

# Run in unbuffered mode
ENV PYTHONUNBUFFERED=1

# Create and switch to app directory
WORKDIR /app

# Copy local files into the container
COPY . ./

# Install dependencies
RUN pip install --no-cache-dir -r requirements.txt

# Start the app with Gunicorn
CMD ["gunicorn", "--bind", "0.0.0.0:8000", "app:app"]
At this point, your app is container-ready.
There are two approaches to deploying a Flask application on Northflank:
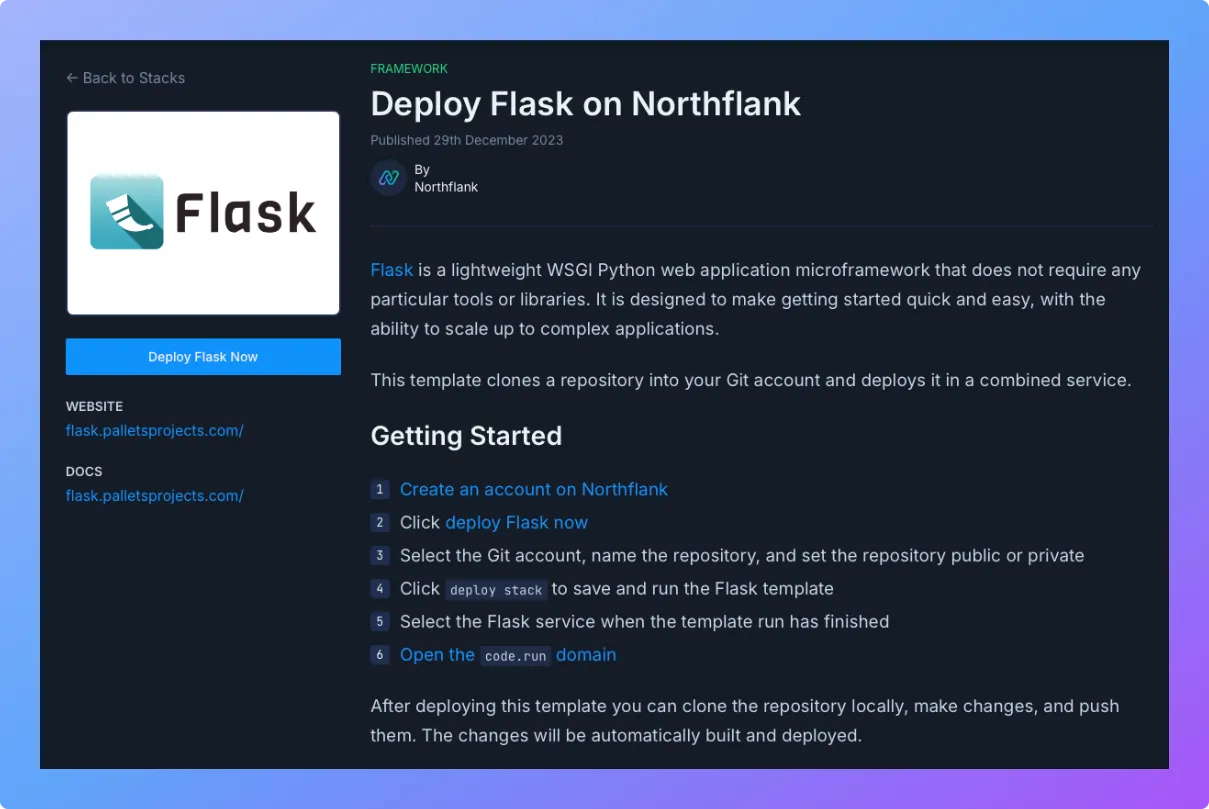
- Visit the Flask template on Northflank.
- Click Deploy.
- Northflank will:
- Automatically create a project and service
- Build your container from the template
- Deploy and run the app
- Add the starter code directly to your connected git repository
- Once it’s live, you’ll get a public URL where your Flask app is accessible.
If you’ve already created your Flask project and pushed it to GitHub, GitLab, or Bitbucket, follow these steps:
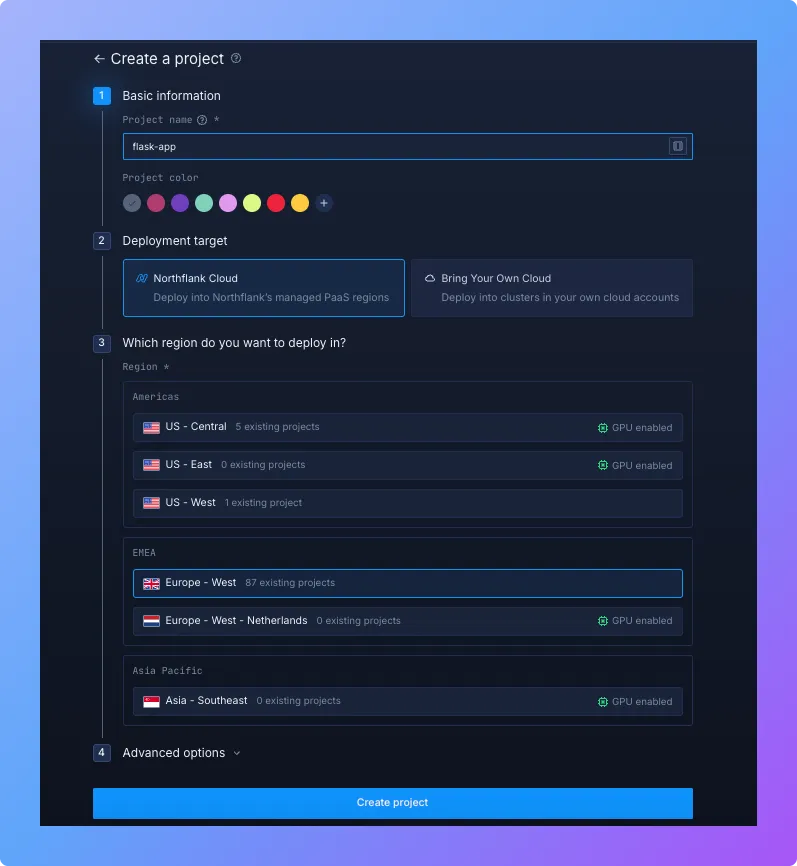
1. Create a Northflank project
- Log in to your Northflank dashboard.
- Go to Projects → ”Create Project”.
- Enter a project name (e.g.
flask-app). - Choose where you'd like to deploy - either on Northflank cloud or on your own cloud.
- Select your preferred region.
- Click ”Create Project”.
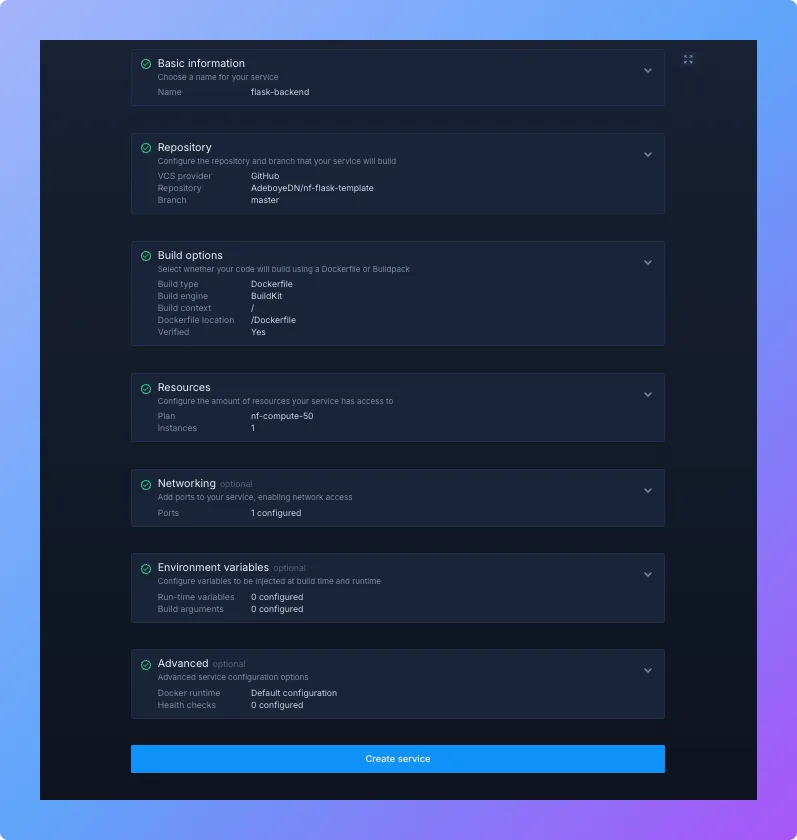
2. Create and configure a service
Now you'll create a service, which is a container that will host and run your Flask application. This is where your code will actually execute.
- Inside your project, navigate to the Services tab in the top menu and click the “Create Service” button.
- Select the “Combined” service option that builds & deploys a git repo
- Enter a service name (e.g.
flask-backend). - Select your Git provider and connect to the repository containing your Flask project.
- Under Build options, select Dockerfile and specify the location (e.g.
/Dockerfileif it's in the root directory). - Under Networking, add a port configuration:
- Port:
8000(Gunicorn default) - Protocol:
HTTP - Public: enabled
- Port:
- Review your settings and click “Create Service”.
Northflank will then:
- Clone your Git repository
- Build the Docker image
- Install dependencies from
requirements.txt - Run your app with Gunicorn inside a container
After the build completes successfully, you'll see a public service URL in the dashboard's top right corner. Click this link to verify your Flask app is live and running properly 🚀.
Your Flask app is now deployed on Northflank! 🎉
From here, you can:
- Add managed databases like PostgreSQL or Redis via the Addons tab
- Use Secrets groups to securely manage environment variables
- Scale your service horizontally by increasing replicas from the service dashboard
- Configure a custom domain for production readiness
- Monitor your service with real-time logs, metrics, and alerts from the Northflank dashboard
Check the Northflank documentation for more advanced deployment workflows.
1. Can I deploy Flask app without using Docker on Northflank?
Yes. Northflank supports Heroku buildpack, so you can deploy a Flask project without writing a Dockerfile. Docker is still recommended if you want more control over dependencies, Gunicorn setup, or custom configurations.
2. Why should I use Gunicorn instead of the Flask development server?
The Flask built-in server is designed for testing and development only. Gunicorn is a production-grade WSGI server that can handle multiple requests at once, making your Flask application more reliable and scalable in production environments.
3. Do I need a database to deploy Flask app on Northflank?
Not always. You can deploy a simple Flask app without a database. If your application requires persistent storage or advanced features, Northflank makes it easy to add managed databases, such as PostgreSQL or Redis.
4. How can I scale Flask application on Northflank?
Scaling is done directly from the Northflank dashboard. You can increase replicas to run multiple containers of your Flask app, and monitor performance with built-in metrics and logs. This allows you to handle more traffic without needing to modify your code.
5. Can I connect a custom domain to my deployed Flask app on Northflank?
Yes. After deploying your Flask app, you can configure a custom domain through the Northflank dashboard. This is useful when you are preparing your project for production and want to serve it from your own branded URL.