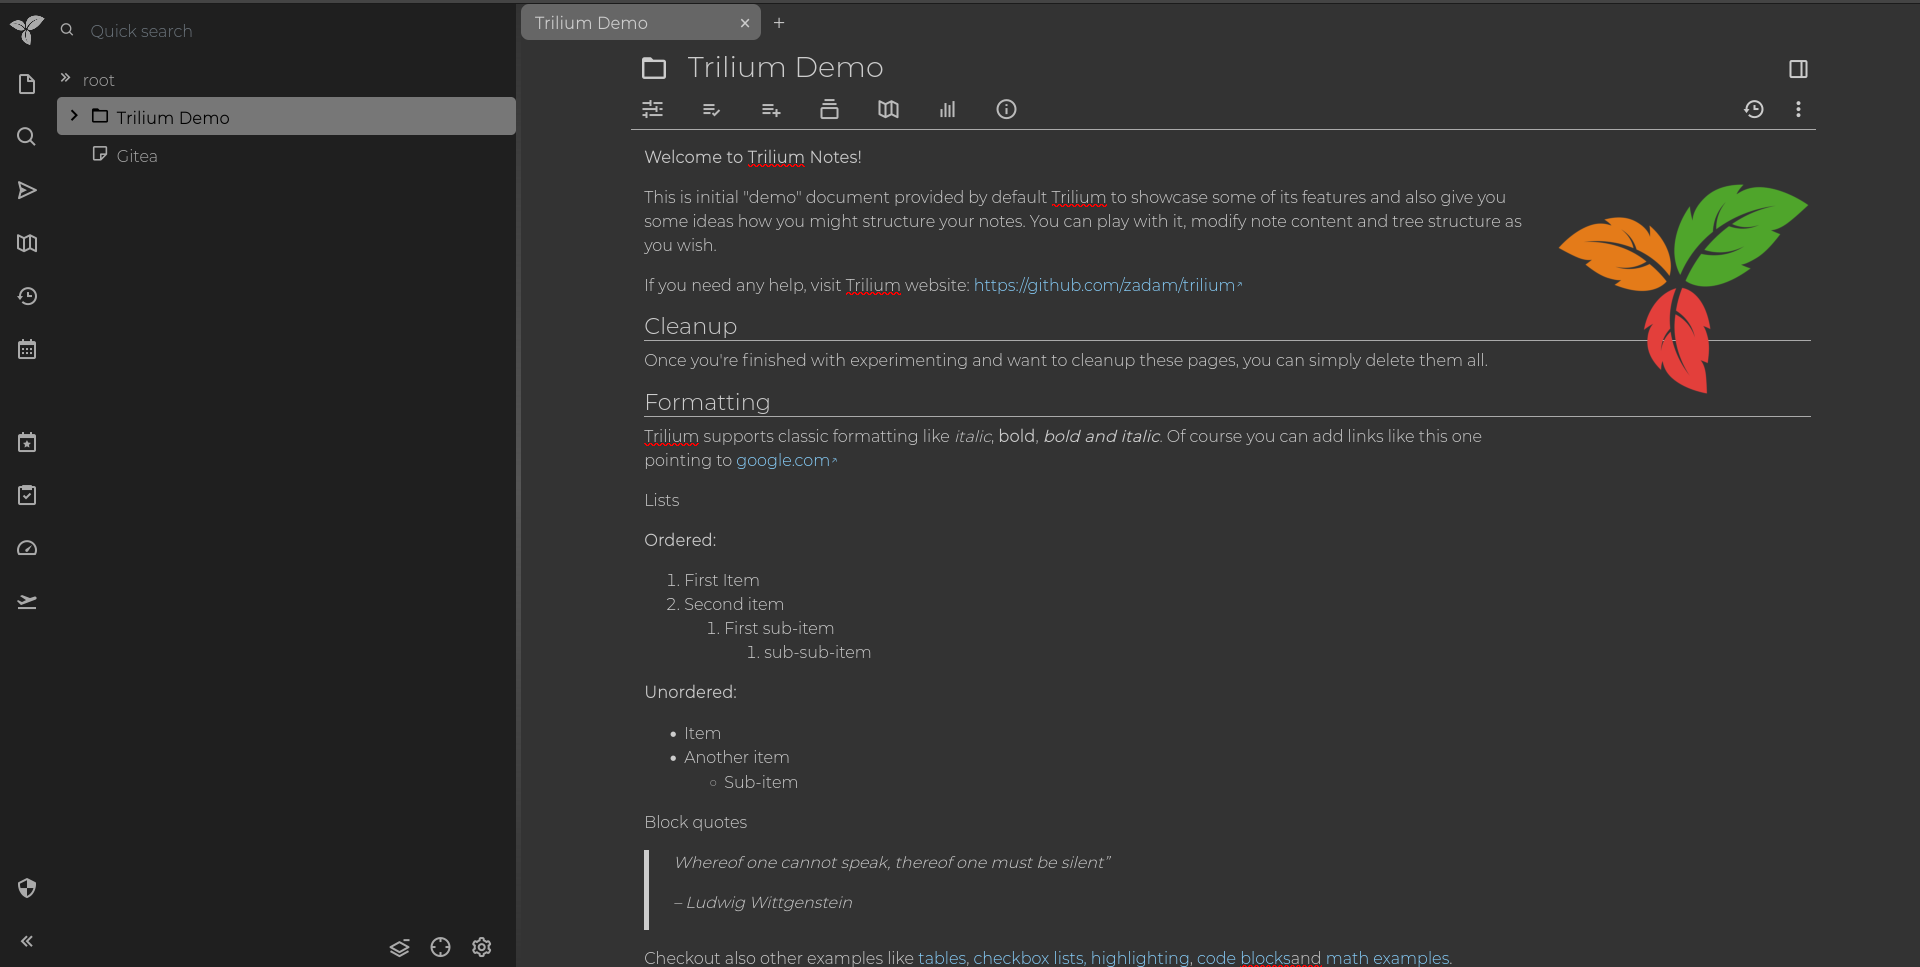
Trilium Notes is a hierarchical note taking application with focus on building large personal knowledge bases. It can be run as a web application so you can edit and access your notes online.
This guide will show you how to easily deploy Trillium Notes on Northflank using their Docker image and a volume to store notes across restarts.
Create a new deployment service and give it a name. Select external image as the deployment source and enter zadam/trilium:latest as the image path.

Create a runtime variable with TRILIUM_DATA_DIR as the key, and /home/node/trilium-data as the value.

Check the automatically detected networking settings. Your service should have a HTTP port on 8080 and “publicly expose this port to the internet” should be selected.

Under advanced, add a new volume with the container mount path /home/node/trilium-data

Create the service and wait for the Trilium Notes instance to start up. You can then open the web interface by clicking on the link in the top right corner of your service.
On the initial setup page you will be asked if you want to sync with an existing desktop or server instance, or create a new Trilium document. If you don’t have an existing instance, select 'I’m a new user' and click next to create a password, otherwise follow the instructions for the other options to sync your current Trilium instance.

Once you have set a password, you will be able to log in and start creating notes!
If you encounter any issues while following this guide we're happy to assist you with your Trilium deployment at support@northflank.com. At Northflank we also have dedicated support plans for business customers.
Northflank allows you to deploy your code and databases within minutes. Sign up for a Northflank account and create a free project to get started.
- Connect with your preferred VCS: GitHub, GitLab or Bitbucket
- Deployment of Docker containers
- Scale vertically and horizontally with multiple replicas per service
- Observe & monitor with real-time metrics & logs
- Low latency and high performance
- Multiple read and write replicas
