
Deploy Kong Gateway on Northflank to proxy microservices
Kong gateway is a scalable, open source API Platform (also known as an API Gateway or API Middleware). By deploying it in front of your microservices, you can set up dynamic routing, load-balancing, middlewares and more.
In this guide, you will learn how to use Kong gateway to route 2 Northflank services on a single domain.
By default, Northflank operates everything you would normally need to deploy your infrastructure. Load-balancing, routing, TLS, DNS, basic HTTP & IP based authentication, service mesh, and so on. But sometimes you may still need more control – and using a service like Kong gateway allows you to configure and deliver your own HTTP gateway.
For the sake of this guide, we will deploy 2 services: web and api. These services do nothing more than run a basic HTTP server and respond with a message when we GET /, using the strm/helloworld-http Docker image.
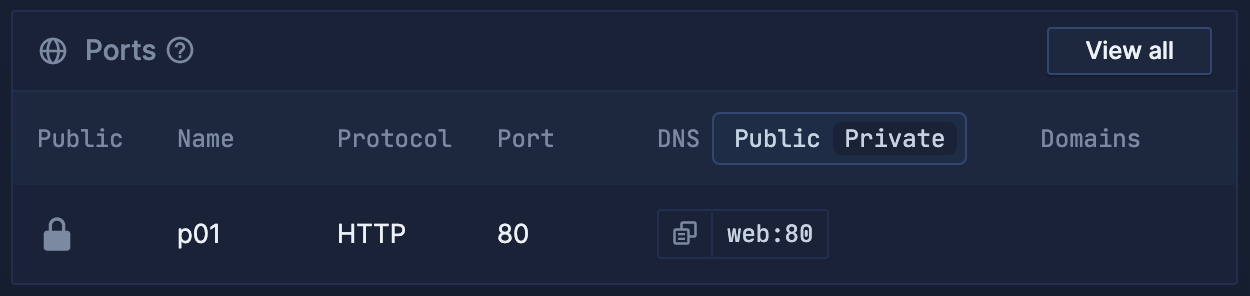
When creating your microservices, make sure that public networking is disabled on your ports.

We can imagine these to be our applications front-end and API services. If we want to route traffic to both of these services on the same domain, we can use Kong gateway to set up routing as follows:
example.com/api/* -> API serviceexample.com/* -> web service
In this case, any traffic to /api/* will be routed to our API service, and any other traffic will be routed to our web service.
The next thing we need to do is create our Kong gateway service. Create a new service, select deployment, and enter kong/kong-gateway:2.8 as the image path.
Port 8000 will be detected automatically and added to your ports configuration. Leave this port public. Any other ports detected can be removed, they will not be relevant for this guide.
In the environment variables section, add the following variables:
| Key | Value |
|---|---|
KONG_DATABASE | off |
KONG_DECLARATIVE_CONFIG | /var/lib/kong/kong.yml |

Create the service. It will not do anything yet, next we need to configure it.
Navigate to your newly created Kong service, click 'Environment', and add a 'secret file'. Secret files are files that will be injected into your services when they run.
In the path field, enter /var/lib/kong/kong.yml. This is the path where the file will be available inside your running containers.

Now, we need to enter our configuration.
kong.yml
_format_version: "1.1"

services:
  - name: api
    url: http://api:80
    routes:
      - name: api
        strip_path: true
        paths:
          - /api
  - name: web
    url: http://web:80
    routes:
      - name: web
        strip_path: false
        paths:
          - /
This configuration defines our Kong services. The names of these services do not necessarily have to match the names of our Northflank services, but it may help to keep them related. Each service has a URL property, which must be set to the private networking address of the corresponding Northflank service, which can be found on the Northflank dashboard.
Each service also defines routes. In this instance, our API service will be matched for routes that start with /api, and anything else will be routed to the web service. In the API route we also include strip_path: true, which serves to remove the /api part of the pathname before requests reach your API service. This means you do not need to include /api in your routes when designing and building your actual API service.
With everything configured, you are good to go! Navigate to the public endpoint on your Kong service and try hitting / and /api – you should get a different response from each.

Northflank allows you to deploy your code and databases within minutes. Sign up for a Northflank account and create a free project to get started.
- Deployment of Docker containers
- Create your own stateful workloads
- Persistent volumes
- Observe & monitor with real-time metrics & logs
- Low latency and high performance
- Multiple read and write replicas
- Backup, restore and fork databases