
Papertrail bundles a live tail log viewer with easy to create log groups. This guide will show you how to integrate your Papertrail account with Northflank.
You need to configure your Papertrail to receive logs from Northflank. All log events are sent to a log destination, which you can create in the Papertrail UI. Follow this link or find it through the settings dropdown.
We recommend you use a port destination for a better log viewing experience.

Make sure you allow all logs from unrecognised senders for now. You can tweak this later once you start receiving logs.

Follow this link or navigate to the log sinks page in your team or user account settings and add a log sink.
Enter a recognisable name for the sink and select Papertrail as the sink type.
Select the appropriate authentication strategy based on your Papertrail log destination type. We recommend leaving the encoding on text for the best log viewing experience in Papertrail.

By default, all logs from your account will be forwarded to Axiom. To target specific projects, open advanced options and specify which projects to forward logs from.
You can also enable custom label parsing if your application is configured to send additional keys in JSON-formatted log lines.
Now add the log sink, and your logs should start arriving in Papertrail!
Before your log sink is created, Northflank will send a log line to your sink to verify the credentials are correct. This appears as a log line consisting of validating log sink credentials.
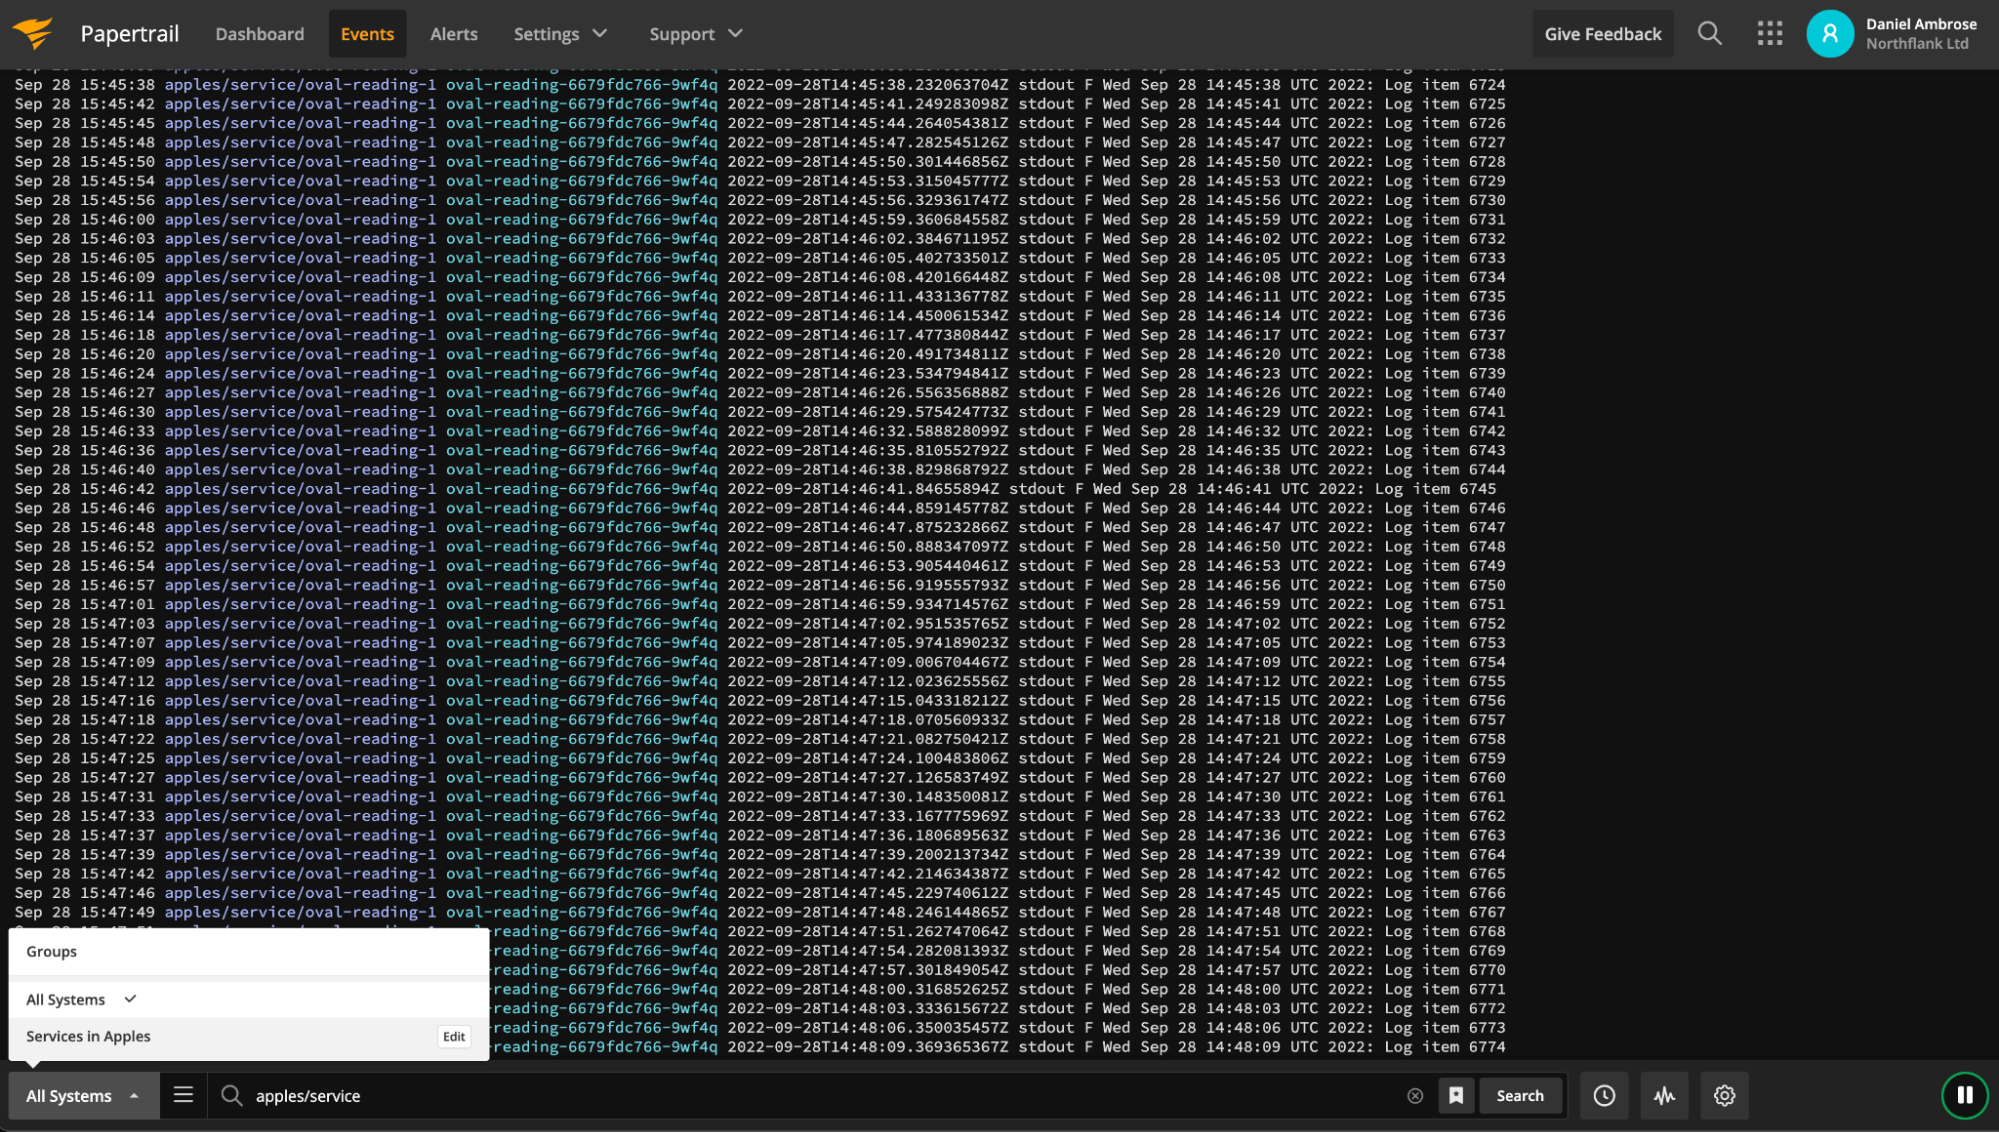
In Papertrail click on the Events viewer at the top of the UI. If you’re using a port destination, logs should have the clickable labels for each event.

Papertrail lets you create groups which filter logs by system.
Northflank sends logs to a port destination with labels that use the format project-name/type/object-name pod

If you want to display all logs from services within your project, you can create a group by going to your Papertrail dashboard, then select create group in the top right.
Your query would be <project-name>/service*
Back in the event viewer on the bottom left, you can select your new group.
If you want to modify your sink after creation, navigate to the log sink list and click on the sink to view its details.
You can update the project targets and sink data as well as pause/resume the sink.
Have questions or feedback? You can always reach out to our team.
