
Deno is a secure server-side JavaScript runtime, similar to Node.js. Like Node.js, Deno 🦕 uses the V8 JavaScript engine under the hood but the rest of runtime is implemented in Rust and Typescript. Fun fact: Deno is an anagram of Node 🔄. Both Node.js and Deno were created by Ryan Dahl, who said:
“With Deno we are trying to remove a lot of the complexity inherent in transpiling TypeScript code down to JavaScript with the hope this will enable more people to utilize it.”
If you’re interested in knowing more about Ryan Dahl and his projects, you’ll find this article interesting.
Depending on your development preferences you will choose to deploy your code either using a Dockerfile 🐳 or Buildpack 📦. We will describe both methods and guide you through the process of deploying Deno on Northflank with each of them. If you are still unsure whether to use Dockerfile or Buildpack, we found Doximity's Buildpacks vs Dockerfiles article comparing them very valuable.
Let’s get to it!
We created a repository based on the Getting Started example from the official Deno site and added some extra files that are needed to be able to deploy on Northflank:
- For deployment using Dockerfile:
Dockerfile. - For deployment using Buildpack:
Procfile.
The repo can be found here and it has the following structure:
deno-on-northflank/
├─ Dockerfile		(needed for Dockerfile deployment)
├─ Procfile		    (needed for Buildpack deployment)
├─ app.ts
└─ deps.ts (dependency management)- Open the repository containing the Deno project. Click on
Use this templateto create a copy of this repository under your GitHub account.

- Connect your GitHub account to your Northflank account. You can find details on how to do so in our documentation.

-
In your project, create a combined service:
-
Under
Repository, you will see a list of your repositories from which you can choose the Deno repo we just created. -
Select the branch
main. -
Select
Dockerfileas the build option and clickVerify.
-

-
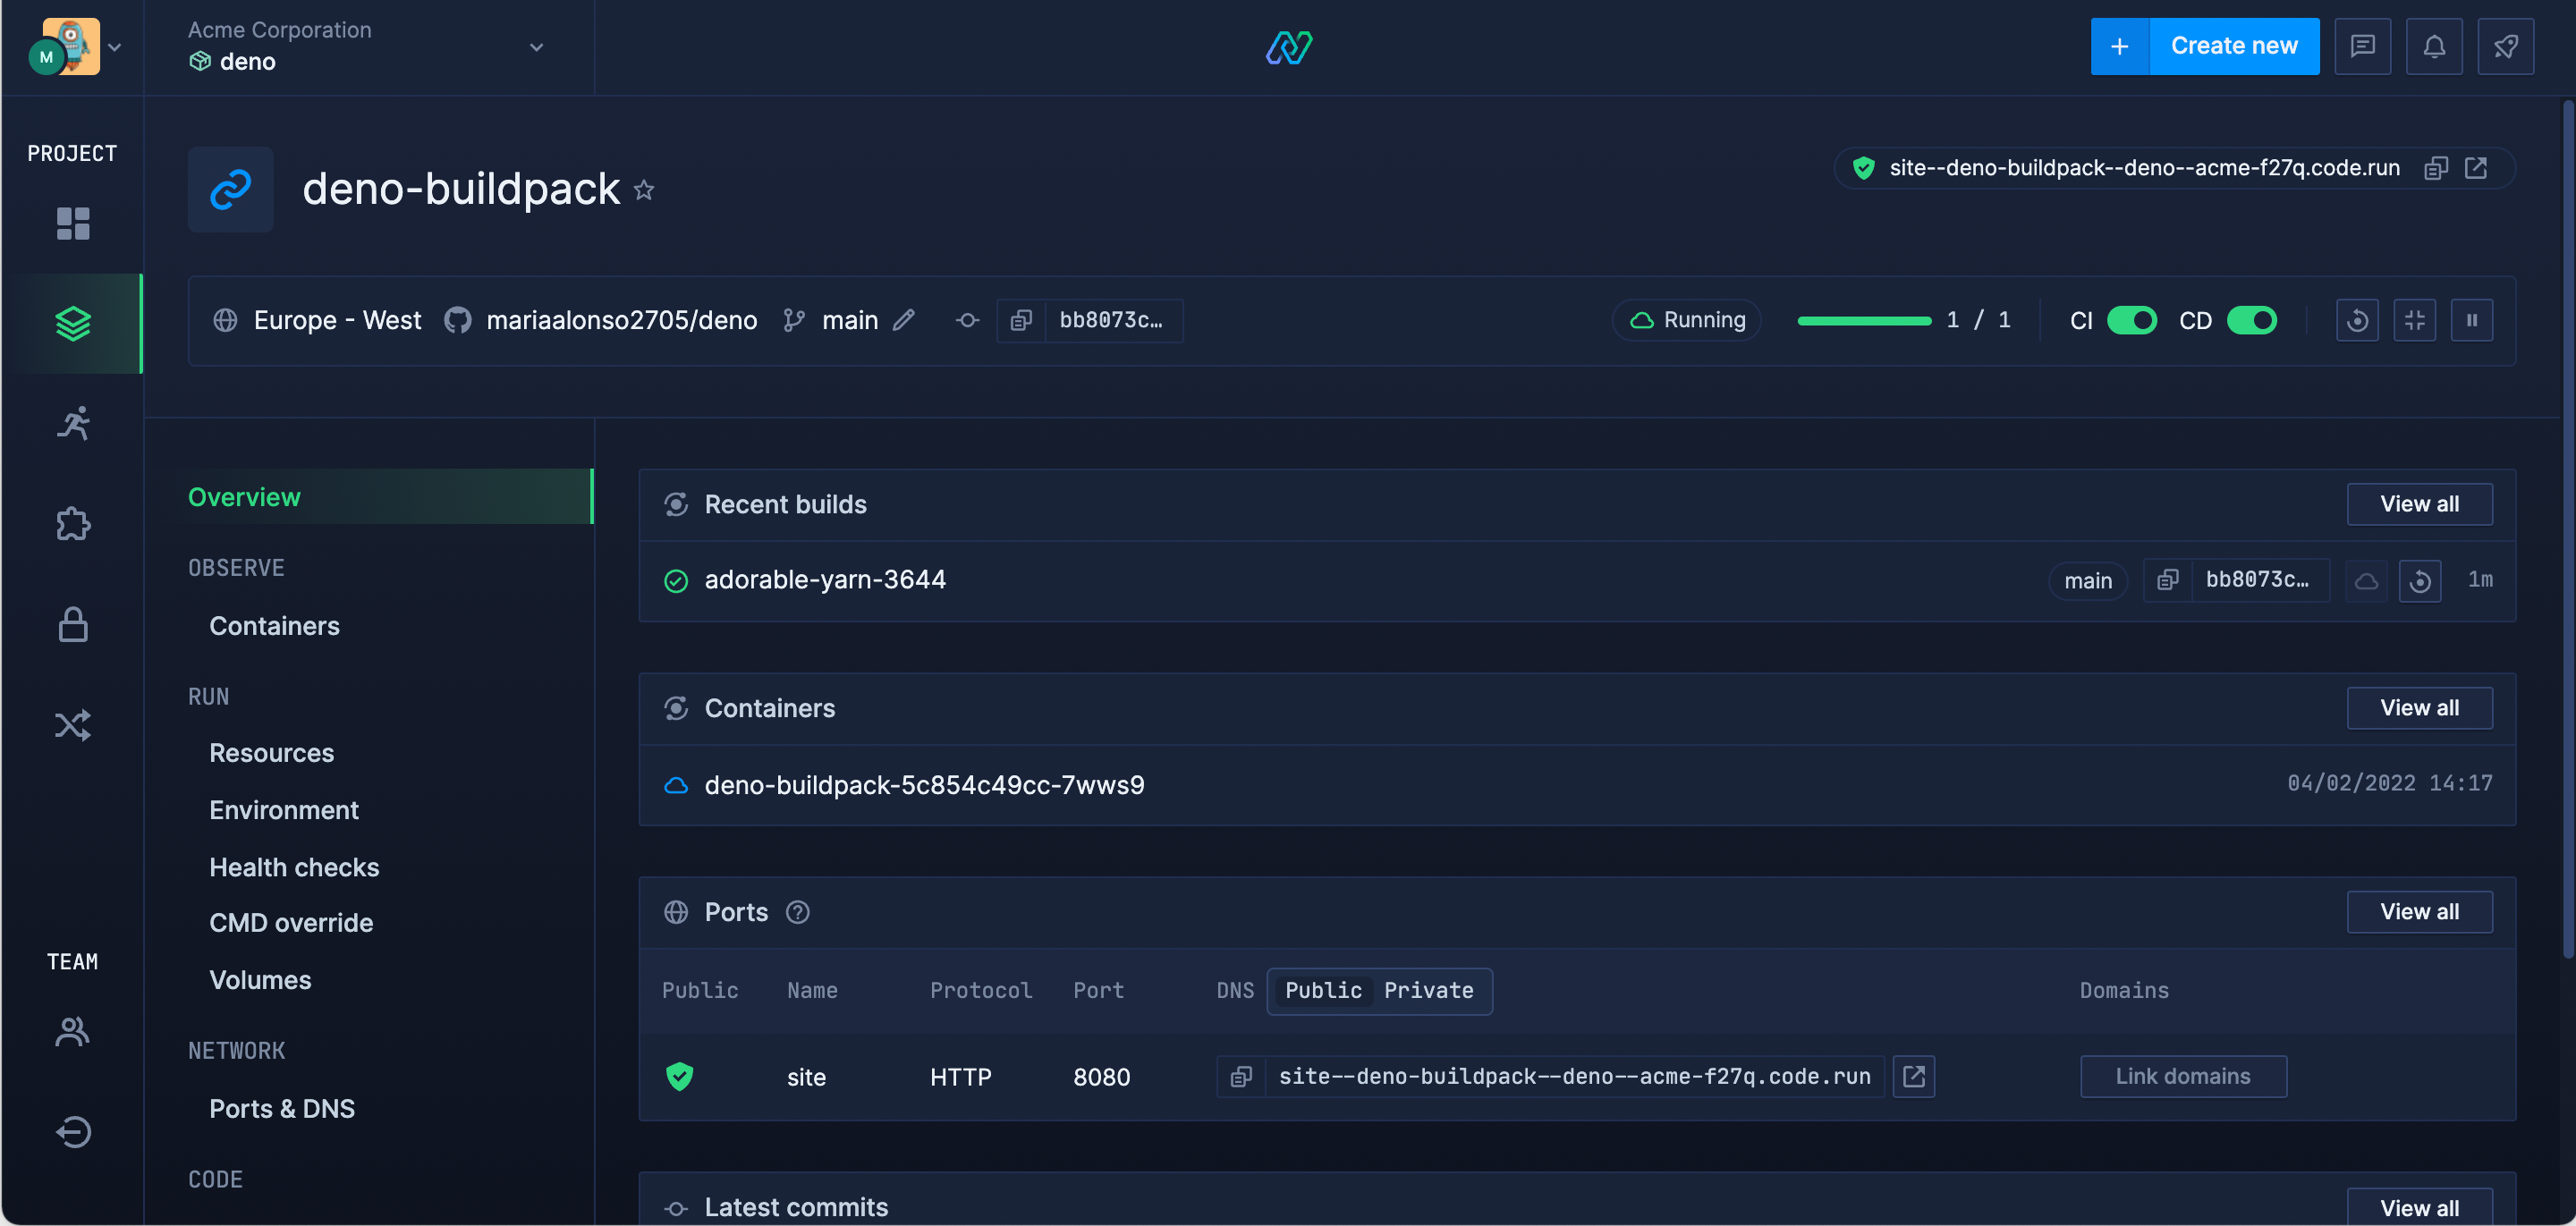
A combined service handles the build and deployment of your code.
-
Port 8080 will automatically be exposed with the HTTP protocol.
- Access the deployment via the unique
code.runservice URL or finish up by linking a custom domain. You will seeHello World! This is Deno running on Northflank.and your Deno app is ready to be built further! ✨🦕🚀✨

- Open the repository containing the Deno project. Click on
Use this templateto create a copy of this repository under your GitHub account.
-
Connect your GitHub account to your Northflank account. You can find details on how to do so in our documentation.
-
In your project, create a combined service:

-
Under
Repository, you will see a list of your repositories from which you can choose the Deno repo we just created. -
Select the branch
main. -
Select
Buildpackas the build option. -
Under Advanced build settings in Custom Buildpacks click
Add Buildpackand paste the following url:https://github.com/chibat/heroku-buildpack-deno.git.

-
A combined service handles the build and deployment of your code.
-
Port 8080 will automatically be exposed with the HTTP protocol.
- Access the deployment via the unique
code.runservice URL or finish up by linking a custom domain. A page withHello World! This is Deno running on Northflank.will be displayed and your Deno project is ready for you to edit theapp.tsanddeps.tsand build great things! ✨🦕🚀✨
Northflank allows you to deploy your code and databases within minutes. Sign up for a Northflank account and create a free project to get started.
- Connect with your preferred VCS: GitHub, GitLab or Bitbucket
- Manage build arguments and environment variables using secret groups
- Scale vertically and horizontally with multiple replicas per service
- Observe & monitor with real-time metrics & logs
- Create pipelines and release workflow as you grow