Northflank integrates with GitHub, GitLab, Bitbucket, Azure DevOps, and Cursor Origin to build and deploy code from your repositories.
You will be prompted to link a Git account when you create a team, or if your team no longer has access to any Git provider.
You can also connect self-hosted GitLab, GitHub Enterprise Server, Gitea, and Forgejo. You can link multiple Git accounts to your team.
You can manage Git integrations from your team dashboard.
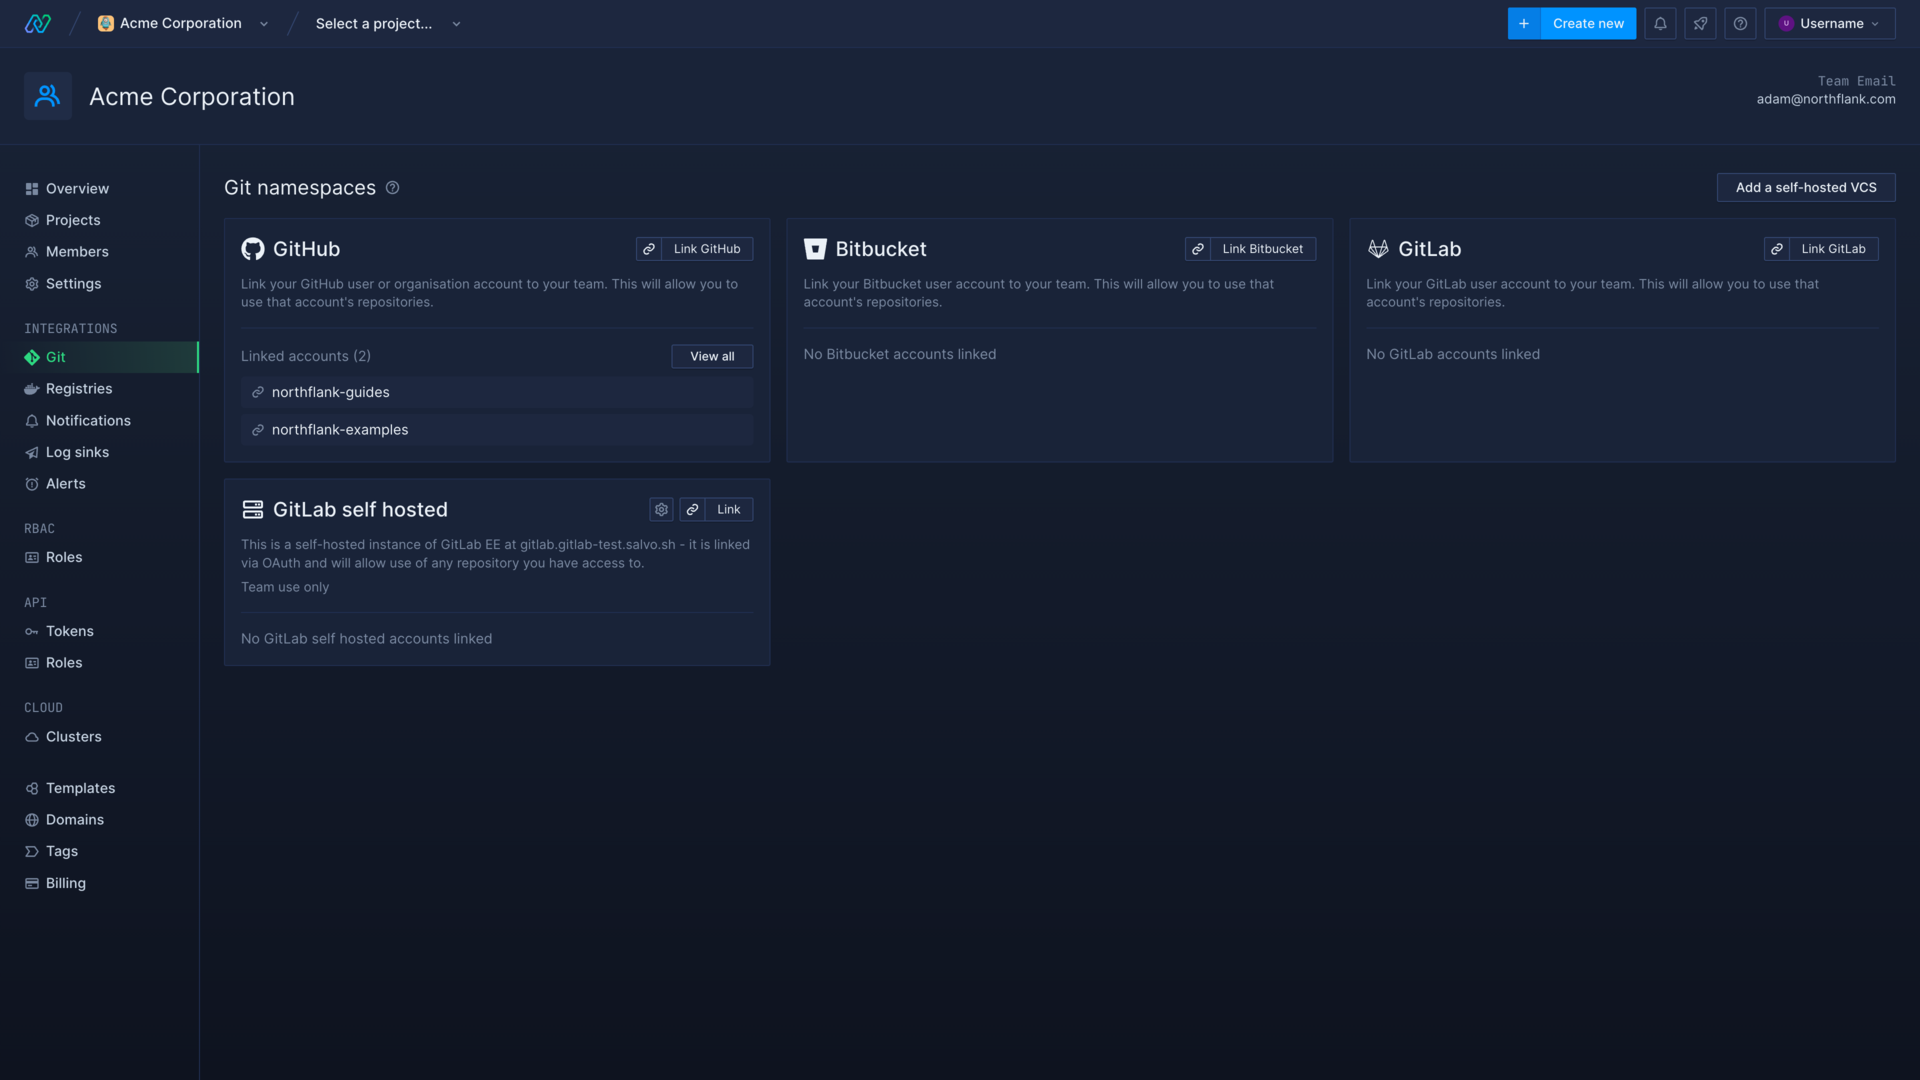
Link your GitHub account
GitHub integrates with Northflank through the GitHub app ecosystem.
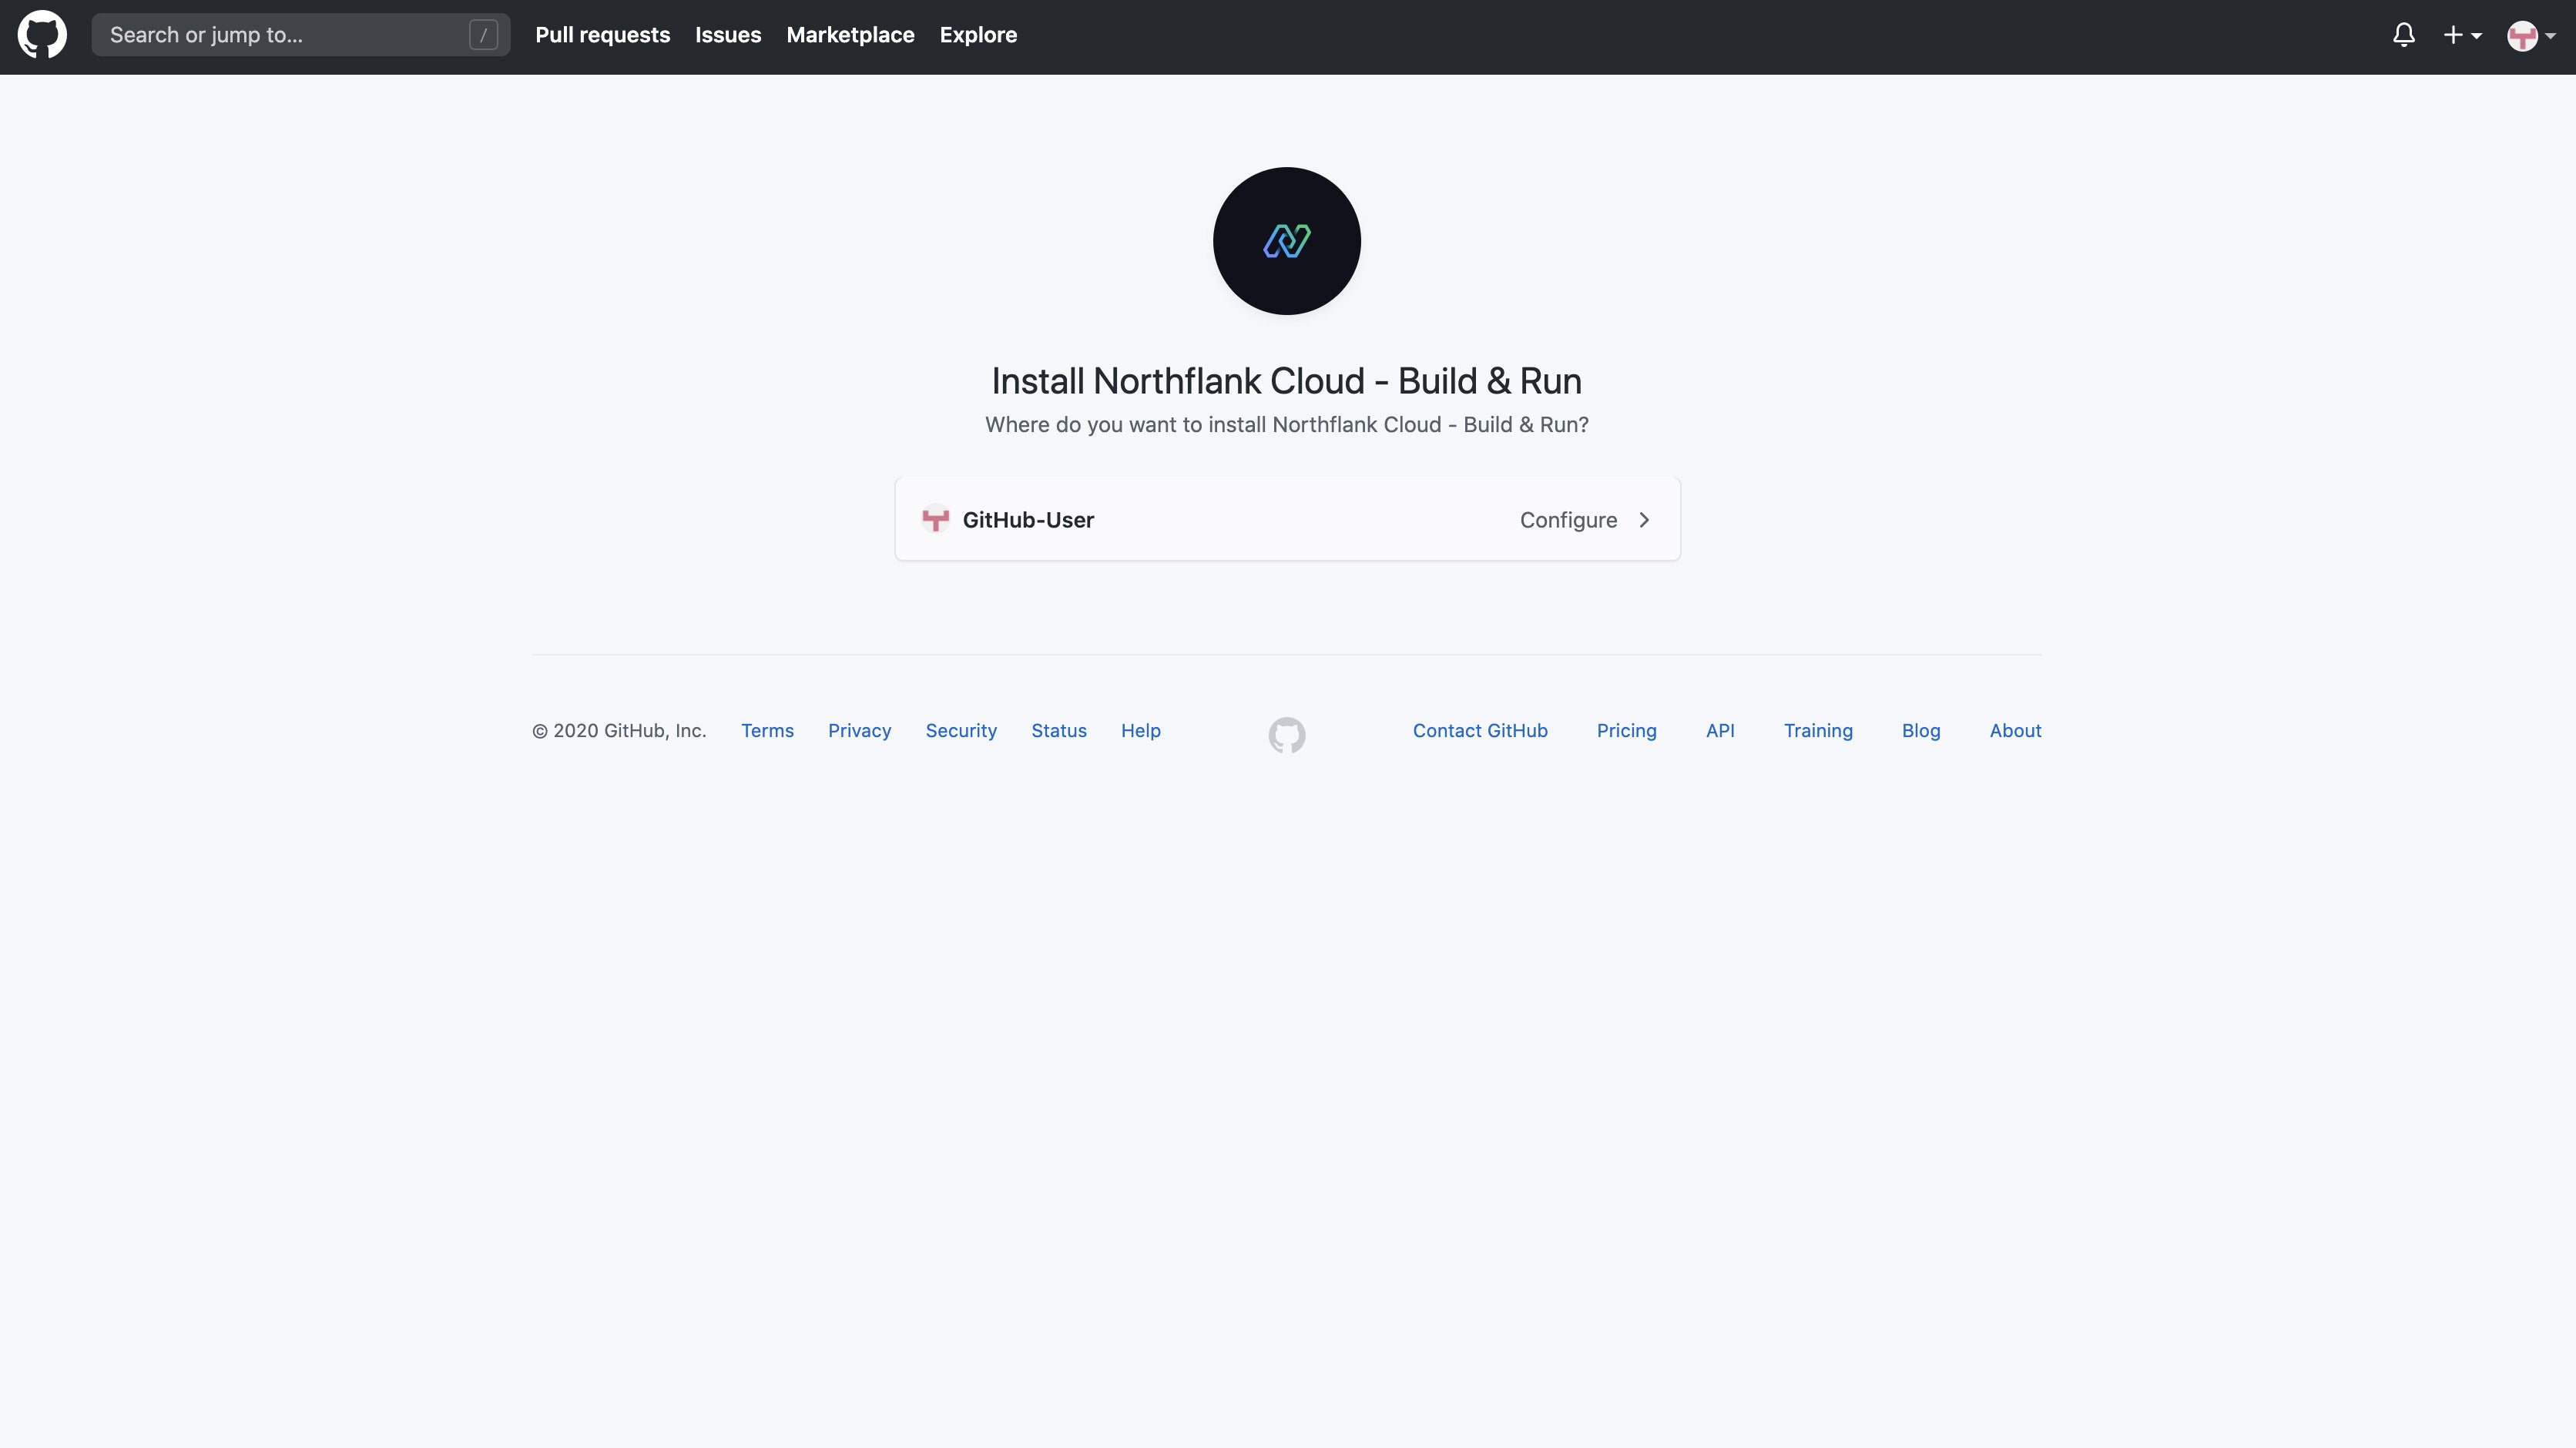
When you connect your GitHub account you will be redirected to GitHub's login and application installation page.
Link your GitHub account
- Navigate to the Git integration page in your Northflank team
- Click Link GitHub
- Select the team or organisation you want to link
- Choose the repositories that you wish to build and deploy on Northflank, or grant access to all the repositories on the account
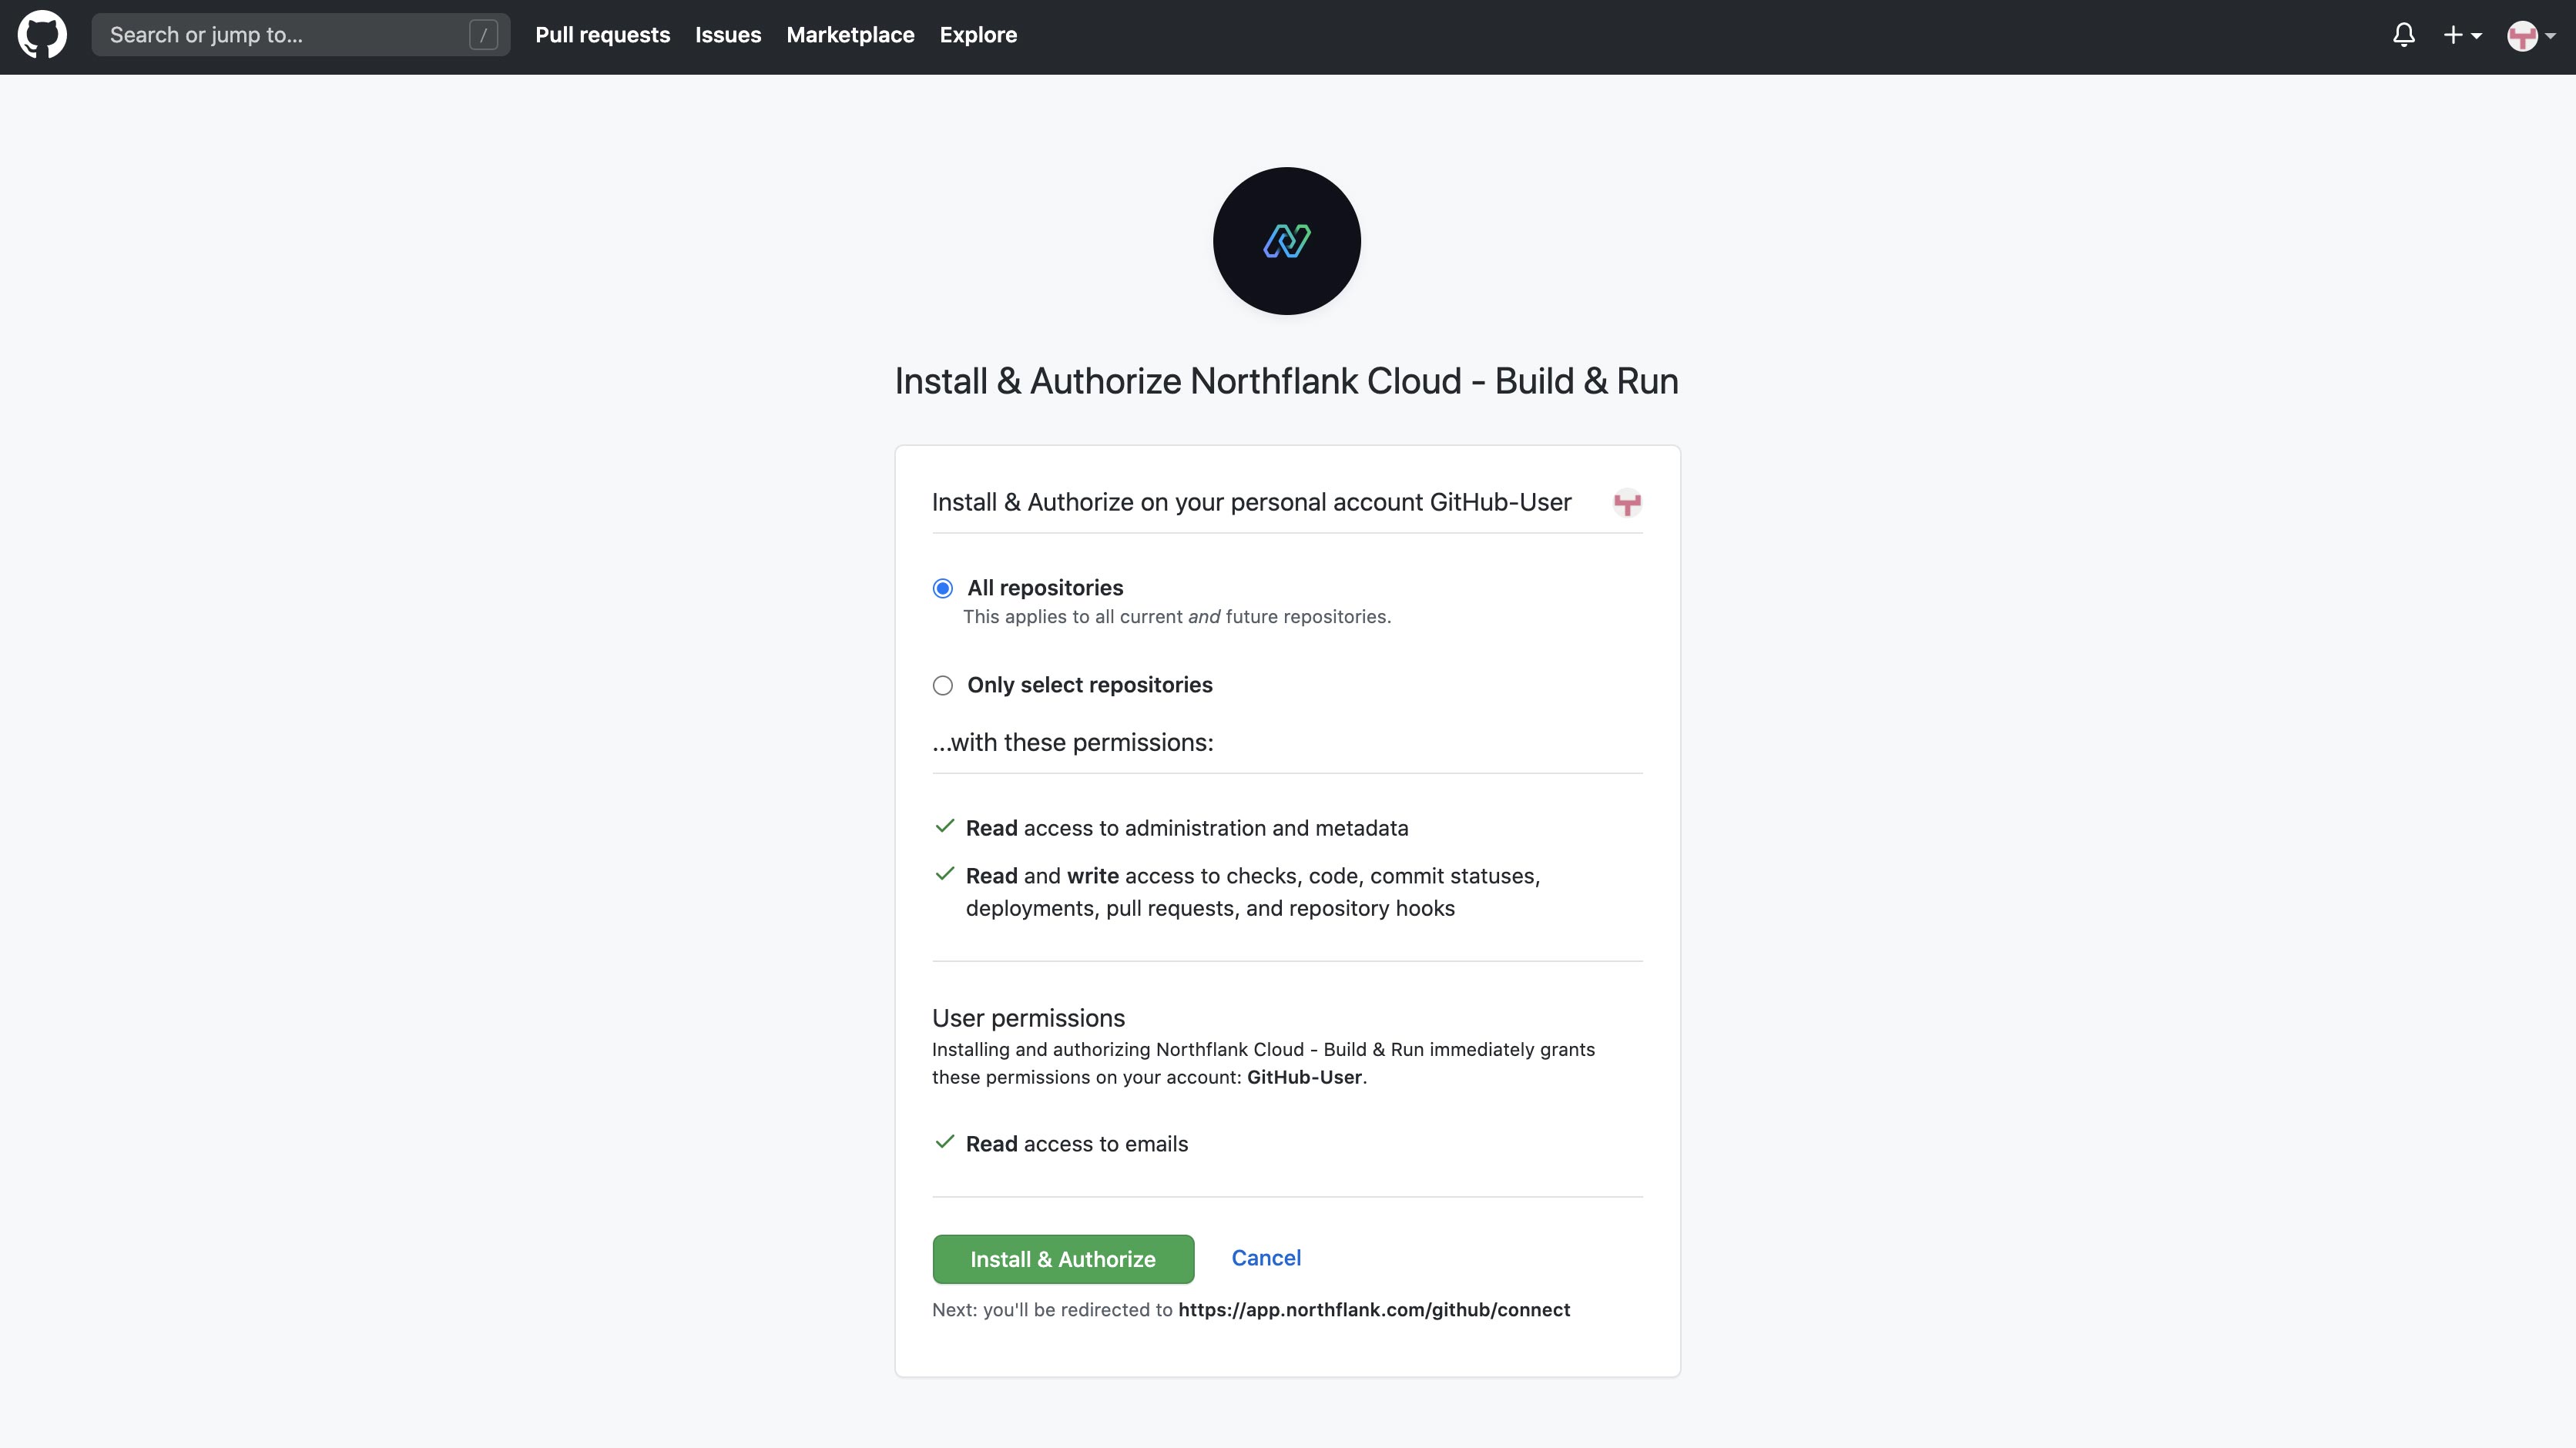
You will now be redirected back to Northflank and you will see your GitHub account name on the entry for GitHub. You can now begin building and deploying code from your GitHub repositories.
The GitHub app will automatically send Northflank webhooks for events on your repositories, which means commits to your monitored branches and pull requests can be built instantly.
You can unlink GitHub from your Northflank team, which will stop Northflank from building any future commits to your repositories.
Edit installation
You can select a GitHub account on Northflank and click edit installation to change which repositories are available on Northflank.
If you need to re-link a GitHub account that already has the Northflank application installed, you must toggle between your repository restrictions settings to activate the save button on GitHub.
Remove GitHub
To remove your team's access to your GitHub account, select the account and click unlink.
To remove Northflank from your GitHub team you must uninstall the Northflank app from your GitHub settings.
Link your GitLab account
You can connect your GitLab account with Northflank via OAuth or Personal Access Token (PAT). When you connect your GitLab account you will be redirected to GitLab to complete the verification steps. All repositories your GitLab account has access to, including repositories that you do not own, are accessible with the connection.
Personal Access Token (PAT) authentication is a feature-flagged option. If you don't see the PAT option, contact support to enable it for your team.
Link your GitLab account
- Navigate to the Git integration page in your Northflank team
- Click Link GitLab
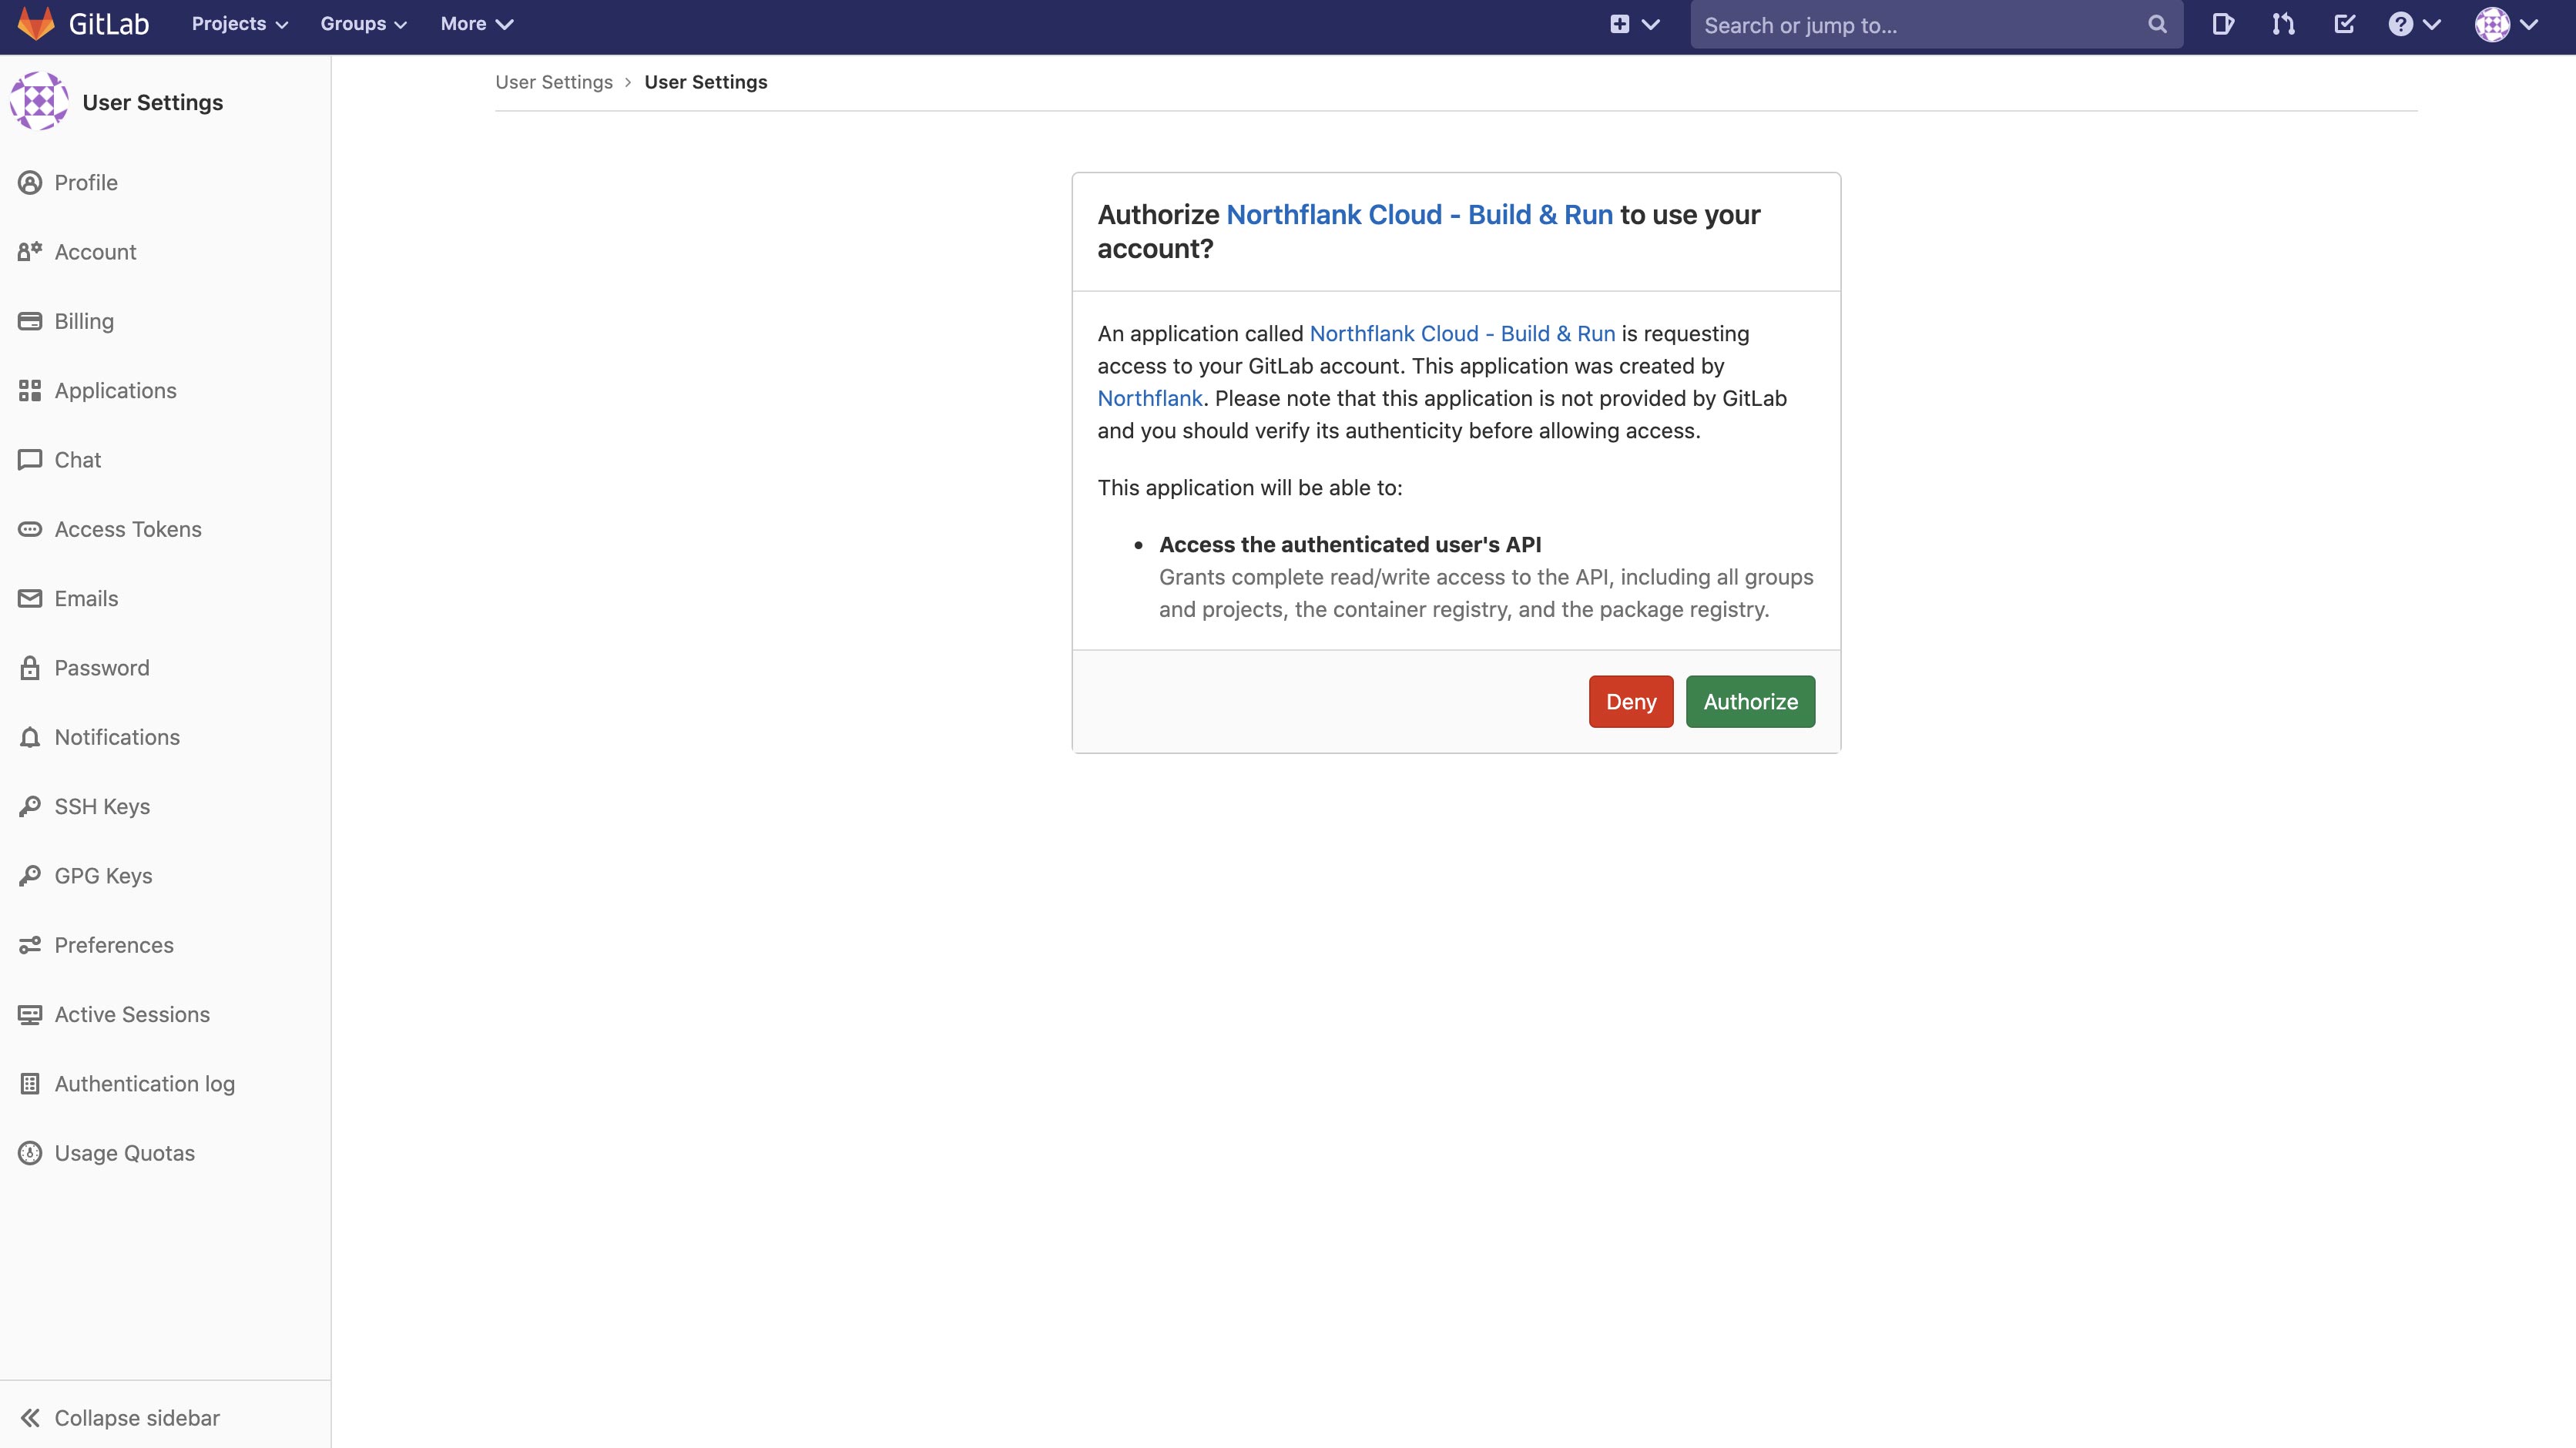
You will now be redirected back to Northflank and you will see your GitLab account name on the entry for GitLab. You will be prompted to select whether to restrict access to certain GitLab namespaces.
You can now begin building and deploying code from your GitLab repositories.
Regenerate webhooks
Northflank makes an API request to create webhooks for your GitLab repositories to enable CI. You can regenerate the webhooks if the token is accidentally deleted or exposed.
Link via Personal Access Token
If PAT authentication is enabled for your team, you can link GitLab using a Personal Access Token instead of OAuth.
-
Navigate to the Git integration page in your Northflank team
-
Click Link with PAT on the GitLab card
-
Enter your GitLab Personal Access Token
Your PAT must have the following scopes:
- api
- read_repository
Repository access is scoped to the permissions granted in your PAT. Your PAT must have access to all projects you want to use with Northflank.
Remove GitLab
To remove your team's access to your GitLab account, select the account and click unlink.
To remove Northflank from your GitLab account, go to your GitLab preferences, open the applications page, and revoke the Northflank application's access.
Link your Bitbucket account
You can connect your Bitbucket account with Northflank via OAuth. When you connect your Bitbucket account you will be redirected to Bitbucket to complete the verification steps. All repositories your Bitbucket account has access to, including repositories that you do not own, are accessible with the connection.
- Navigate to the Git integration page in your Northflank team
- Click Link Bitbucket
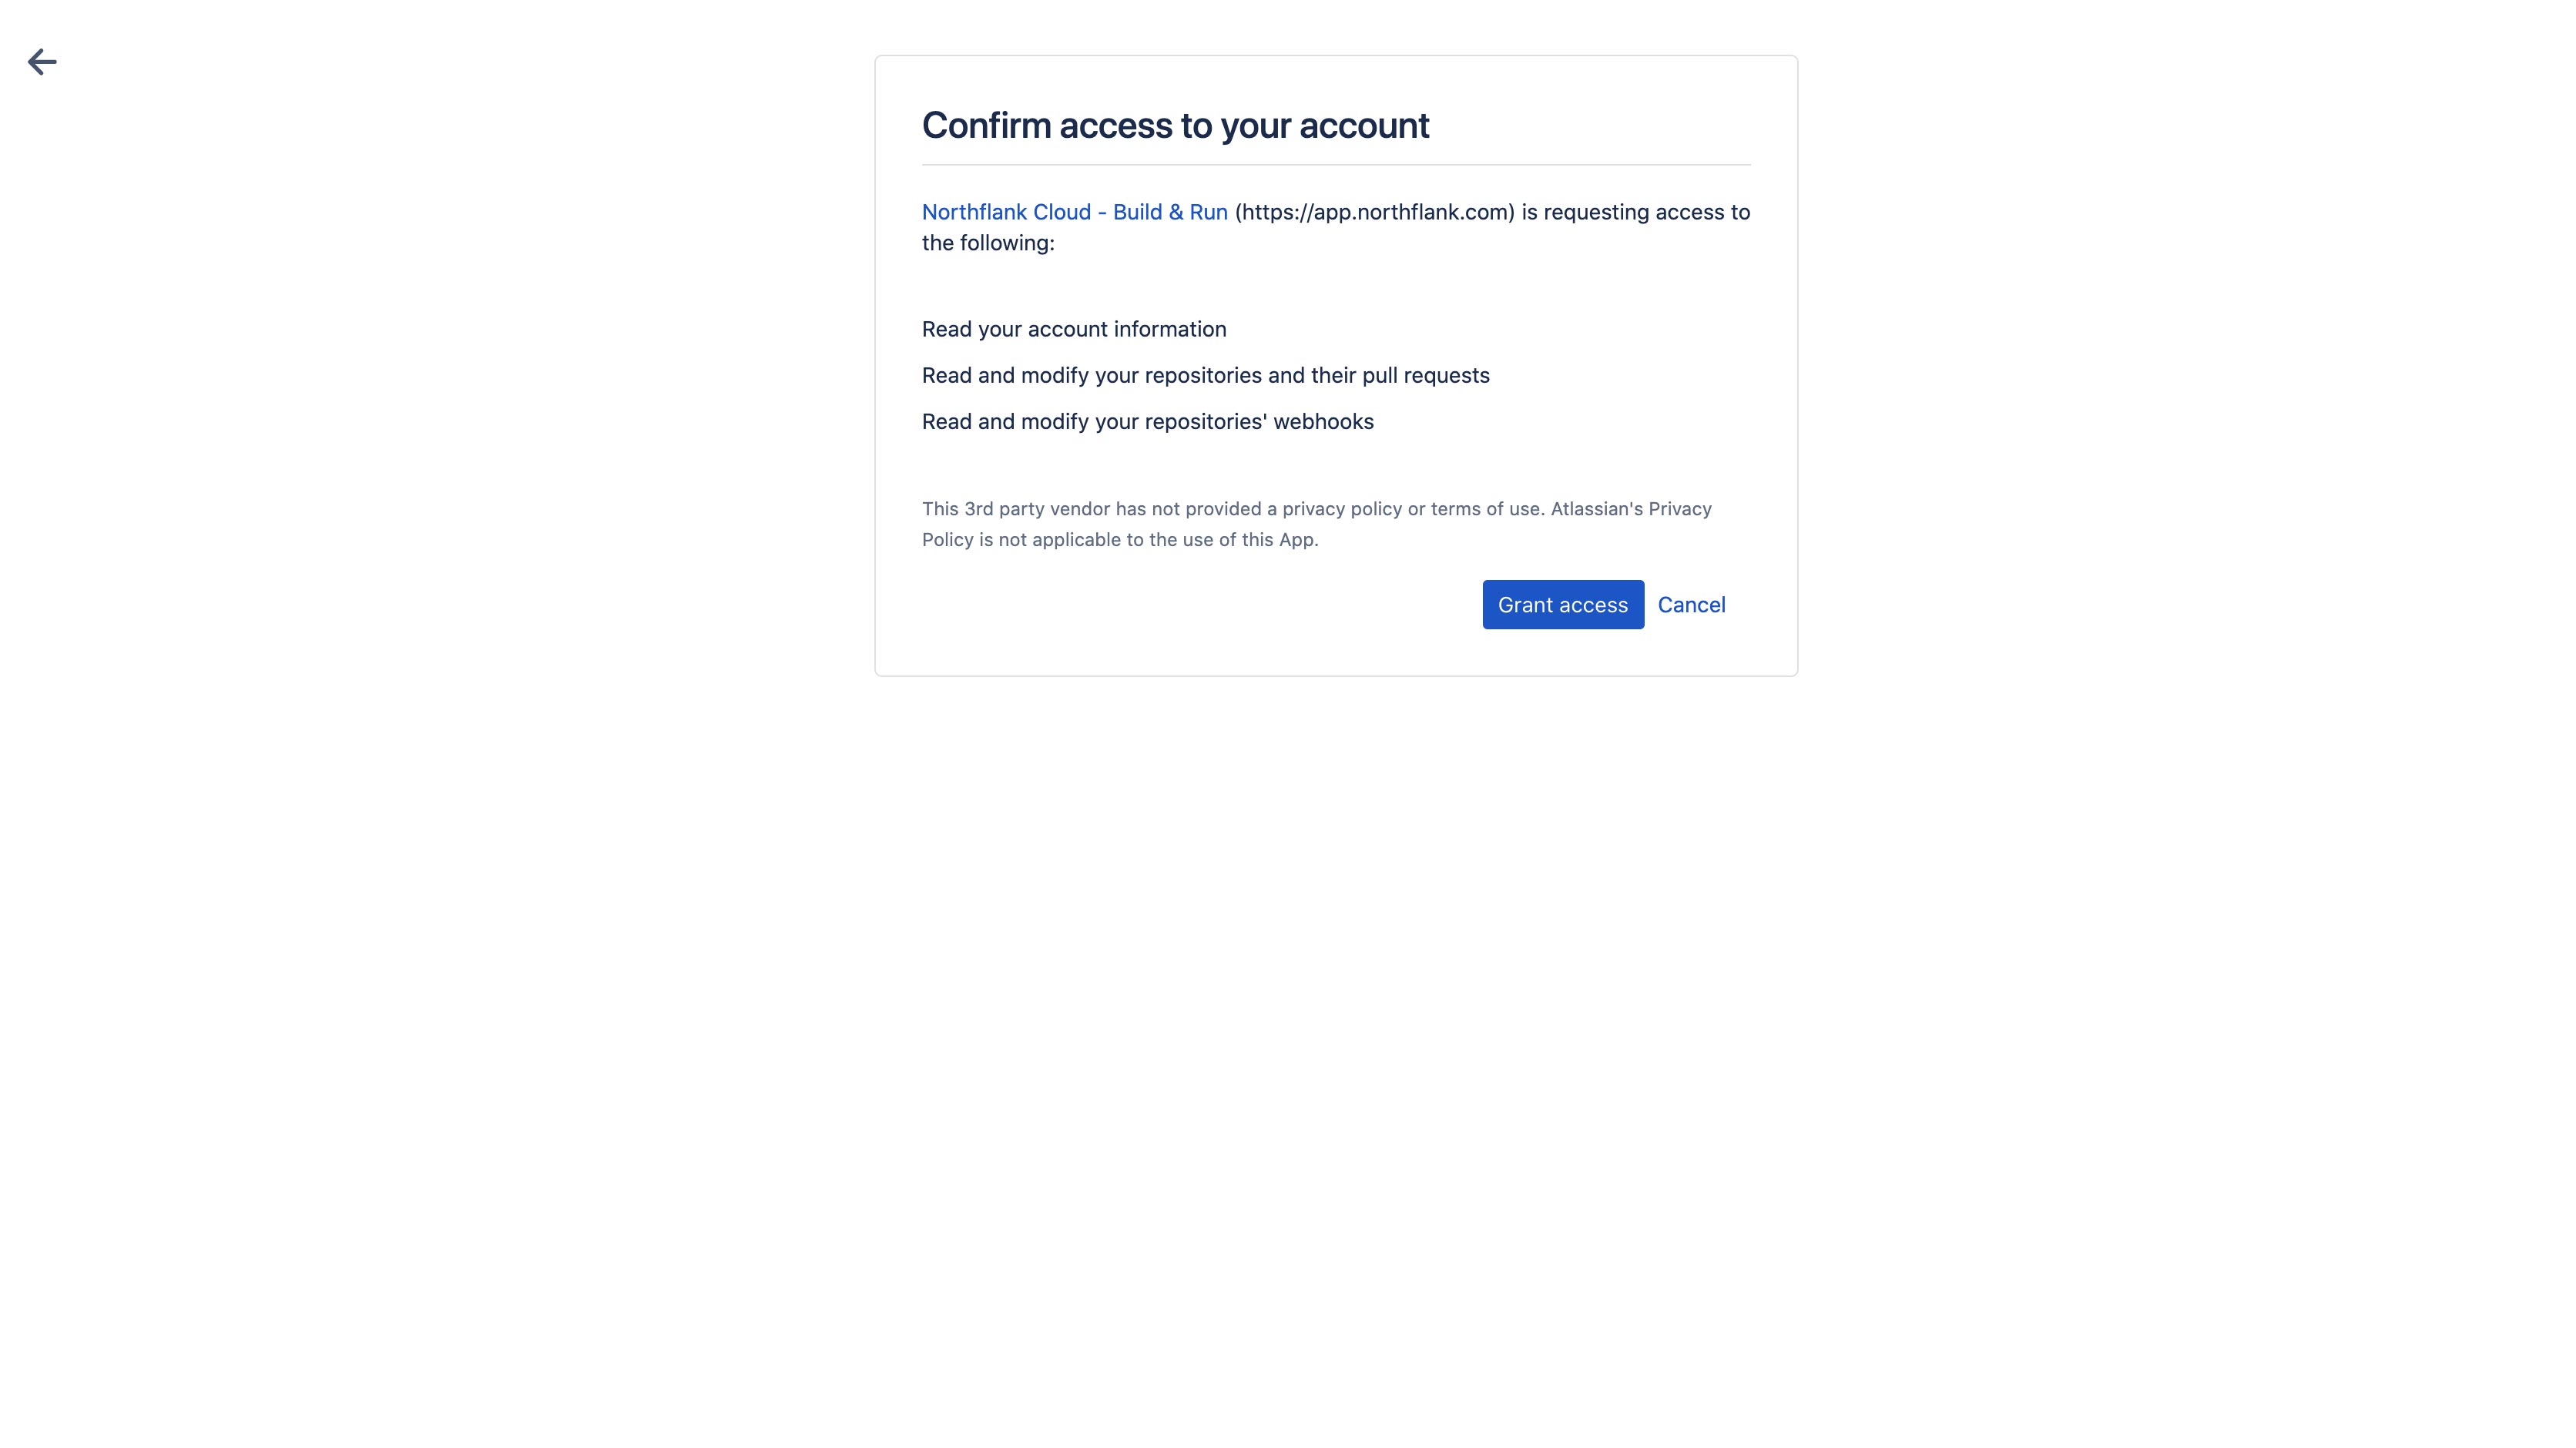
You will now be redirected back to Northflank and you will see your Bitbucket account name on the entry for Bitbucket. You will be prompted to select whether to restrict access to certain namespaces.
Regenerate webhooks
Northflank makes an API request to create webhooks for your Bitbucket repositories to enable CI. You can regenerate the webhooks if the token is accidentally deleted or exposed.
Remove BitBucket
To remove your team's access to your Bitbucket account, select the linked account and click unlink.
To completely remove Northflank from your Bitbucket account, go to Bitbucket personal settings, open the app authorizations page and revoke the Northflank application's access.
Link your Azure DevOps account
You can connect your Azure DevOps account with Northflank via OAuth or Personal Access Token (PAT). When you connect your Azure DevOps account you will be redirected to Azure DevOps to complete the verification steps. All repositories your Azure DevOps account has access to, including repositories that you do not own, are accessible with the connection.
Personal Access Token (PAT) authentication is a feature-flagged option. If you don't see the PAT option, contact support to enable it for your team.
Link your Azure DevOps account
- Navigate to the Git integration page in your Northflank team
- Click Link Azure DevOps to be redirected to Azure DevOps and authorize Northflank access.
- Log in with your Microsoft account and authorize the connection
You will now be redirected back to Northflank and you will see your Azure DevOps account name on the entry for Azure DevOps. You can now begin building and deploying code from your Azure DevOps repositories.
Link via Personal Access Token
If PAT authentication is enabled for your team, you can link Azure DevOps using a Personal Access Token instead of OAuth.
- Navigate to the Git integration page in your Northflank team
- Click Link with PAT on the Azure DevOps card
- Enter your Azure DevOps Personal Access Token
Your PAT must have the following scopes:
- Code (read)
- Build (read)
Repository access is scoped to the permissions granted in your PAT. Your PAT must have access to all organizations and repositories you want to use with Northflank.
Remove Azure DevOps
To remove your team's access to your Azure DevOps account, select the account and click unlink.
Link Cursor Origin
Install the Northflank app for a Cursor namespace, the account or team that owns your repositories.
You need permission to manage Git integrations in Northflank and approve the app for the selected Cursor namespace.
Create your Origin repositories in Cursor before connecting them to Northflank.
- Open your team's Integrations → Git providers page.
- Select Link Cursor Origin.
- Select the Cursor namespace during installation.
- Choose access to all repositories or selected repositories.
- Approve the requested permissions for repository contents, pull requests, and checks.
- Return to the Git integrations page in Northflank.
- On the Cursor Origin card, select View all.
- Select your linked Cursor namespace to view Connected repositories.
Northflank loads the repository list in the background. Once your repository appears, you can select it for builds or GitOps. Northflank cannot merge pull requests for mirrored Origin repositories.
This integration does not support personal access tokens or signing in to Northflank.
Manage Cursor Origin access
In the linked namespace's configuration, the Granted scopes list shows the permissions that Northflank can use. Ready means that the installation grants all required permissions.
To change repository access, select Update installation. Choose the same Cursor namespace. If the page shows Action required, use this flow to approve the missing permissions.
If a repository is missing, make sure that the installation grants access to it. Then refresh Connected repositories. Refreshing does not grant access.
Remove Cursor Origin
Unlinking removes the connection from the current Northflank account. If other Northflank accounts share the installation, it remains installed in Cursor. Removing its final Northflank link also removes the Northflank app installation from Cursor.
- In the linked installation, select the Unlink control for your Cursor namespace.
- Review the affected accounts in the confirmation.
- Select Unlink installation.
Set team namespaces
You can restrict which repositories team members can access when connecting Git accounts to Northflank.
For GitHub and GitHub Enterprise Server, choose repository access when installing the GitHub App on a user or organization account.
For GitLab, self-hosted GitLab, and Bitbucket, you can restrict access to specific namespaces from the linked account's configuration in Northflank.
For Gitea and Forgejo, repository access follows the linked Git account's permissions. Northflank does not offer a namespace restriction control for these providers.
For Cursor Origin, choose all repositories or selected repositories during installation. Use Update installation to change access for the same Cursor namespace.
Next steps
Create a project
Create a project to contain your services, persistent data, secrets, and more.
Build and deploy your code
Quickly and easily build and run code from a Git repository using a Dockerfile or buildpack.
Add a self-hosted VCS
Add your own self-hosted Git provider and build from its repositories.
Save registry credentials
Save your credentials for a container registry to access private images.