As well as using a database within your project, you can access it locally for development, and expose it publicly to make it available online.
By default, a database will be given an internal address and only be accessible from services and jobs within the same project. You will still be able to access it locally using port forwarding through the Northflank CLI.
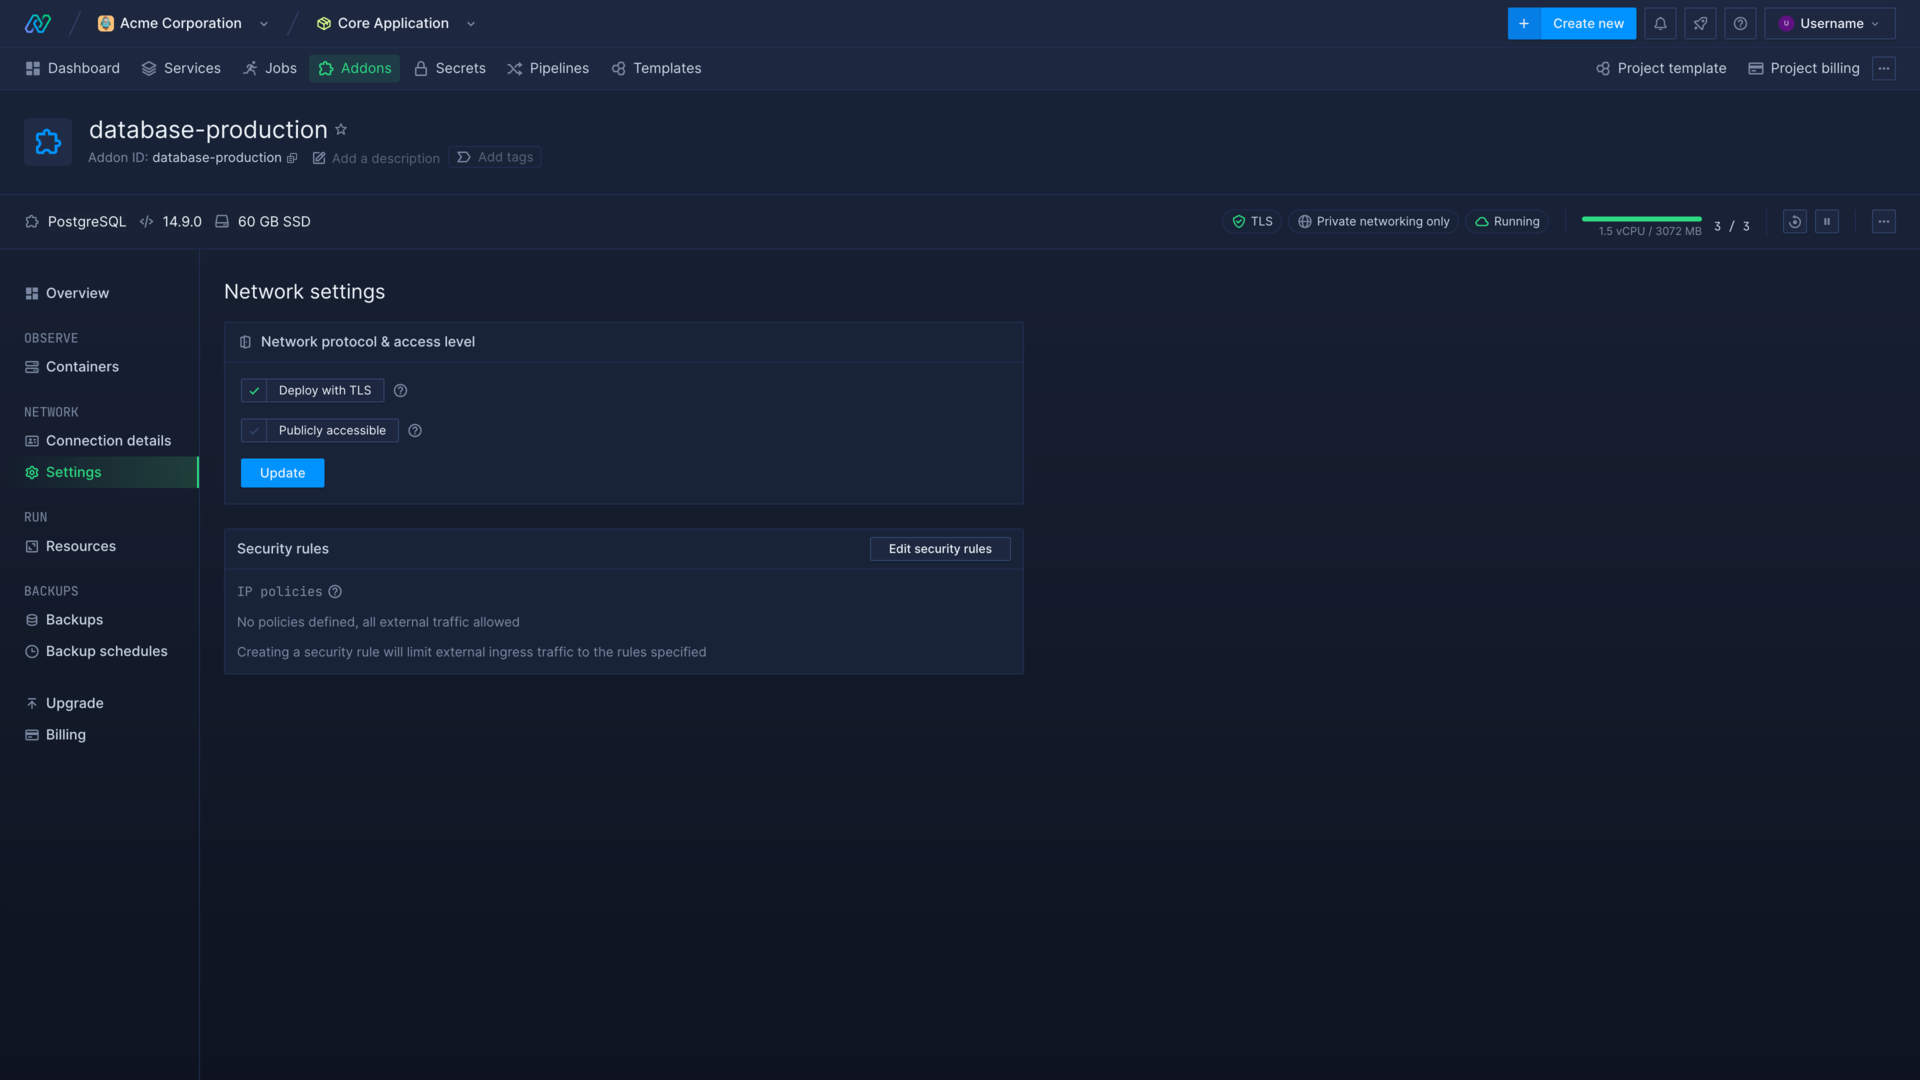
Deploy a database with TLS
You can choose to deploy with TLS on a database's network settings page. If enabled, the database will use TLS for all internal connections.
Some databases, such as MySQL, cannot enable or disable TLS after creation and will use the configuration they were created with.
Your deployments may require further configuration to connect to your database if TLS is enabled, the TLS status will be reflected in the connection detail secret TLS_ENABLED as a boolean.
Expose a database publicly
Databases can be publicly exposed by selecting publicly accessible on their network settings page. The database must be deployed with TLS enabled to expose it publicly.
Exposing a database will make it available online via a network load-balancer and a TCP endpoint secured with TLS, and new public connection strings will be available in connection details.
Some databases, such as MySQL, cannot enable or disable TLS after creation and will use the configuration they were created with.
Access a database locally
You can forward a database for local access using the Northflank CLI.
Your database must be running in order to access it.
You can view and copy the command to connect to a specific database on its overview, in the local access section, or use the following commands:
- To forward a specific database:
sudo northflank forward addon --projectId [project-name] --addonId [addon-name]
- To forward all ports in a project:
sudo northflank forward all --projectId [project-name]
You can now connect to your database locally using the relevant connection strings or secrets from the connection details page.
note
You may need to provide the URI in quotation marks if you are connecting via a shell command using an addon's URI connection string.
Set IP policy rules
You can set IP policies from the security rules section on a database's network settings page.
An IP policy restricts external ingress traffic to specific addresses specified in the policy. For example, a policy of 192.168.1.48 will only allow traffic originating from the IP address 192.168.1.48 and a policy of 192.168.1.0/24 will only allow traffic originating from IP addresses matching the subnet mask. If you have not set any IP policies all external ingress traffic will be allowed to attempt to connect to the database, if it is publicly exposed.
Access TLS certificates in containers
Your container's file system will likely already have root certificates for Certificate Authorities included, depending on the base image it was built with. You may need to provide this location via environment variable, or other configuration options, to your service or job to enable TLS connections with your Northflank addons.
You can check if your container's image contains the default certificate store by opening a container's shell and searching for ISRG_Root_X1.pem (Let's Encrypt root cert) or ca-certificates.crt in your container's CA path.
If the default certificate store is not present, or does not contain the required certificates, you can download the Certificate Authority root cert isrgrootx1 and provide it as a secret file.
Alternatively, if your image includes a package manager, you can include an entrypoint or startup script that installs and updates the certificate store. For example:
| Base image | CA path | Update command |
|---|---|---|
| Debian/Ubuntu | /etc/ssl/certs | apt-get update && apt-get install -y ca-certificates && update-ca-certificates |
| Alpine Linux | /etc/ssl/certs | apk add --no-cache ca-certificates && update-ca-certificates |
| RHEL/CentOS | /etc/pki/tls/certs | yum install -y ca-certificates && update-ca-trust force-enable && update-ca-trust extract |