
If you need a simple and reliable way to run open-source language models on your own infrastructure, Ollama is one of the fastest options available. It lets you run models like Llama 3, Mistral, and Qwen through a lightweight API, making it easy to integrate private and high-performance AI into your applications.
With Northflank, you can deploy Ollama in minutes using a one-click stack template or configure everything manually. Northflank manages GPU provisioning, networking, storage, and scaling so you can focus on building features instead of maintaining servers.
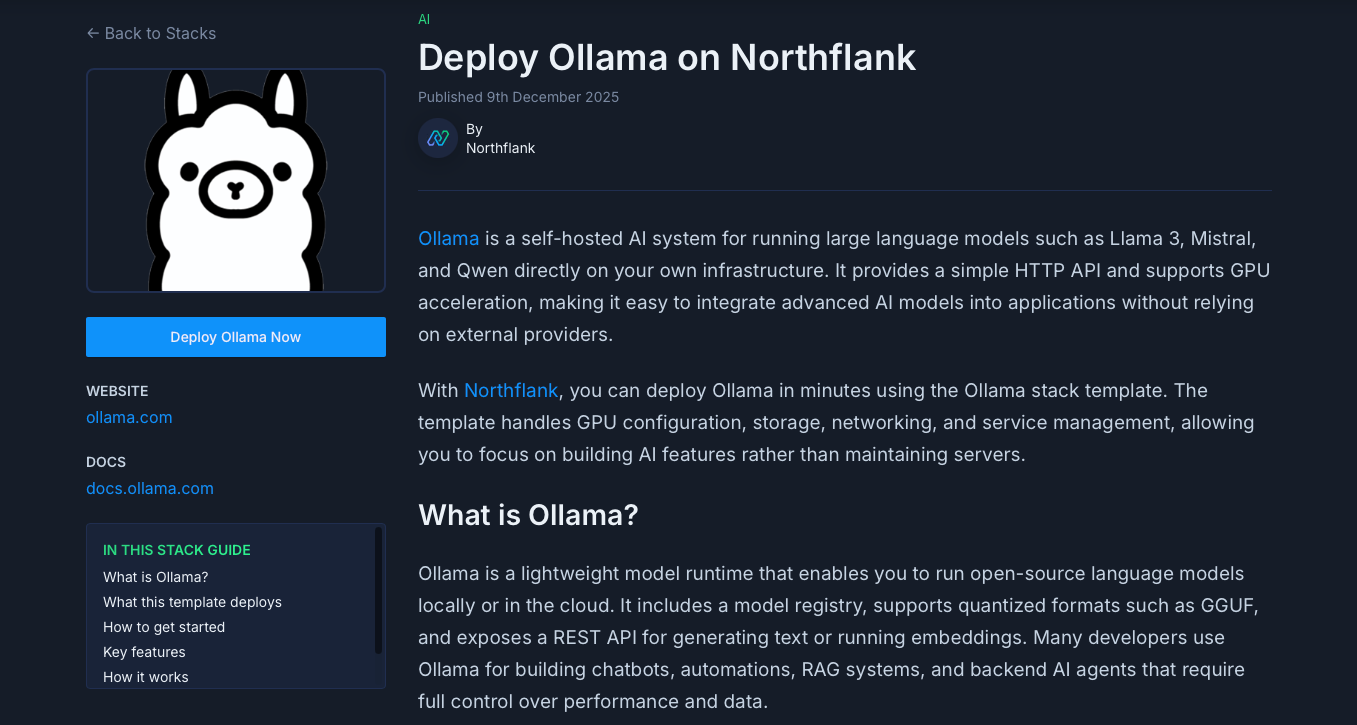
Ollama is a self-hosted model runtime that allows you to run large language models locally or in the cloud. It exposes a simple HTTP API for text generation, embeddings, and model management, and supports GGUF and other popular model formats. Developers commonly use Ollama to power chatbots, RAG pipelines, automations, internal agents, or any workload that requires full control over performance and data.
Before getting started, create a Northflank account.
- Deploying Ollama with a one-click template on Northflank
- How to use your deployed Ollama service
- Deploying Ollama manually on Northflank
What is Northflank?
Northflank is a platform that allows developers to build, deploy, and scale applications, services, databases, jobs, and GPU workloads on any cloud through a self-service approach. For DevOps and platform teams, Northflank provides a powerful abstraction layer over Kubernetes, enabling templated, standardized production releases with intelligent defaults while maintaining the configurability you need.
The easiest way to run Ollama on Northflank is through the Ollama one-click template. It provisions the project, GPU service, and persistent storage automatically. This is ideal if you want to run Ollama quickly without manually setting up everything.
The Ollama stack template includes:
- A GPU-backed deployment service using the official
ollama/ollama:latestimage - An attached persistent volume mounted at
/root/.ollamato store downloaded models - Automatic configuration of networking and a public HTTP endpoint
This gives you a ready-to-use Ollama environment optimized for model hosting.
- Visit the Ollama template on Northflank
- Click
Deploy Ollama now - Click
Deploy stackto create the project, GPU service, and attached volume - Wait for deployment to complete
- Open the service page and copy the generated public URL
Your service will receive a public endpoint similar to: https://p01--ollama-service--<id>.code.run
Once the GPU instance is live, you can pull a model:
curl https://YOUR_PUBLIC_URL/api/pull -d '{
  "name": "qwen2.5"
}'
Generate text:
curl https://YOUR_PUBLIC_URL/api/generate -d '{
  "model": "qwen2.5",
  "prompt": "Why do teams use Northflank?",
  "stream": false
}'
Models you download are stored on the attached volume and persist across deploys and restarts.
If you prefer configuring everything yourself or want to customise compute plans, networking, or storage, you can deploy Ollama manually.
You can also modify the one-click template if you want to extend or customise the default deployment.
Log in to your Northflank dashboard, then click the “Create new” button (+ icon) in the top-right corner. Then, select “Project” from the dropdown.

Projects serve as workspaces that group together related services, making it easier to manage multiple workloads and their associated resources.
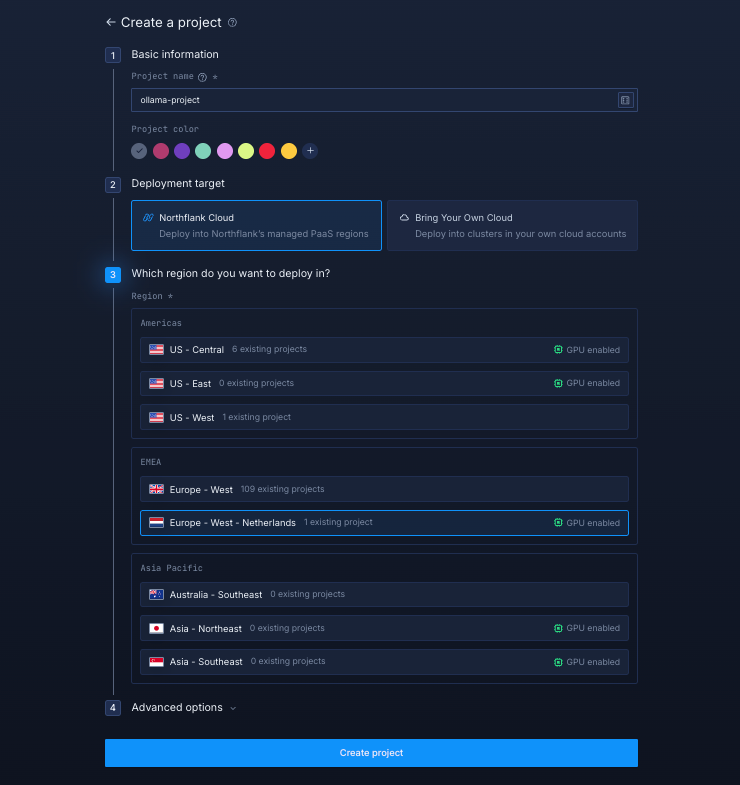
You’ll need to fill out a few details before moving forward.
-
Enter a project name, such as
ollama-projectand optionally pick a colour for quick identification in your dashboard. -
Select Northflank Cloud as the deployment target. This uses Northflank’s fully managed infrastructure, so you do not need to worry about Kubernetes setup or scaling.
(Optional) If you prefer to run on your own infrastructure, you can select Bring Your Own Cloud and connect AWS, GCP, Azure, or on-prem resources.
-
Choose a region with GPU enabled that is closest to your users to minimise latency.
-
Click Create project to finalise the setup.
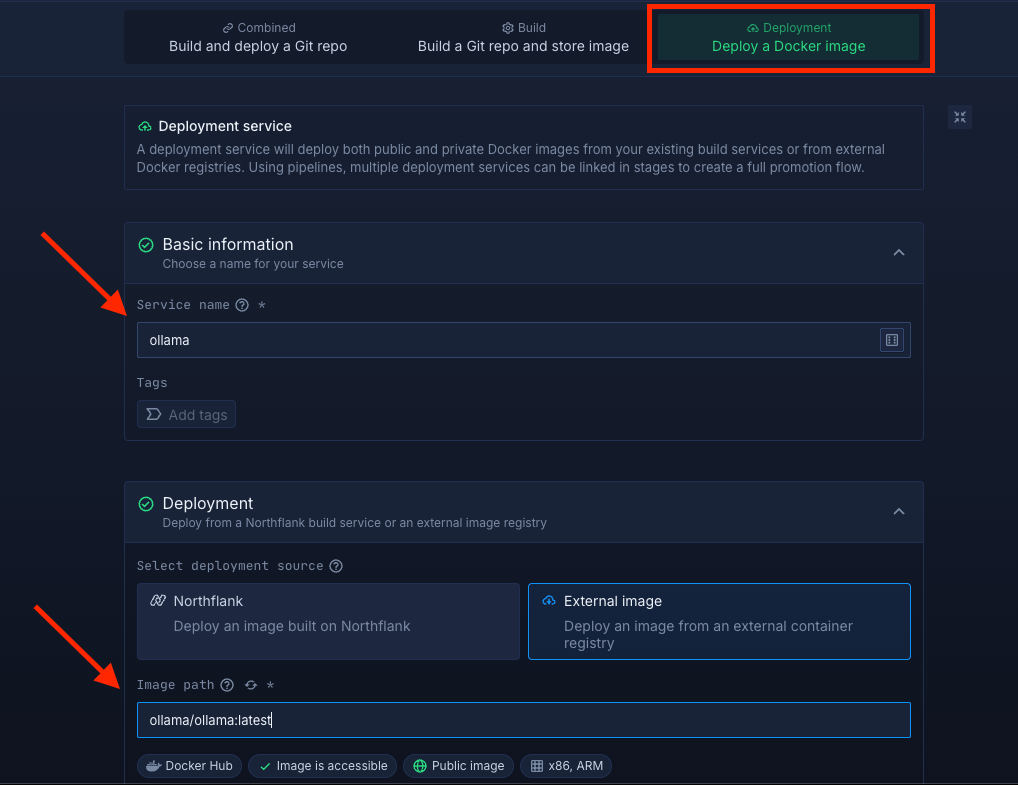
Within your project, navigate to the Services tab in the top menu and click ’Create New Service’. Select Deployment and give your service a name such as ollama.
For the deployment source, choose External image and enter the official Meilisearch Docker image: ollama/ollama:latest.
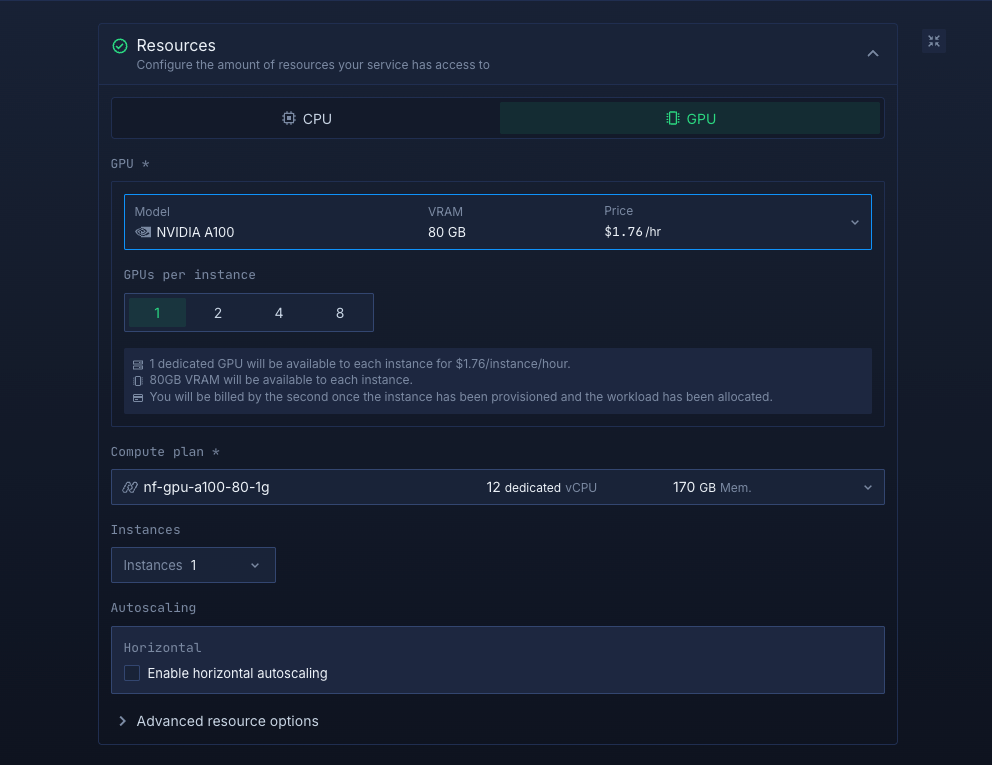
Select compute resources
Choose the compute size that suits your workload:
- Enable GPU
- Under GPU model, select A100 80GB with 1 GPU instance. This is sufficient to run Ollama comfortably.
You can always adjust your resources later, so you can start small and scale up as needed.
Set up a port so your app is accessible:
- Port:
11434 - Protocol:
HTTP - Public access: enable this to access your Ollama instance
Northflank will automatically generate a secure, unique public URL for your service. This saves you from having to manage DNS or SSL certificates manually.
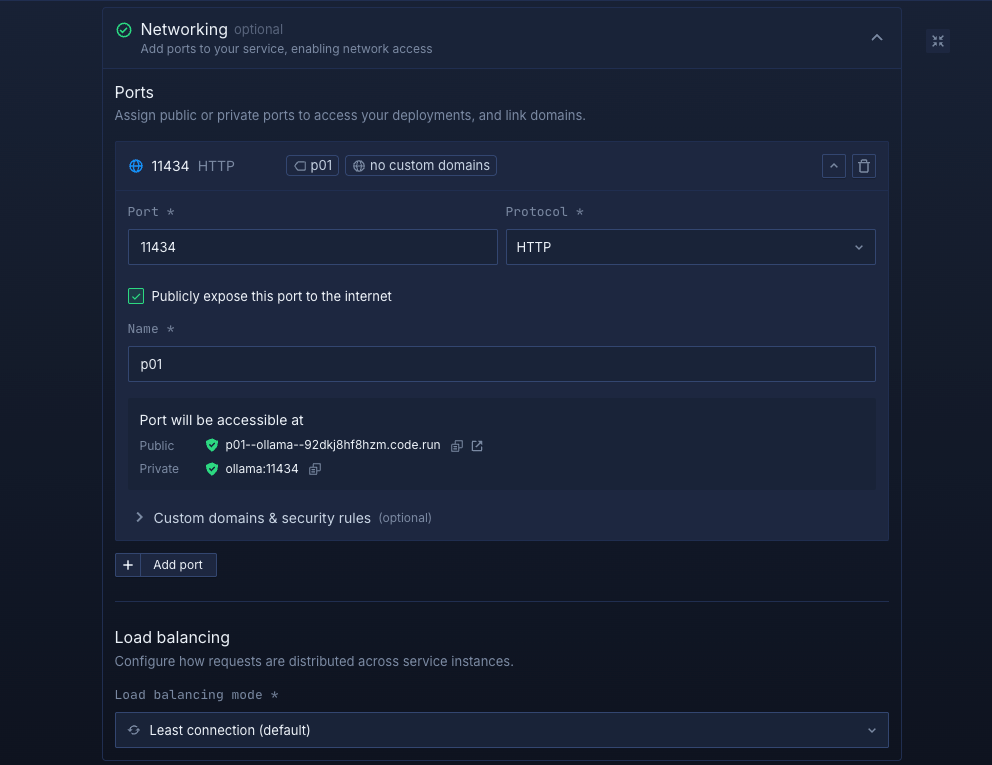
Click Create service to deploy Ollama. Once successful, you’ll see the public URL in the top right corner. e.g.: p01--ollama--lppg6t2b6kzf.code.run
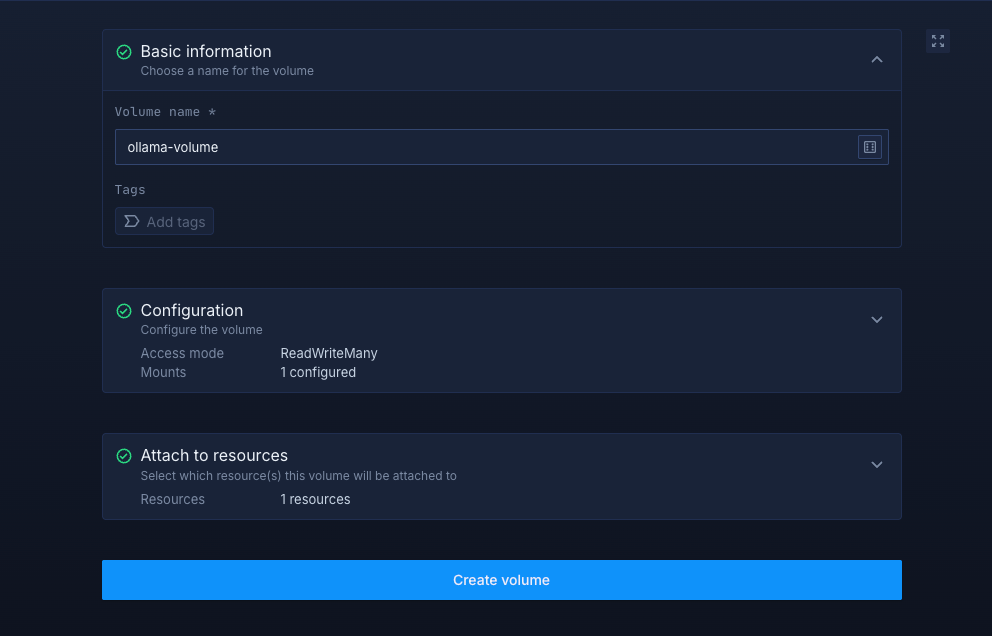
Inside your project, go to the Volumes tab and click Create new volume.
- Name it
ollama-volume - Choose an access mode and storage type (Multi Read/Write is recommended)
- Choose a storage size (start small for testing, scale up for production)
- Set the volume mount path to
/root/.ollama - Attach the volume to your
ollamaservice to enable persistent storage - Click Create volume to finalize.
After successfully creating your volume, you need to restart your service. Once completed, you can access your deployed Ollama service.
Deploying Ollama on Northflank gives you a fast, dependable way to run open-source language models with full control over performance and privacy. You can use the one-click template for an instant GPU-ready environment or configure everything manually for full customisation. With GPU acceleration, persistent storage, and an accessible API endpoint, you have everything you need to build private AI systems, prototypes, or production-grade workloads at scale.