
How to deploy vibe-coded v0 apps to production in minutes
You built an app in v0. It runs in the preview. Now you need it on a real URL, with HTTPS, automatic redeployments when you push changes, and infrastructure that handles real users without breaking.
This article covers how to deploy a v0 app to production on Northflank: connecting your project to GitHub, configuring the build, and getting a live HTTPS URL with automatic redeployments on every push.
v0 builds the app. Northflank runs it in production.
- Connect your v0 project to GitHub using the Git panel in the v0 editor.
- Connect the repository to Northflank. Northflank detects Next.js automatically, runs the build, and starts the app. No Dockerfile required.
- Northflank deploys the app, provisions TLS, and gives you a live URL in under two minutes.
- Every push to GitHub triggers an automatic redeployment on Northflank.
What is Northflank? Northflank is a full-stack cloud platform that deploys v0 apps with production-grade infrastructure: managed databases, secrets management, TLS, CI/CD pipelines, preview environments per pull request, and BYOC into your own cloud. No infrastructure code. No DevOps background required. Sign up to get started or book a demo.
v0 can deploy directly to Vercel with one click, which works well for frontend-heavy apps. Moving to Northflank gives you more: managed databases, secrets management, background workers, preview environments per pull request for every service type, not just frontends, GPU workloads, CI/CD pipelines, and BYOC support when your app grows or needs to run inside your own cloud account. You keep building in v0. Northflank handles everything underneath.
Before connecting to GitHub, ask the v0 agent to generate a Dockerfile for your project. A Dockerfile gives Northflank explicit instructions on how to install dependencies, build, and start the app regardless of which package manager your project uses. Open the v0 chat and paste this prompt:
Add a production-ready Dockerfile to this project. Make sure it uses the correct package manager for this project, runs the Next.js build, and starts the server. Tell me what port the app runs on.
The agent will generate a Dockerfile using the correct package manager for your project, whether that is npm, pnpm, or yarn. Write down the port it tells you. You will need it in Step 4.
Confirm the Dockerfile is visible in your project file tree before moving on.
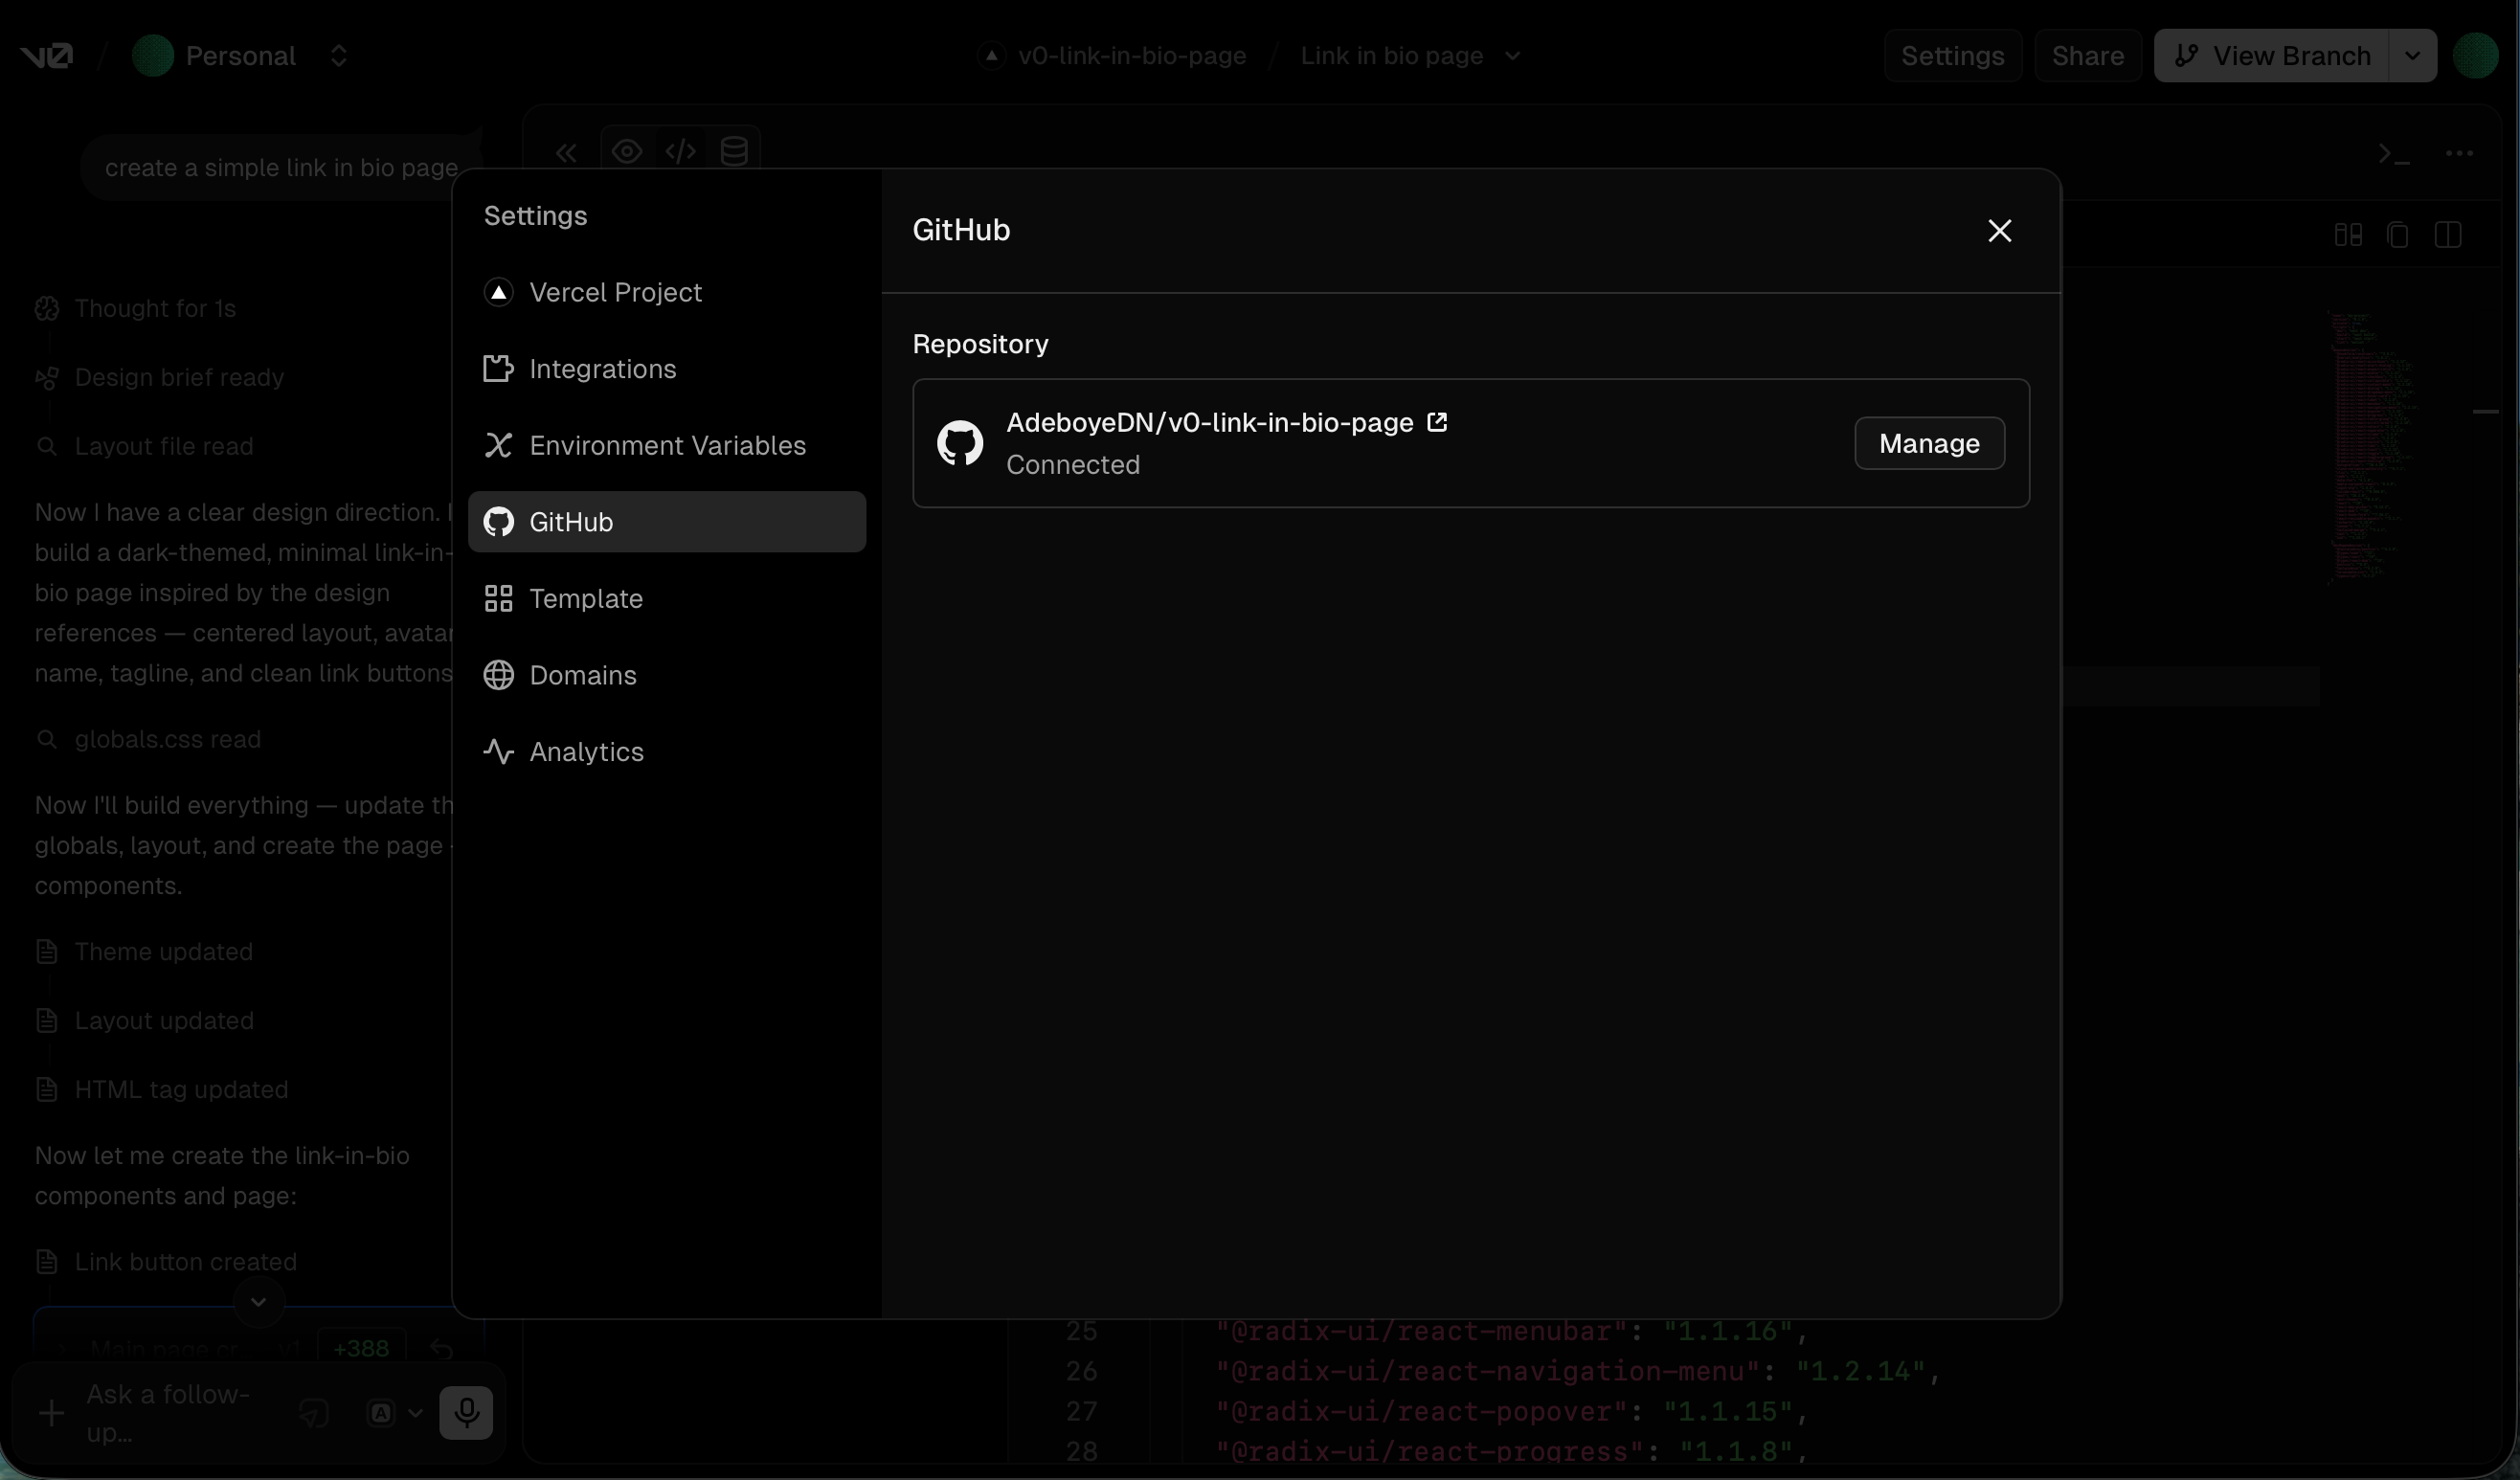
In the v0 editor, click Settings in the top right of the screen. In the Settings panel, click GitHub from the left sidebar. If you do not have a GitHub account, create one for free at github.com before continuing. Click Connect, then authorize v0 to access your GitHub account.
Once connected, click Create Repository. A dialog appears where you can:
- Select your GitHub account from the Git Scope dropdown
- Enter a Repository Name
- Click Create Repository
v0 creates a private repository and pushes changes to it automatically every time you send a message. Every push triggers an automatic redeployment on Northflank once connected.
Sign up for Northflank. The free tier includes two services, one database, and two cron jobs with always-on compute. No credit card required.
Once you are in the dashboard, link your git account and create a new project. A project is a container for all the resources that belong to your app: services, databases, secrets, and pipelines.
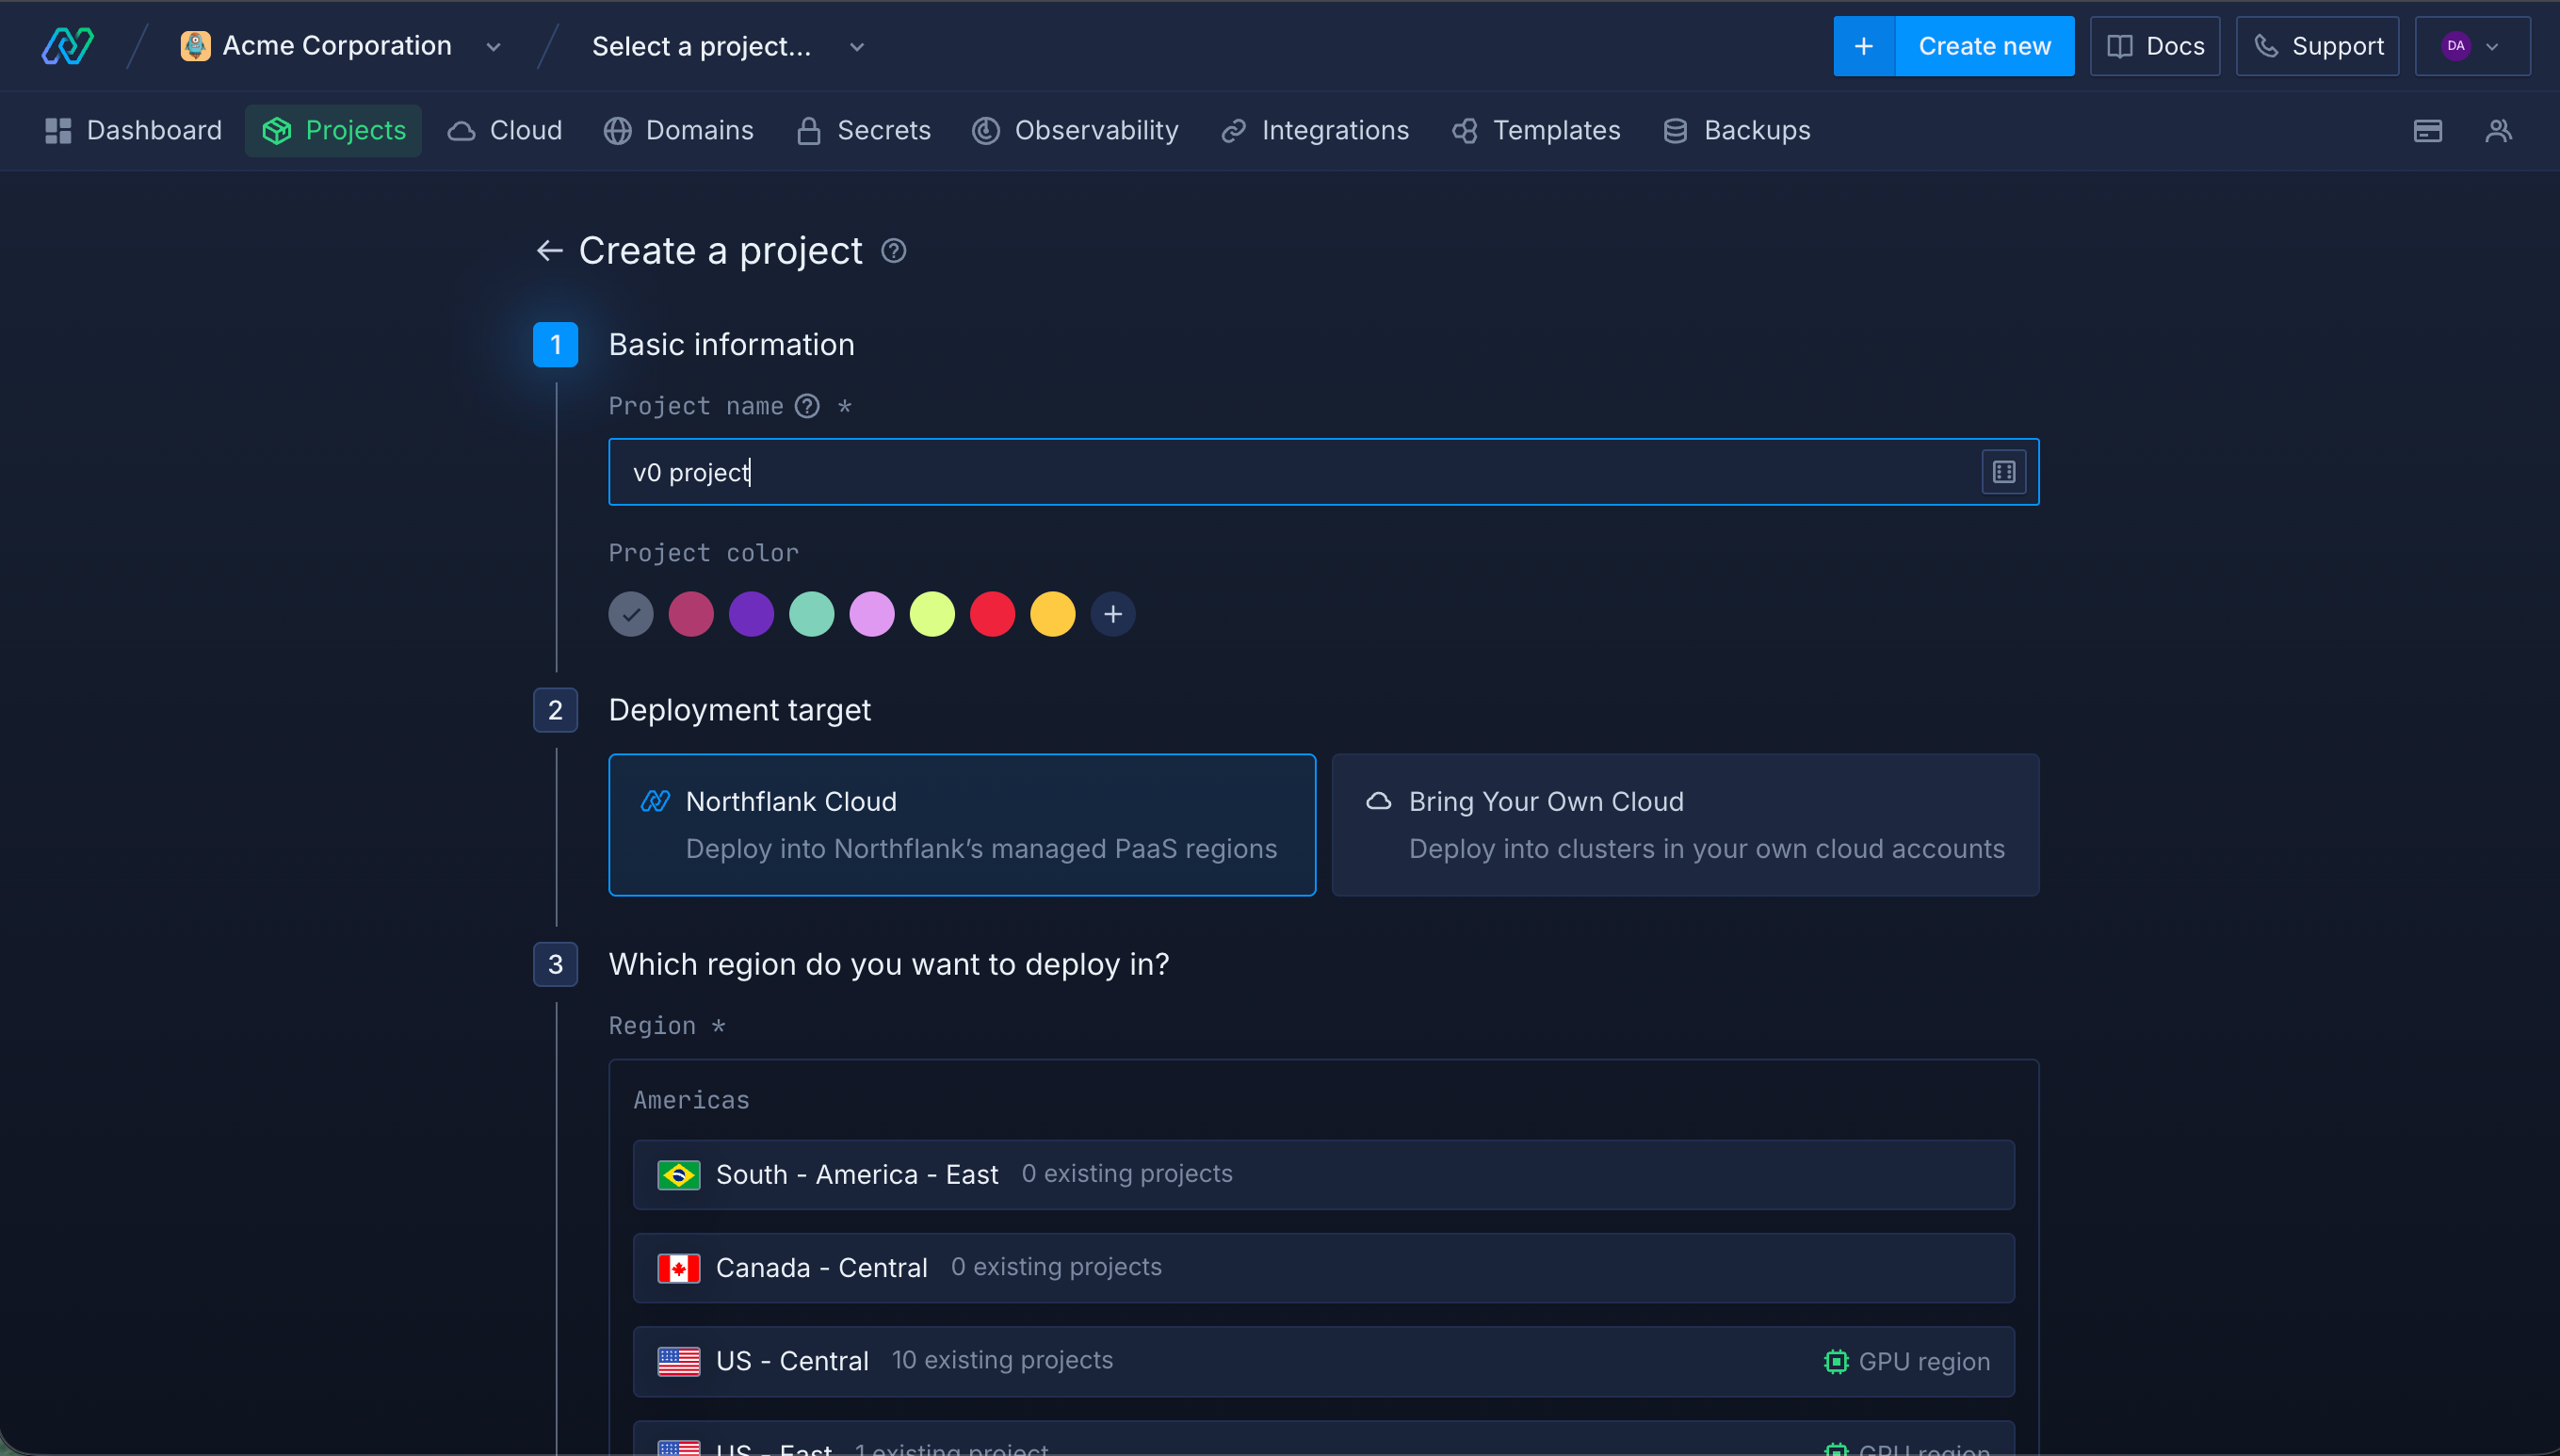
- Click Create project from the dashboard
- Give it a name matching your v0 app
- Choose a deployment target (Northflank Cloud)
- Select a region closest to your users
- Click Create project
- Open your project dashboard and go to the Services tab. Click ”Create service”
- Select Combined service and enter a name, for example
v0-app - Select your repository from the dropdown and choose the branch to deploy from
- Under Build options, select Dockerfile. Northflank automatically detects the Dockerfile if it is in the root of the repository. If the v0 agent placed it in a subdirectory, ask the agent for the exact path and enter it in the Dockerfile location field
- Under Networking, add a public port using the port number the v0 agent told you in Step 1. Northflank provisions a public HTTPS URL on this port automatically
- Under Environment variables, add any credentials or configuration your app needs. There are two types: build arguments are injected during the build process, and runtime variables are injected when the app is running. If you are unsure which to use, ask the v0 agent: "Do my environment variables need to be available at build time or runtime?" and add them in the correct section based on the answer
- Leave resources at the default values. You can enable autoscaling from the resources panel at any time
- Click Create service
Tip: If your app has multiple services or you want to manage credentials in one place, secret groups are a better option than adding variables directly to each service.
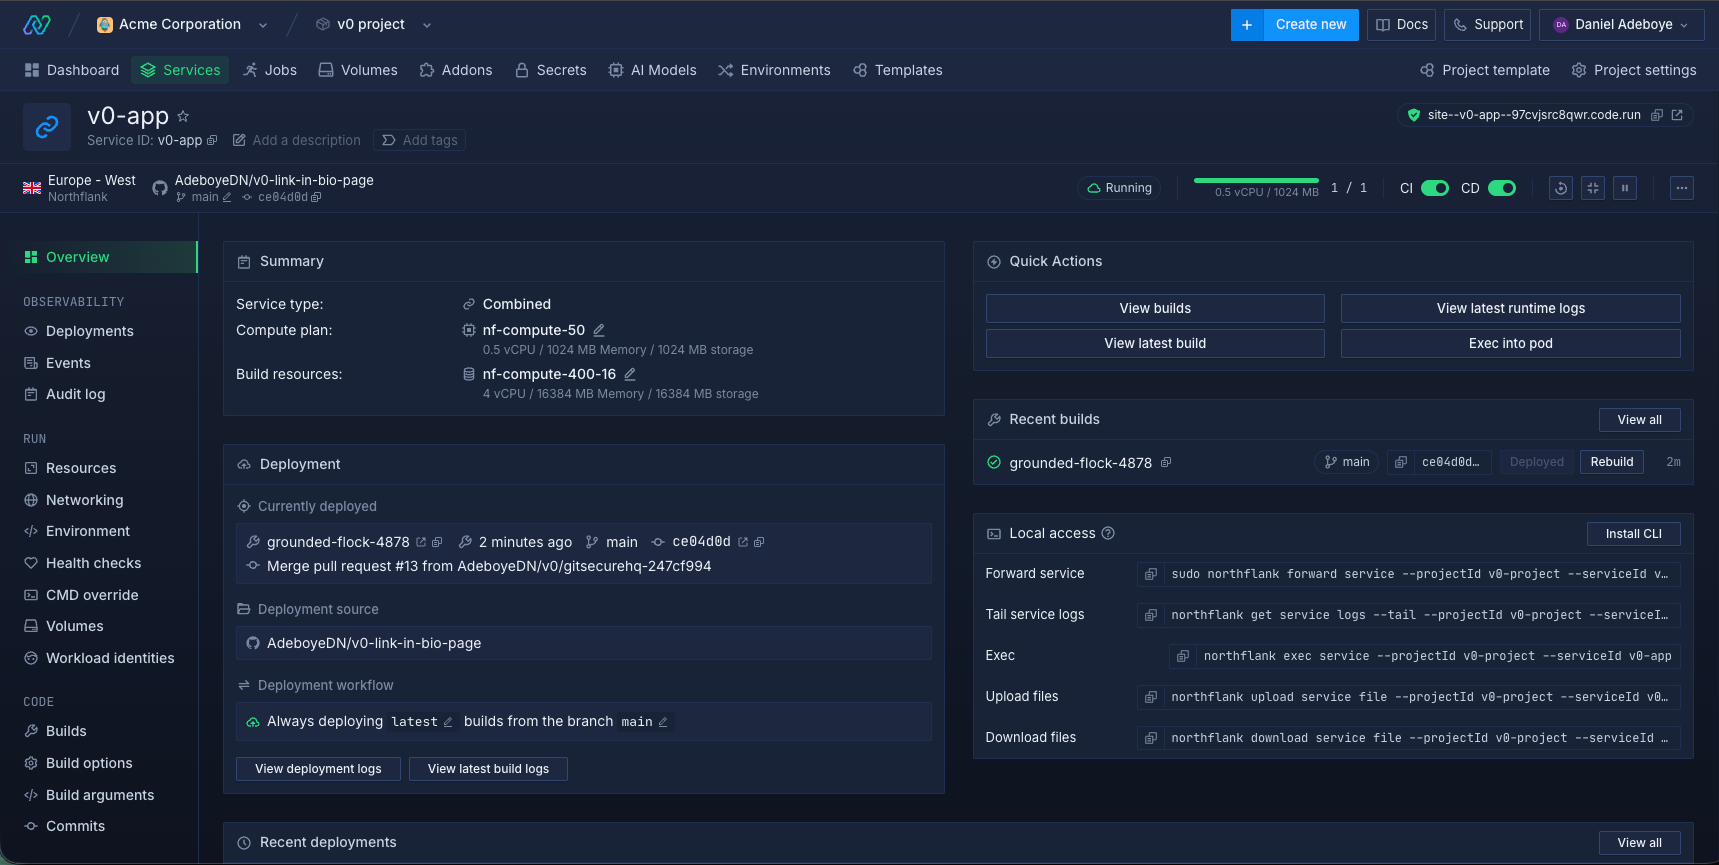
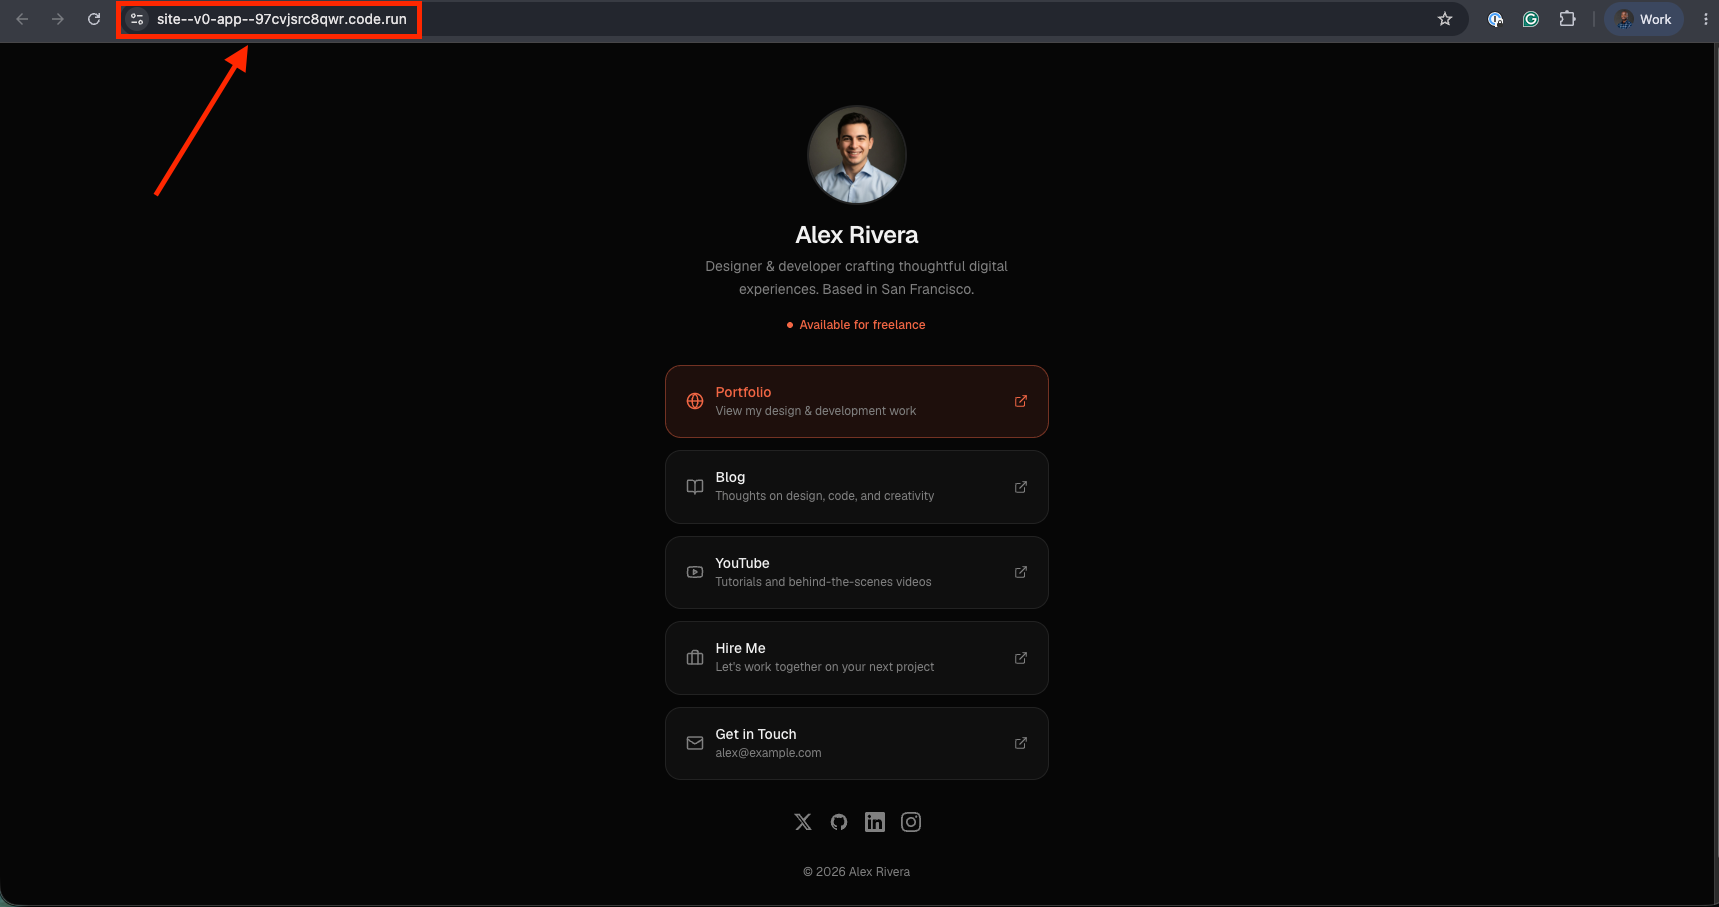
Northflank builds the app and deploys it. TLS is provisioned automatically. Your v0 app is live on a *.code.run URL in under two minutes.
To use your own domain, first verify it in your Northflank account settings by adding a TXT record to your DNS provider. Once verified, add a subdomain and point it to your service port using the CNAME record Northflank provides. Northflank provisions a TLS certificate automatically.
For the full walkthrough, see Add and verify a domain in the Northflank docs.
By the end of this guide, your v0 app has:
- A live HTTPS URL on a
.code.runsubdomain or your own domain - Automatic redeployment on every push to GitHub
- Environment variables injected at runtime with no credentials in source code
- Always-on compute on the free tier
When your app grows and needs a managed database, background workers, preview environments per pull request for every service type, or the ability to run inside your own cloud account, Northflank covers all of it from the same control plane.
Yes. v0 generates standard Next.js code that you own and can deploy anywhere. Export to GitHub and connect to any deployment platform. Northflank runs the full stack: Next.js frontend, backend API routes, managed databases, and background workers in the same control plane.
No. Northflank's buildpack detection identifies Next.js automatically, runs the build, and starts the app with npm start. A Dockerfile is supported if you have a more complex setup or the buildpack build fails, but it is not required for most v0 projects.
Copy the error from the Northflank build logs and paste it into the v0 agent chat. The agent can diagnose most build failures and suggest the fix. If buildpacks cannot resolve it, ask the agent to generate a Dockerfile and switch to the Dockerfile build option.
Push your changes to GitHub from the v0 Git panel. Northflank detects the new commit and triggers a new build and deploy automatically. No manual steps required after the initial setup.
Yes. Northflank provides managed PostgreSQL, MySQL, MongoDB, Redis, MinIO, and RabbitMQ as first-class addons. Provision one from the project dashboard, and Northflank injects the connection string automatically via secret groups.
Yes. Northflank preview environments spin up an isolated copy of the app per pull request and tear down automatically on merge. For a full walkthrough, see How to auto-create preview environments on every PR.
v0 builds the app. Northflank keeps it running in production. Connect to GitHub, link the repository to Northflank, and your Next.js app is live with TLS and automatic redeployments on every push. No Dockerfile. No infrastructure setup.
Sign up for free and deploy your v0 app in minutes. Or book a demo if you want to walk through your specific setup with an engineer.
- How to deploy vibe-coded apps to production: The general guide for deploying any vibe-coded app on Northflank, with a step-by-step walkthrough.
- Best deployment platforms for vibe coders in 2026: A comparison of Northflank, Vercel, Render, Railway, and Fly.io on databases, secrets management, preview environments, and full-stack scope.
- How to auto-create preview environments on every PR: Step-by-step guide to setting up automatic preview environments so every pull request gets its own isolated deployment.