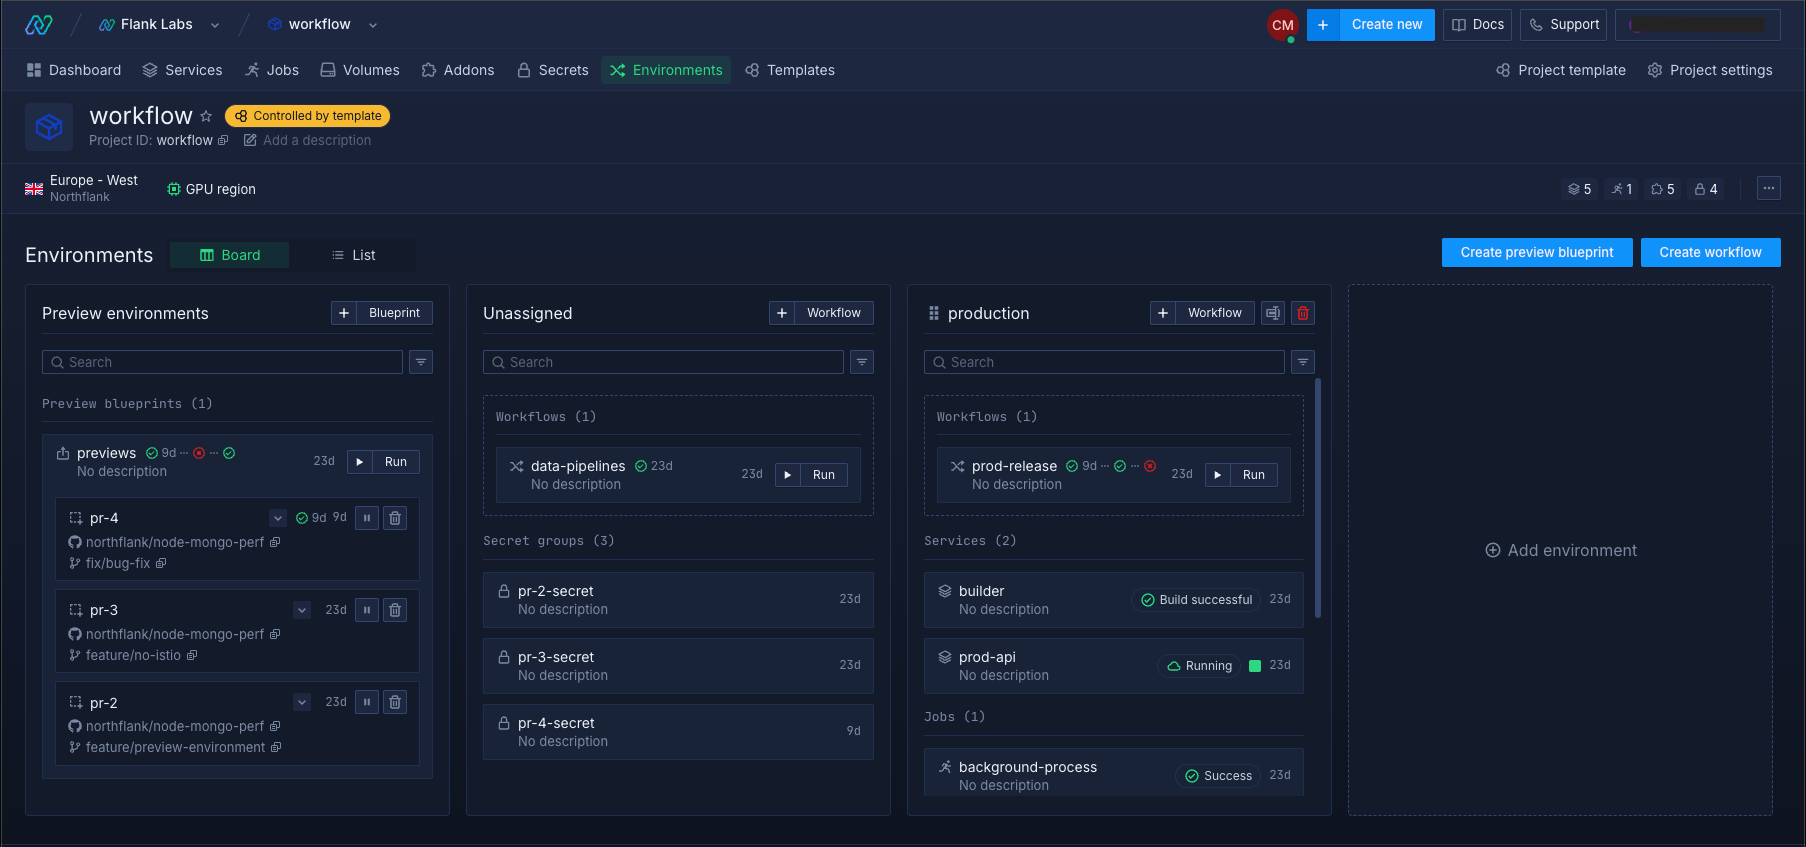
Environments represent deployment targets in your release process. Create environments for development, staging, and production to organize your services, workflows, and resources by deployment stage.
Each environment contains its own set of resources and workflows, keeping your deployments separate and easy to manage.
Create an environment
-
Navigate to Environments in your project
-
Click the plus icon to create a new environment
An environment will be created with a default name (e.g., New environment 1).
-
Click the edit icon on the environment to rename it
-
Enter your environment name (e.g.,
production,staging,development) -
Click the checkmark icon to save
Your environment is now created. You can add workflows, services, jobs, and addons to it.
Configure workflows in an environment
Once you have created an environment, you can set up workflows to automate your release process.
Next steps
Configure a workflow
Learn how to use the visual editor or code to configure a workflow.
Run and manage workflows
Run and manage workflows for different environments.
Set up preview blueprints
Create preview blueprints to automatically create preview environments for your branches and pull requests.
Manage preview blueprints
Manage active previews, manually create test environments, and configure automatic cleanup.