You can configure networking, environment variables, resources, and storage for your Cloud Harness. You can also pause, resume, and delete Cloud Harnesses as needed.
Workspace storage
Persist workspace files is enabled by default under Advanced → Workspace storage. It preserves files in /home/harness across stops, restarts, and redeployments. Files outside this directory are temporary.
You can disable persistence during creation, but you cannot change this choice later. Without persistence, stops, restarts, and redeployments erase workspace files and agent sign-ins. Persistent workspace storage can grow but cannot shrink.
Configure networking
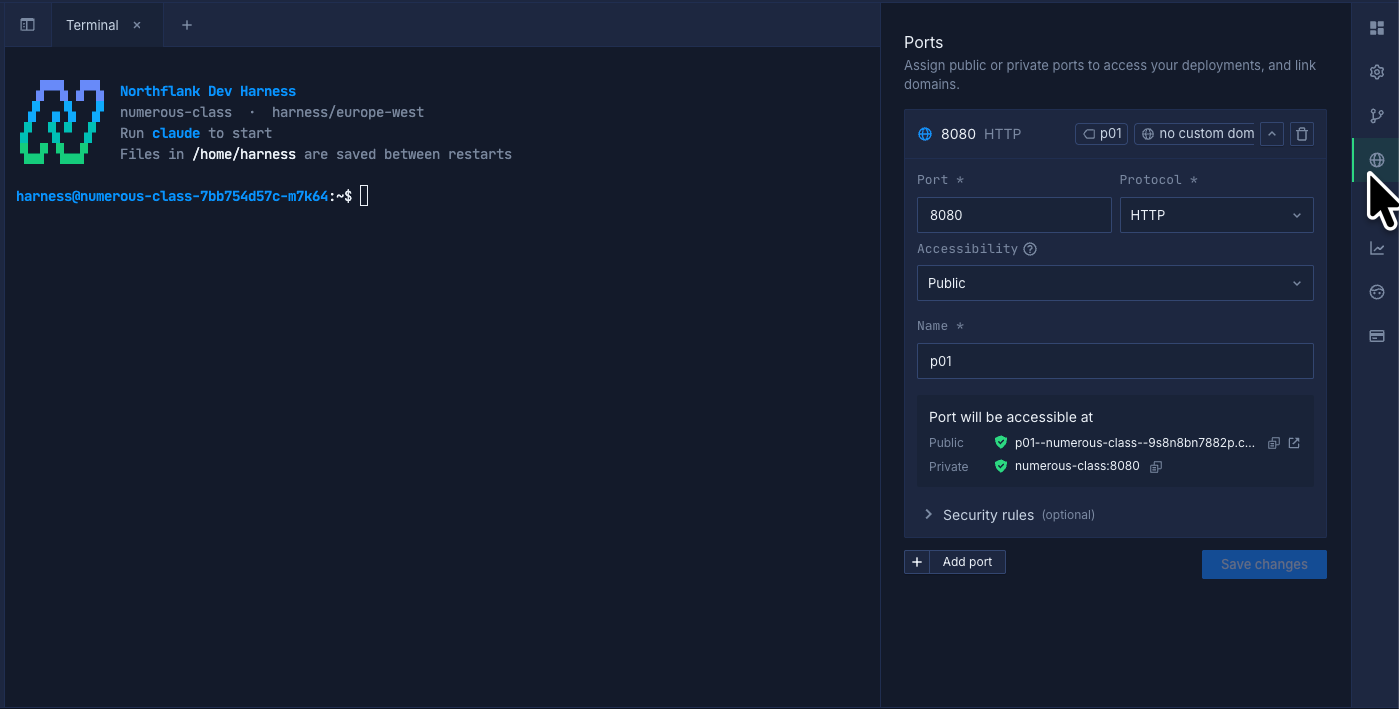
You can expose applications running in your Cloud Harness by adding public or private ports. You can also attach domains to publicly exposed ports.
To configure a port:
- Open your Cloud Harness overview.
- Click the Networking icon in the right sidebar.
- Click Add port.
- Enter the port and select the protocol.
- Enable Publicly expose if you want the port to be accessible from the internet.
- Click Save changes.
You can add multiple ports to a Cloud Harness.
Configure environment variables
Set runtime variables and secret files that your Cloud Harness can access.
- Open your Cloud Harness overview.
- Click the Environment icon in the right sidebar.
- Click Edit.
- Add or update your variables or secret files.
- Click Update & restart.
Learn more about runtime variables and secret files.

Update Cloud Harness configuration
You can update an existing Cloud Harness's authentication, runtime image, and resources. With workspace persistence enabled, you can increase storage size. You cannot reduce its size or change persistence after creation.
If workspace persistence is disabled, save files you need outside the harness before updating it. Configuration changes can redeploy the harness and erase workspace files and agent sign-ins.
To update your Cloud Harness:
- Open the Cloud Harness overview.
- Click the Options icon in the right sidebar.
- Update the configuration you want to change.
- Click Update options.

Pause and resume a Cloud Harness
Pausing a Cloud Harness scales it to zero and stops its terminal sessions and processes. With workspace persistence enabled, files in /home/harness remain available when you resume it.
If workspace persistence is disabled, save files you need outside the harness before pausing it. Pausing then erases workspace files and agent sign-ins.
To pause a Cloud Harness:
- Open the Cloud Harness overview.
- Click the Pause harness icon in the top-right corner.
- Wait for the Cloud Harness to pause.
To resume a Cloud Harness:
- Open the Cloud Harness overview.
- Click the Resume harness icon in the top-right corner.
- Wait for the Cloud Harness to start.
Monitor Cloud Harness resources
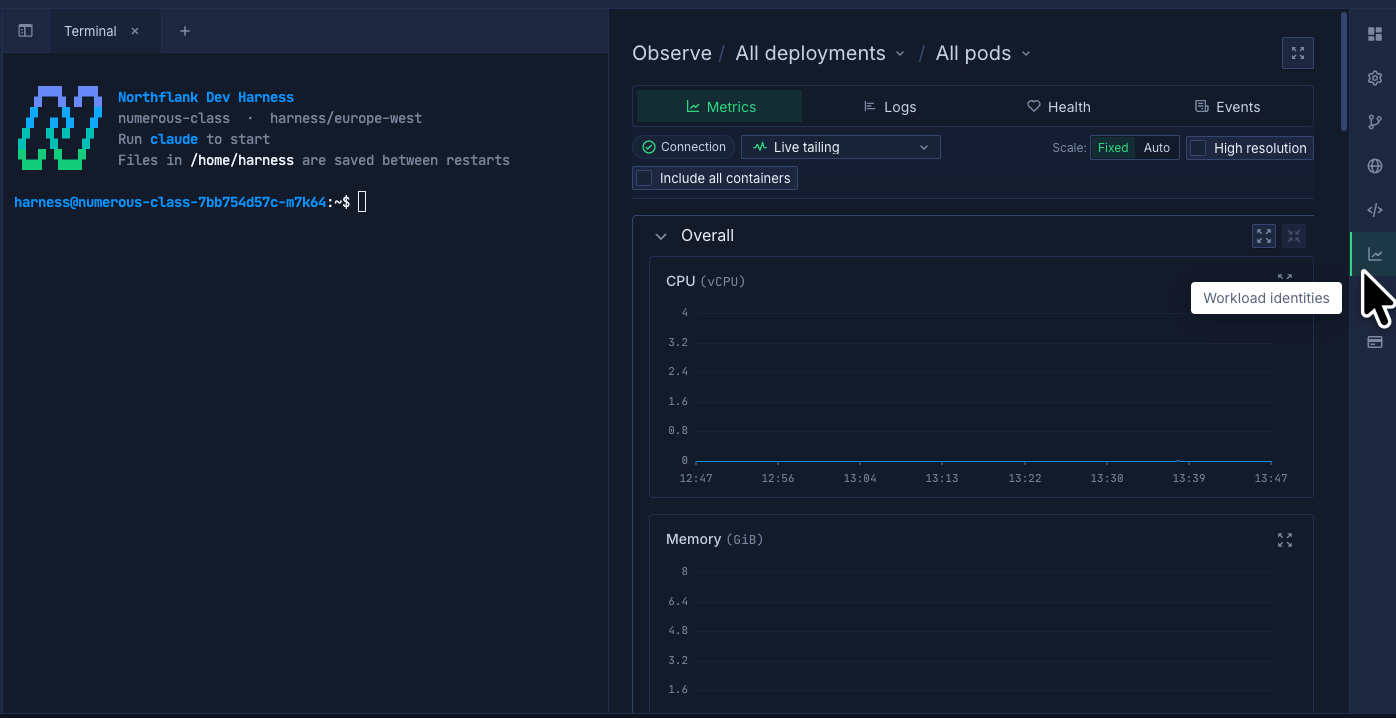
You can monitor the resource usage of your Cloud Harness from the Observe section.
To view your Cloud Harness metrics:
- Open the Cloud Harness overview.
- Click the Observe icon in the right sidebar.
You can view metrics such as CPU and memory usage to monitor your Cloud Harness.
Learn more about observability on Northflank.
Delete a Cloud Harness
You can permanently delete a Cloud Harness and its associated workspace.
Deleting a Cloud Harness cannot be undone. Back up any files or data you want to keep before you delete it.
To delete a Cloud Harness:
- Open the Cloud Harness overview.
- Click the three-dot menu in the top-right corner.
- Click Delete harness.
- Confirm the deletion.

Choose privacy
With Team privacy, team members with the required permissions can connect to the Cloud Harness. With Private privacy, only its creator can access the workspace.
Your team must allow private harnesses before you can select Private. You cannot change privacy after creation.
Private harnesses use the in-app terminal. Northflank SSH and port forwarding are unavailable, including for the creator.
When you create a Cloud Harness, open Advanced → Privacy to select its privacy.
Private harnesses remain visible to your team, including their name, creator, source repository, and allocated resources. Team members with the required permissions can still pause, resume, or delete them. Privacy does not make application ports private. Configure networking separately.
Set team policies
You need permission to update harness policies in your team. By default, all harness types are allowed and private harnesses are disabled.
- Open Configuration → Harness policies in your team.
- Select the harness types that team members can create.
- To allow private workspaces, enable Allow private harnesses.
- Click Save changes.
The policy applies when you create a harness or change its agent type. Existing harnesses keep running. Disabling private harnesses prevents new private harnesses but does not change existing ones.
Reach out to the Northflank team at support@northflank.com or book a demo .